
 Adobe Bridge
 Adobe Dreamweaver
 Adobe Audition
 Adobe Illustrator
 Adobe Animate
 Adobe After Effects
 Adobe InDesign
 Adobe Lightroom Classic


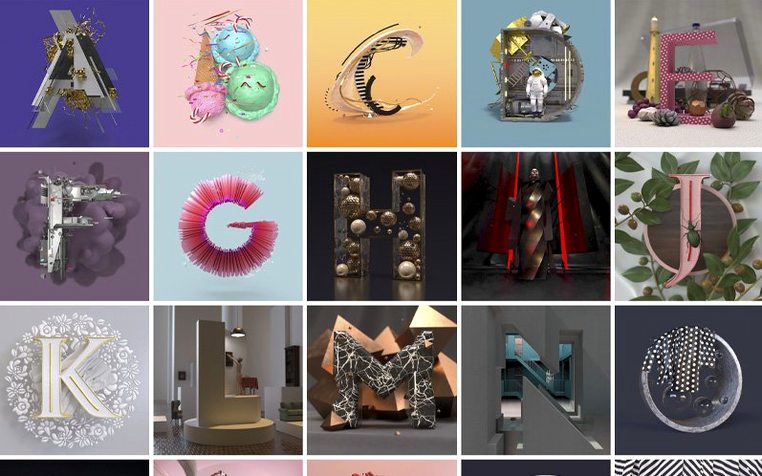

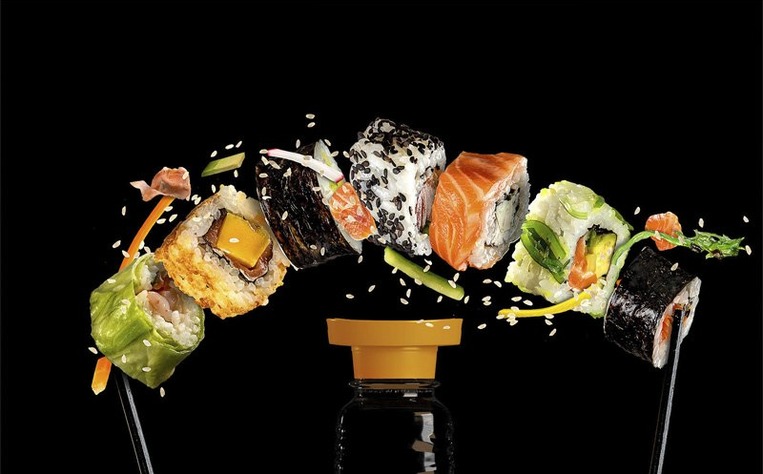
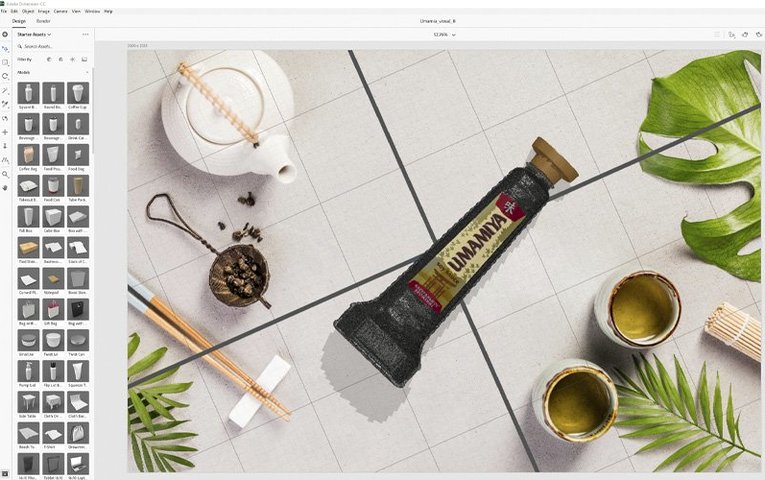
Graphic designers and brand teams reach for Dimension when a flat layout isn't enough. It's the Adobe tool for placing packaging concepts, bottle labels, and screen designs onto 3D objects without learning a dedicated modelling app.
Start with a blank scene and search Adobe Stock right inside the app for a 'foil coffee bag' — the models are optimised to drop straight in. Drag your label artwork onto the bag's surface. Dimension reads the curves and adjusts lighting and perspective to match the material you pick, so brushed foil catches highlights differently than matte kraft paper. Move your light source around until the shadow falls naturally, swap the background for a bench-top image, and the scene snaps together.
Ray-traced previews are quick on a decent Intel Mac running macOS 11. Once the render looks right, save a layered PSD. That lets you open the file in Photoshop CC, where the 3D object, shadows, and background sit on separate layers for colour grading or extra compositing work. The whole flow — model, light, render, export — stays inside a familiar Adobe workspace.
Open the starter assets panel before you bring in any of your own work. The built-in shapes — cylinders, bottles, boxes — are quick to drop onto the canvas and they teach your hand where the orbit and zoom tools sit. Spend twenty minutes swapping materials on a simple sphere. Metal, glass, translucent plastic each light differently, and watching those changes trains your eye faster than any tutorial.
Keep your first scene small. A single product on a plain background renders in seconds, and that quick loop of adjust-preview-adjust is what builds confidence. If you search for adobe dimension mac workflow tips online, you'll see experienced users all say the same thing: master the camera bookmarks early. Set three or four saved angles on every scene so you can jump back to a known view when the orbit tool sends you spinning off into empty space.
The material picker works best when you feed it real-world references. Drag a photograph of brushed metal onto the canvas and Dimension's match tool reads the light direction from that image. Your renders stop looking like plastic toys the moment the shadows agree with the background plate. That single habit — matching before you model — saves more time than any other trick in the app.
Say a small tea company needs five box variations shown on a wooden table. Here's the path from empty canvas to client-ready export.
When the client asks for the chamomile box on a different background, you swap the environment image and Dimension recalculates the lighting automatically. No re-modelling, no re-texturing. The whole revision takes under two minutes.
You open Dimension around nine with a half-finished candle jar scene from the day before. The glass material looked cloudy in yesterday's render, so the first move is into the material settings panel. A small bump in the roughness slider and a drop in the specular highlight value, and the glass clears up. The real win is that Dimension updates the preview in real time — no waiting for a full render to see if the change worked.
Next you drag a new wax-colour label from Illustrator onto the jar surface. The artwork snaps to the curved glass without stretching, and the app's material engine reads the matte paper texture correctly against the shiny jar beneath it. You orbit around to check the label alignment from the back, bookmark that angle, then switch to the front view for the hero shot.
Mid-morning, you pull three candle variations into the same scene and experiment with a darker background pulled from your textures folder. The environment light dims naturally, and the jar shadows deepen. You render a quick medium-quality preview to send off for feedback, then close the file knowing everything is saved ready for the next session. No crashes, no lost work — the app just hums along on the Intel Mac running macOS 11, waiting for the next idea.
Yes, Adobe states it continues to receive technical and security updates, with version 4.1.7 patching the latest vulnerabilities.
You can import standard 3D files and also search Adobe Stock for models already optimised for Dimension's lighting and material system.






Chat 0
Hop in or make an account to join the chat.
Quiet in here so far. If you have used this build, tell me what the install actually did.