
 YTD Video Downloader PRO
 SiteSucker Pro
 PullTube
 Musify
 iTubeGo
 iDownerGo
 HarborDrop
 Folx Pro


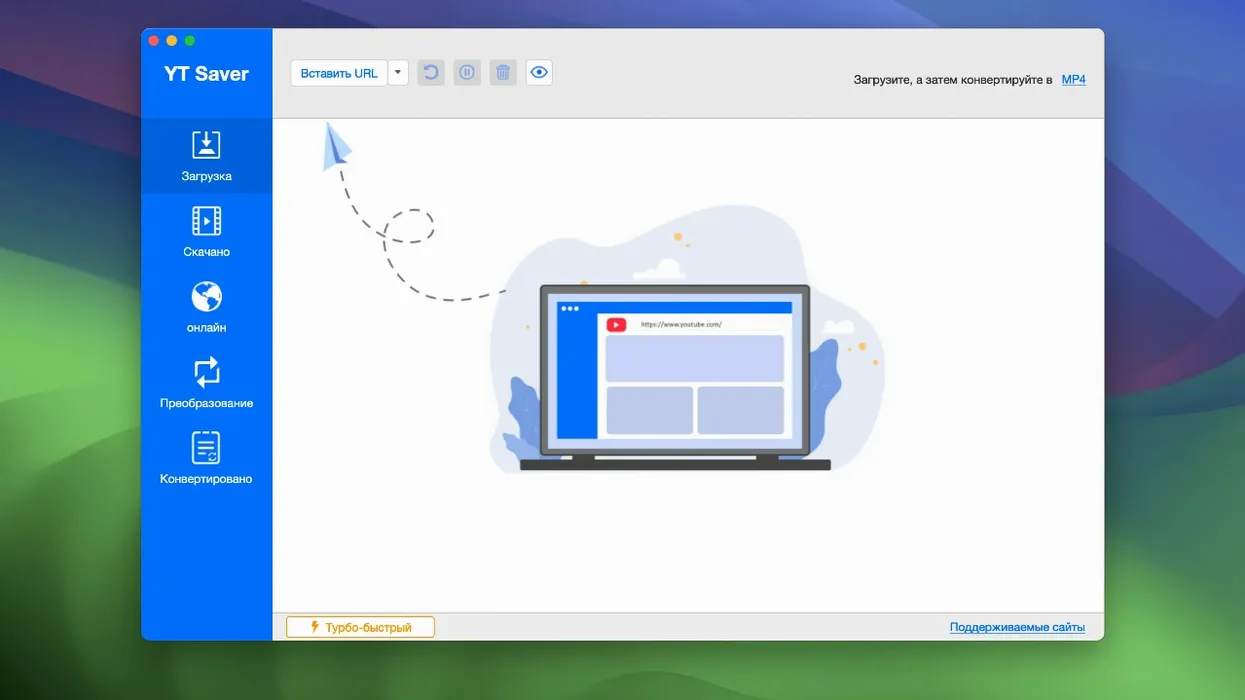
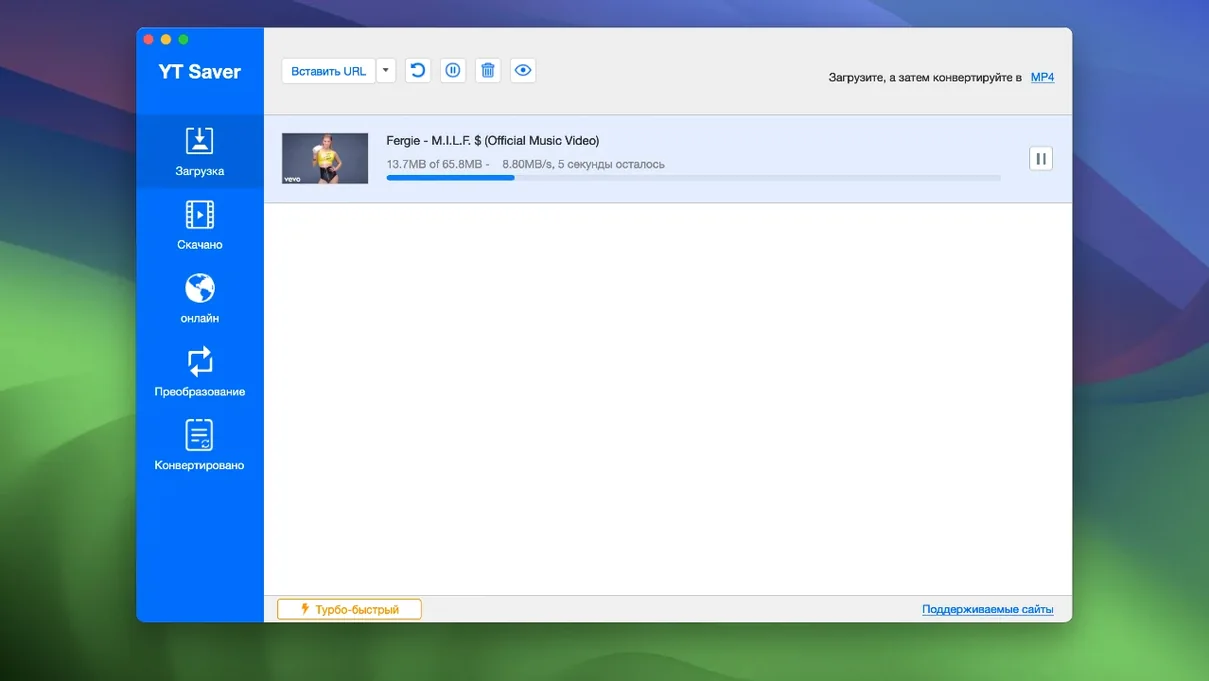
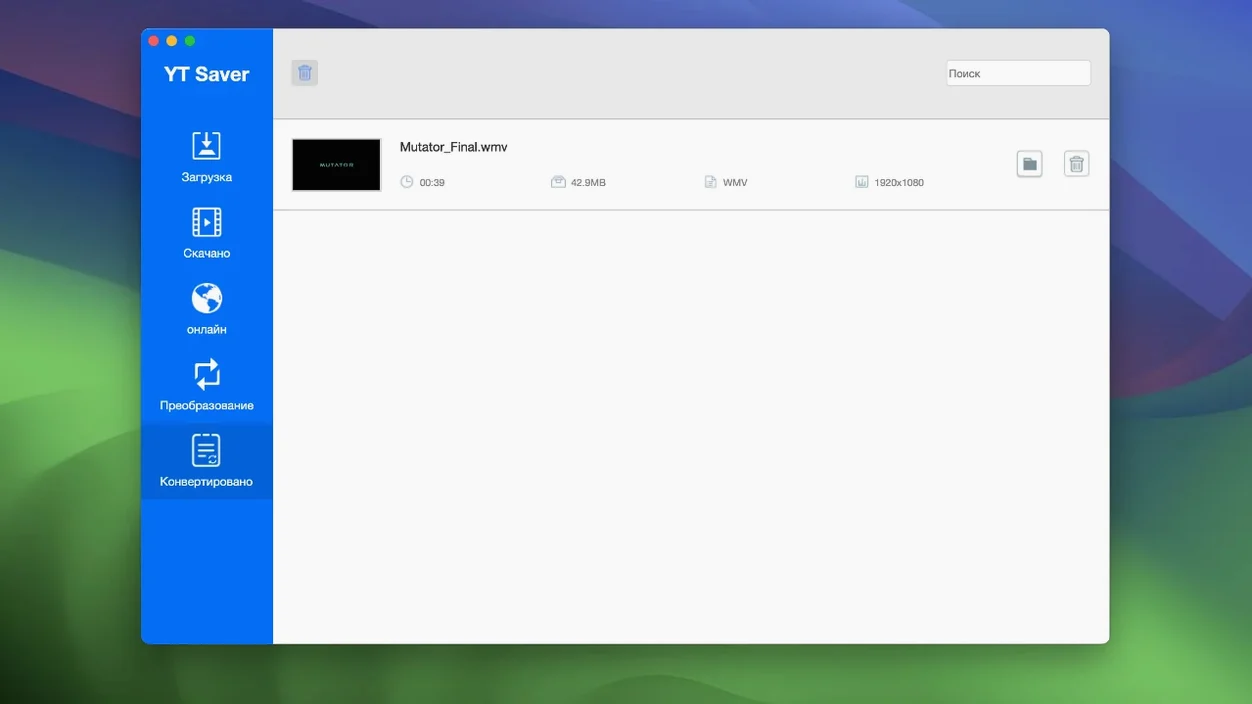
Built-in browser detection is what sets the pace here. Instead of copying and pasting links, you browse to the video and tap the floating download button. YT Saver pulls the file at a higher speed than standard browser saving, then hands you the format options. It works across more than 10,000 websites, not only the big video platforms.
Before your first download, jump into preferences and switch on private mode. The app creates a password-protected folder so saved videos stay separate from your regular files. It is a small step that keeps things tidy from the start, especially on a shared Mac.
Choose video or audio, then pick a format that matches where you will play it. Video exports cover MP4, MOV, MKV, HEVC MP4 and device-ready profiles for iPhone, iPad and Android. On the audio side, M4A and FLAC sit alongside WAV, OGG and AAC. The input list is just as broad — it reads FLAC, WAV, APE, OPUS, WEBM and more, so you can convert existing files too.
Let the built-in browser do the heavy lifting. Open it straight after install and bookmark two or three sites you visit regularly. That tiny habit saves you from bouncing between Safari and the app while you figure out your routine.
Test the download speed with a short clip first — something under two minutes. Once you see how quickly yt saver mac pulls the file, you will have a better sense of pacing for larger playlists. Queue a couple of videos at once early on. The simultaneous download feature handles it without slowing your Mac to a crawl, and it teaches you how the progress panel behaves when multiple files land at the same time.
After your first batch, open the output folder and play one file in QuickTime. Check the audio sync and the resolution. If something looks off, you caught it before you built a whole library of duds. Set your default output to MP4 at the highest available quality so you are not adjusting the dropdown every time you grab a clip.
Leaving the private folder toggle off for weeks is a common one. People remember the password-protected folder exists, then forget to switch it on. The moment you download something personal — a family video, a work recording — it sits in plain view. Turn private mode on today, not next month.
Another slip is letting the output format default to something obscure. The app remembers your last choice, and if you converted an audio file to OGG yesterday, your next video download tries to save as audio too. Glance at the format dropdown before hitting the button. It takes a second and prevents a useless file.
Grabbing entire playlists without checking storage is a classic beginner sting. A playlist of 40 music videos at high quality can eat several gigabytes. Open Finder, check your free space, then decide whether you want HEVC MP4 to save room or full-fat MP4 for editing later.
Ignoring the built-in browser and pasting links from Chrome works, but you lose the speed advantage. The in-app browser detects media faster and the download initiates with one tap instead of waiting for a link to resolve. Use it. It is the whole point of the tool.
Say you have a curated playlist of live performances you want on your iPad for a long flight. The source is a streaming site with 25 videos, mix of HD and standard quality. Here is how to move from idea to watching them in airplane mode, start to finish.
Open YT Saver and set your output to iPad under the device presets. The app picks the right resolution and wraps it in an MP4 container your tablet will read without fuss. Switch on private mode if you have not already — concert rips are for you, not the family photo library.
Use the built-in browser to navigate to the playlist page. The app detects the full list and presents a download-all option. Tap it. While the queue processes, watch the progress panel. If one video stalls — a dead link, a geo-blocked clip — the app skips it and moves on. Note which one failed so you can hunt for an alternate source later.
Once all 24 or 25 files land, open the output folder. Select everything, then press Space for Quick Look. Flick through a few clips to confirm the audio is not tinny and the video did not default to a tiny 360p stream. If one file looks rough, delete it and re-grab it individually with the quality set manually higher in the dropdown.
Connect your iPad, drag the folder into the TV app or your preferred video player, and eject. That is the whole move — browse, queue, spot-check, transfer. The entire process for two dozen videos runs under ten minutes on a decent connection.
The key is letting the device preset handle the conversion thinking for you. Beginners waste time picking codecs and resolutions manually, then wonder why the file will not play. The app already knows what an iPad expects. Trust it.
When you download from a site that uses adaptive streaming, the app grabs the audio and video streams separately, then muxes them into one file. That is why the progress bar sometimes hangs at the end for a moment — it is stitching, not stuck. If you want audio only, the yt saver download process skips that step entirely and delivers the extracted track much faster.
Yes, it can download full video and audio playlists from supported sites, not just single clips.
YT Saver needs OS X 10.10 or later and runs on Intel-based Macs.





Chat 0
Hop in or make an account to join the chat.
Quiet in here so far. If you have used this build, tell me what the install actually did.