The Light adjustment layer does its work without touching a single pixel. Exposure, contrast, highlights, shadows — all on one clean slider set, and the original image stays intact underneath. It's the kind of non-destructive editing that makes tweaking a photo feel safe.
Where the tools sit
- Layers and compositing. Stack photos, graphics, text and effects. Blend modes let you mix them without flattening anything.
- Brushes and painting. A huge library ships with the app, and you can build your own. Digital painting, masking, texture work — it all starts here.
- Neural filters. Skin smoothing, style transfers, colourising old photos. They run locally and give you a slider to dial the effect back.
- Graphic design tools. Posters, packaging, banners, web layouts. The type engine and shape tools sit alongside the photo features, so you can combine diagrams, text and images in one canvas.
- Save As preferences. You pick which file formats show up in the Save As and Save a Copy dialogs. Keeps the menu short when you only ever export PNGs and PSDs.
One app, a few different hats
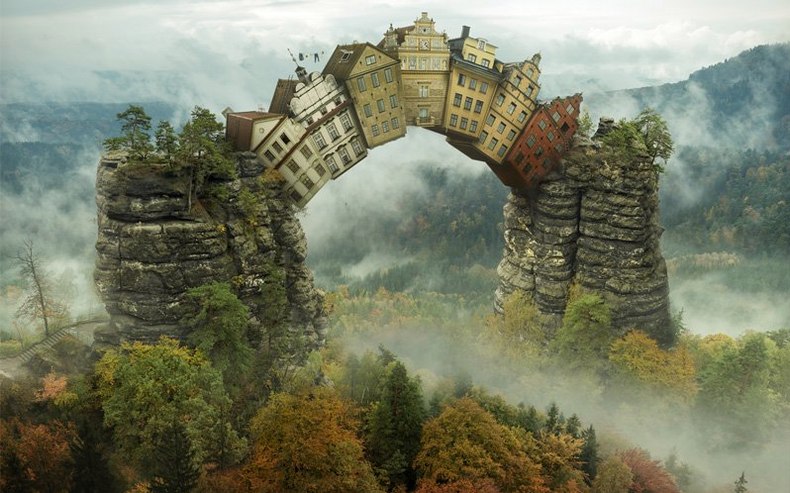
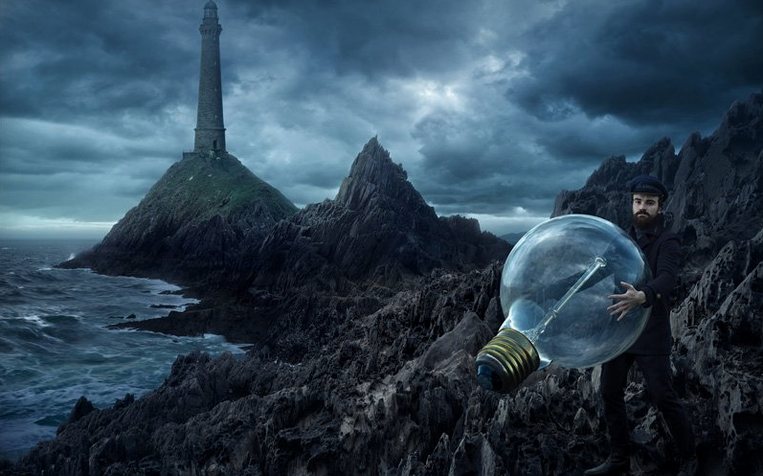
People open Photoshop for photo retouching, sure, but also for compositing, digital painting, frame-by-frame animation and full graphic design layouts. Adobe Stock content is searchable right inside the app, so grabbing a reference image or a texture is quick. It's a workspace that bends to what you're making, whether that's a single-layer crop or a 40-layer composite with smart objects.
Save As only shows a few formats
Photoshop runs deep, and a few rough edges tend to catch people the same way every time. Here's what comes up most and what actually fixes it.
- Save As only shows a handful of formats. Some users see just PSD, TIFF and a couple of others and think the install is broken. It's not — version 27.10 lets you customise which formats appear. Open Preferences, go to File Handling, and under File Saving Options tick the formats you want in the Save As dialog. JPEG, PNG and the rest appear once you enable them there.
- Neural filters stay greyed out. The Neural Filters pack needs to be extracted to the Adobe UXP plugins storage folder manually. If you skipped that step, the filters won't load. Drop the folder in place, restart Photoshop, and they light up.
- Rosetta prompts on Apple Silicon. Adobe's installer sometimes needs Rosetta 2 even on ARM-native builds. If you see a Rosetta prompt, install it, let the process finish, then run the Photoshop installer again. The app itself runs natively on both architectures once installed.
- Scratch disk full on launch. Photoshop grabs a chunk of free disk space as virtual memory the moment it opens. If your main drive is tight, head to Preferences > Scratch Disks and point it to a secondary drive with more room. Restart and the warning usually vanishes.
- Brush lag on large canvases. Smoothing turned up high on a 6000px canvas with a textured brush will stutter on almost any machine. Drop the smoothing percentage, reduce the spacing in the brush tip settings, or flatten a few layers before painting. Performance picks up immediately.
Retouching a portrait: start to finish
Here's a real session flow — the kind of thing you might do with a headshot that needs cleaning up and a mood shift.
- Duplicate the background. Hit Cmd+J straight away. You never work on the original pixel layer.
- Remove spots and stray hairs. Grab the Spot Healing Brush, set it to Content-Aware, and paint over blemishes with short strokes. For hair across the face, switch to the Clone Stamp on a new empty layer with Sample set to Current & Below.
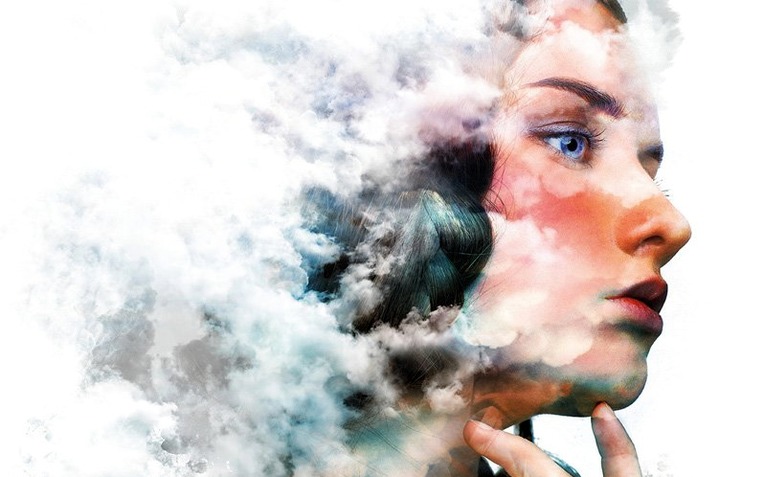
- Dodge and burn on a grey layer. Create a new layer, fill it with 50% grey, set the blend mode to Soft Light. Paint with a soft white brush at 10% flow to brighten eyes and cheekbones, black to deepen shadows. It's subtle and completely non-destructive.
- Light adjustment layer. Add the Light adjustment layer introduced in version 27.10. Drop the shadows slider slightly to recover detail in dark hair, lift highlights a touch for skin glow. Because it's a layer, you can mask it away from the background if needed.
- Colour grade with a Curves layer. A gentle S-curve for contrast, then nudge the red channel up in the midtones for warmth. Mask it lightly off the teeth if they go pink.
- Sharpen for output. Stamp a merged copy to the top with Cmd+Shift+Alt+E, then run Filter > Sharpen > Smart Sharpen at about 0.8px radius. Mask to keep sharpening on eyes, brows, lips and hair only — leave skin soft.
- Export. File > Save a Copy, pick JPEG, sRGB profile, quality around 10.
M-series Mac launches in four seconds
On an M-series Mac with 16GB of RAM, Photoshop 27.10 launches cold in about four seconds. Files under 200MB open almost instantly. Large composites with 30-plus layers and smart objects keep the fans quiet; the app threads nicely across performance and efficiency cores.
Scratch disk use is the main thing that slows it down. Photoshop leans on fast storage heavily — an external SSD over Thunderbolt works much better than a spinning drive. RAM allocation defaults to 70% of available memory, which is fine for most workflows. Bumping it higher helps if you regularly stitch panoramas or run batch actions on folders of raw files.
Stability is solid. Crashes are rare in daily photo and design work, though pushing the AI Assisted editor with complex prompts while other neural filters are loaded can occasionally hang the interface. A quick restart clears it. The app autosaves recovery files by default, so losing work takes effort.
Painting on the wrong layer
New users tend to stumble in predictable ways. These are the ones that cause the most head-scratching in the first month.
- Painting on the wrong layer. It's the classic. You spend ten minutes dodging and burning only to realise you painted on the background copy, not the grey overlay. Name your layers and check which one is highlighted before every brush stroke.
- Using the eraser instead of a mask. The Eraser tool destroys pixels. A layer mask hides them without deleting anything. Once you burn a hole in a layer, there's no getting the original back unless you undo twenty steps. Mask, always.
- Ignoring colour profiles. Editing in an uncalibrated monitor with the wrong profile assigned produces images that look great on your screen and terrible everywhere else. Set your working space to sRGB for web output, Adobe RGB for print, and embed the profile on export.
- Maxing out the resolution too early. New users often set the canvas to 600 DPI for a social media graphic. That creates huge files that crawl on older machines. 72 DPI is fine for screens; 300 DPI is for print. Match the resolution to the destination and save yourself the performance hit.
- Skipping the Neural Filters pack install. The download includes a separate filters pack that needs manual placement in the Adobe UXP plugins folder. Plenty of people assume the filters are built in, find them missing, and think the feature is broken. Extract the folder and they appear.

 Adobe Media Encoder
 Adobe Premiere Pro
 Adobe Lightroom Classic
 Adobe InDesign
 Adobe Substance 3D Painter
 Adobe XD
 Adobe Illustrator
 Adobe Dreamweaver





Chat 0
Hop in or make an account to join the chat.
Quiet in here so far. If you have used this build, tell me what the install actually did.