
Download ScreenFlow for macOS
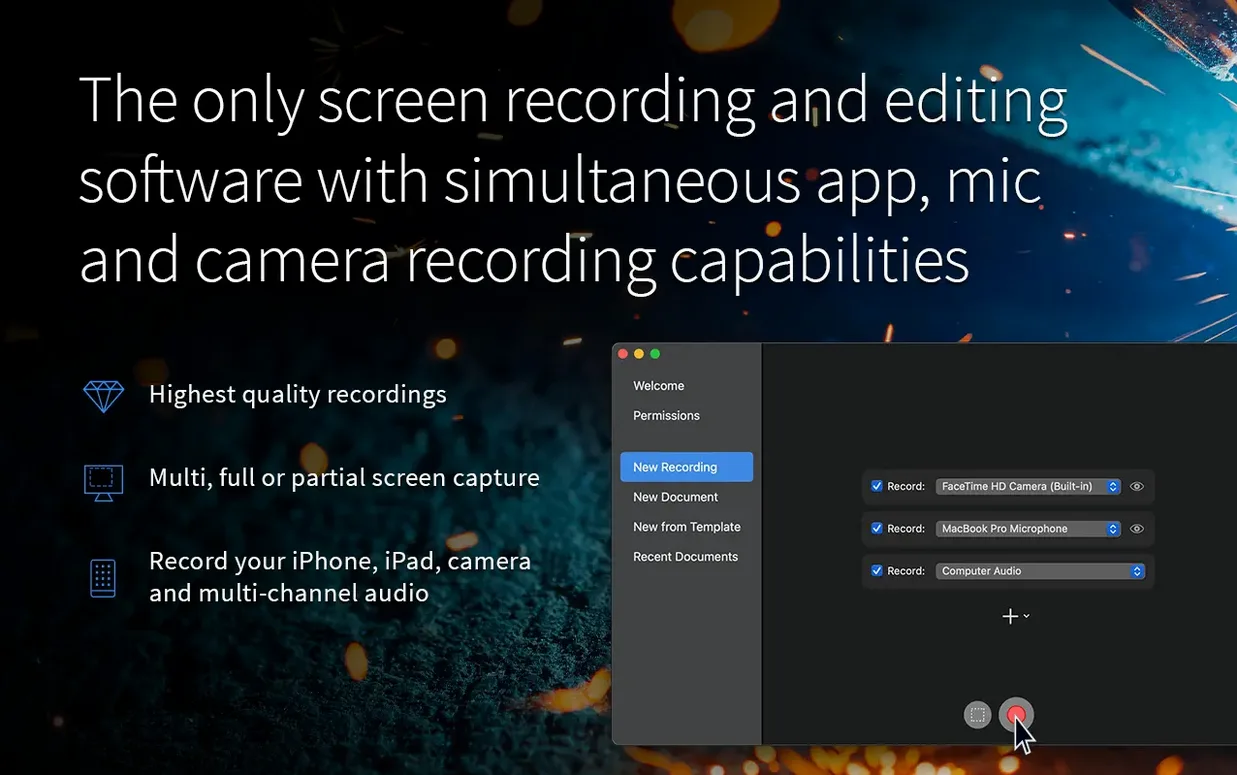
You're about to record a software walkthrough, grabbing your screen, voiceover and a face-camera feed all at once. ScreenFlow handles that without breaking stride — but first, let's see if your Mac's on the list.
Mac-only, needs Catalina or newer
ScreenFlow asks for macOS 10.15 or later, and it runs natively on both Intel and Apple Silicon hardware. No Windows version exists and there's no workaround — it's a Mac app through and through. The interface ships in English, German, Spanish, French and Japanese. Version 10.5.2 arrived in February 2026 with a fix for a crash on macOS 26.2 and up, plus a patch for certain Chroma Key exports that were misbehaving.
Multi-source capture plus built-in editor
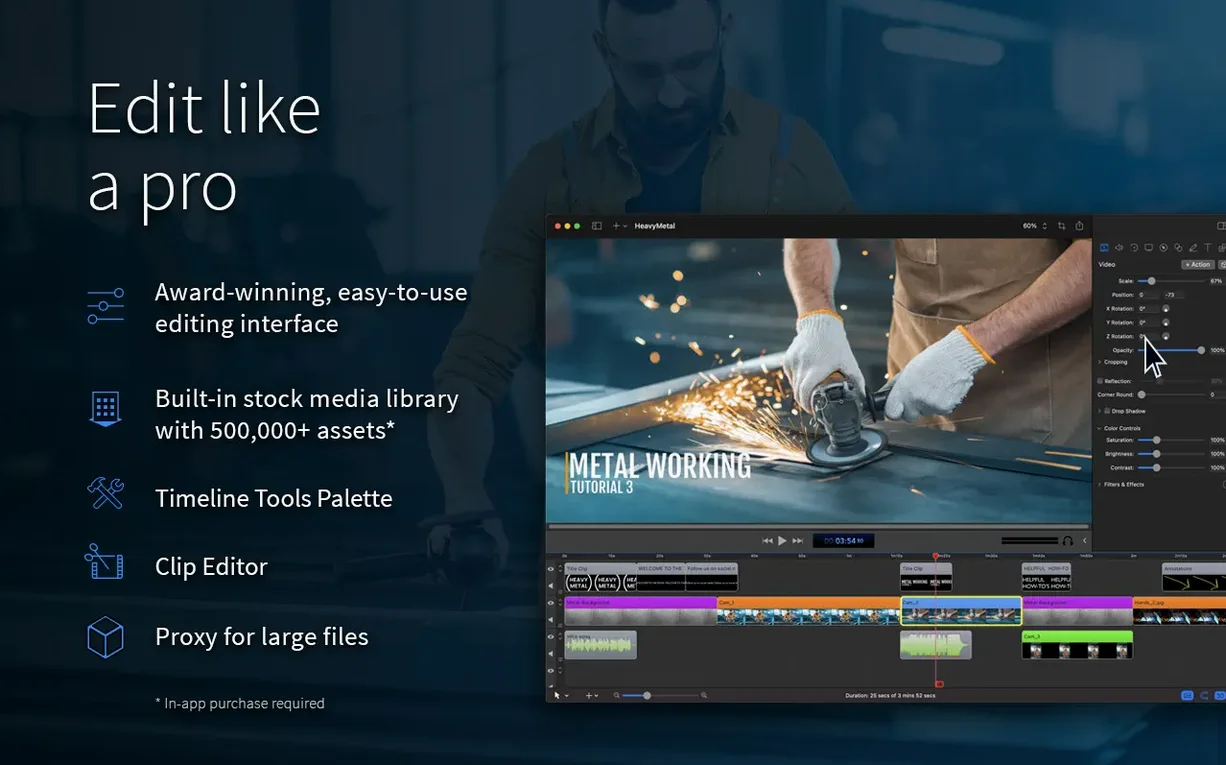
Recording is the headline: you can pull in your screen, camera video, iPhone or iPad capture, microphone, multichannel audio and computer audio simultaneously. Editing tools sit right inside the same window — trim clips, add callouts and annotations, drop in subtitles, dial up zoom and pan effects, or punch out a background with chroma key. Exports land as ProRes or MP4 when you're done. The timeline handles images, text, audio and other video files without sending you to another app.
Leaving sources merged into one track
Most fumbles happen in the first hour. Here's what to watch for.
- Recording everything on one track. ScreenFlow can capture screen, camera and mic as separate sources, but if you leave the default settings and hit record, you might end up with a baked-in mix that's harder to edit. Check the recording setup panel before you start — split things out early and you'll thank yourself later.
- Ignoring the canvas size. Newcomers often record a 4K retina display and then wonder why the timeline feels sluggish. Set your recording area to the actual resolution you plan to deliver. Dragging a full-screen capture into a 1080p project just means extra cropping work.
- Forgetting to choose an audio input. It sounds obvious, but plenty of first-timers launch the app, record a ten-minute tutorial and only then realise the mic was set to the MacBook's internal array instead of their USB mic. Double-check the dropdown before you commit to a long take.
- Overloading the timeline with effects before trimming. Adding zooms, callouts and transitions to rough footage is a recipe for frustration. Rough-cut your clips first, then layer in the polish.
Workflow: recording a software demo with voiceover and camera
Let's walk through a common task — a three-minute feature demo destined for YouTube. You want screen capture, voiceover through a Yeti mic, and a small face-camera overlay in the corner.
- Set your sources. Open the recording setup window. Tick "Record Screen" and choose the app window you'll demo. Tick "Record Camera" and pick your webcam. Under audio, select your USB mic and tick "Record Computer Audio" so system sounds come through.
- Check your levels. Speak a few lines and watch the meter. Aim for peaks around -12dB. Adjust mic gain before you start — fixing clipped audio in post is a headache nobody needs.
- Record in passes if it helps. You can pause mid-recording and resume. Some people prefer recording the screen action first, then adding voiceover on a second pass. Both work; the timeline handles multiple takes gracefully.
- Trim the fat. Drag the start and end handles on your clips to cut dead air and awkward pauses. Use the blade tool to split sections you want to move or delete.
- Add the camera overlay. Drag the camera clip above the screen clip in the timeline. Resize it in the canvas and tuck it into a corner. A soft drop shadow from the properties panel helps it feel intentional rather than pasted on.
- Layer annotations. Drop callouts on key buttons, add a text title at the start, and nudge the opacity so they don't shout over your voice. Keep them on separate tracks for easy tweaking later.
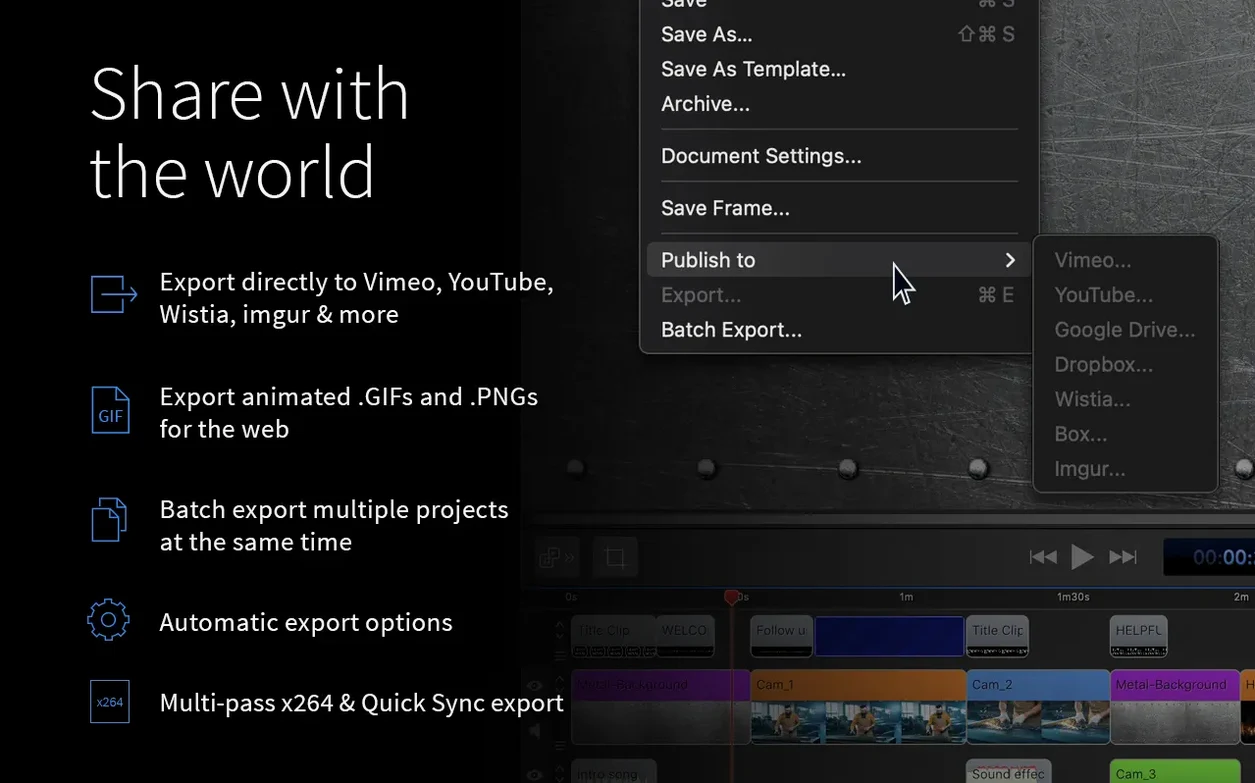
- Export for YouTube. Choose MP4 with the H.264 preset. ScreenFlow's built-in sharing panel can send it directly to YouTube if you've connected your account, or you can save locally and upload yourself.
Performance gap between Intel and Apple Silicon
Does it need a beefy Mac? It runs on anything from a MacBook Air up, but timeline responsiveness improves with more RAM. Apple Silicon machines handle exports noticeably faster, especially with ProRes. Intel Macs still work fine — just budget a little extra render time.
Can I edit recordings from other apps? Yes. Drag in MP4s, MOVs, audio files and images from anywhere. ScreenFlow's timeline plays nicely with footage shot on phones, cameras or other screen recorders. You're not locked into using only recordings made inside the app.
What about the Mac App Store version? The app exists in both places. The version here comes from a direct download, so Gatekeeper needs a quick bypass during setup — the installer walks you through it.
Will it slow down while recording? Recording itself is light on resources. The heavy lifting happens during export. If your Mac can play a YouTube video smoothly, it can record a screen. People searching for a screenflow free download often wonder about performance on older hardware — version 10.5.2 handles it well on anything meeting the macOS 10.15 baseline.
Recording and editing in one app, unlike OBS
ScreenFlow versus OBS Studio. OBS is free, open-source and brilliant for live streaming, but its editing features are nonexistent — you'll need a separate video editor to trim and polish recordings. ScreenFlow bundles both sides into one app. If you're doing live broadcasts, OBS wins. If you're producing polished tutorials or demos, ScreenFlow saves you the round-trip between apps.
ScreenFlow versus Camtasia. Camtasia is the closest rival, also combining recording and editing. Feature-wise they're neck and neck: both handle multi-source capture, annotations, transitions and chroma key. ScreenFlow's timeline feels snappier on Mac — Camtasia carries some cross-platform baggage that occasionally shows in interface responsiveness. When someone searches for a screenflow mac torrent, they're often weighing exactly this comparison. Both apps are strong; the choice often comes down to which timeline clicks with your brain.
ScreenFlow versus QuickTime Player plus iMovie. This is the zero-cost DIY path: record with QuickTime, edit with iMovie. It works for dead-simple projects. The trade-off is missing simultaneous camera overlay, mouse click visualisation, built-in callouts and audio waveform editing in one place. QuickTime records a flat video file — you lose the multi-track flexibility ScreenFlow gives you from the moment you stop recording.
Pre-patched 10.5.2 crack for Apple Silicon
If you've been hunting for a screenflow mac crack or a screenflow crack that works on Apple Silicon, you'll find version 10.5.2 already patched and ready. Just handle the normal Gatekeeper bypass and you're set. The TNT team handles activation so the app launches without friction on both Intel and M-series Macs.
- Fixed a crash that appeared on macOS 26.2 or later.
- Fixed exports with Chroma Key for certain screen recordings.
- Fixed the manage button under licenses linking to a dead URL.
- macOS 10.15 or later
- Intel or Apple Silicon Mac
Questions I get
Yes, it supports iOS capture so you can record your iPad or iPhone screen directly into a project.
You can export finished videos as ProRes or MP4 files from the built-in editor.
 Screen Studio
 Presentify
 TechSmith Snagit
 Movavi Screen Recorder
 CleanShot X
 Camtasia
Chat 0
Hop in or make an account to join the chat.
Quiet in here so far. If you have used this build, tell me what the install actually did.