
 Canopy
 Capture One
 Carbon Copy Cloner
 Canary Mail
 Camo Studio
 CCleaner Pro
 BuhoCleaner
 BricsCAD


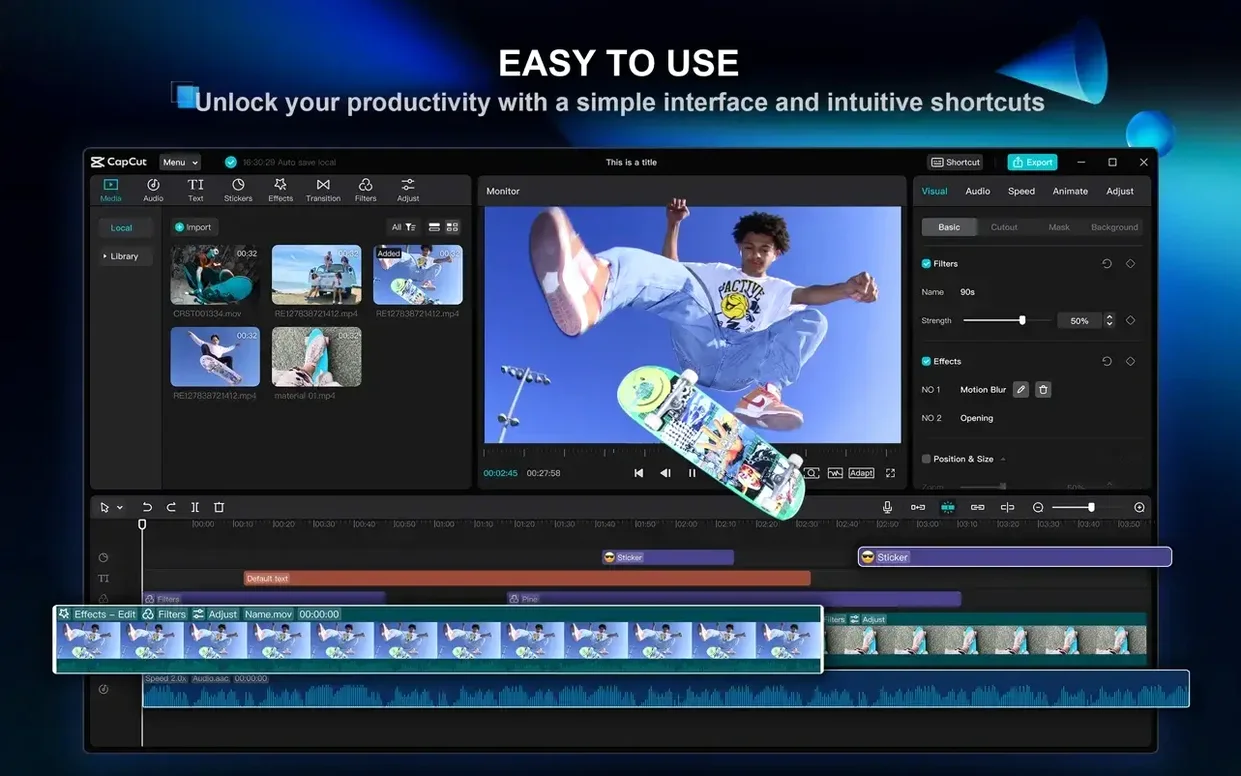
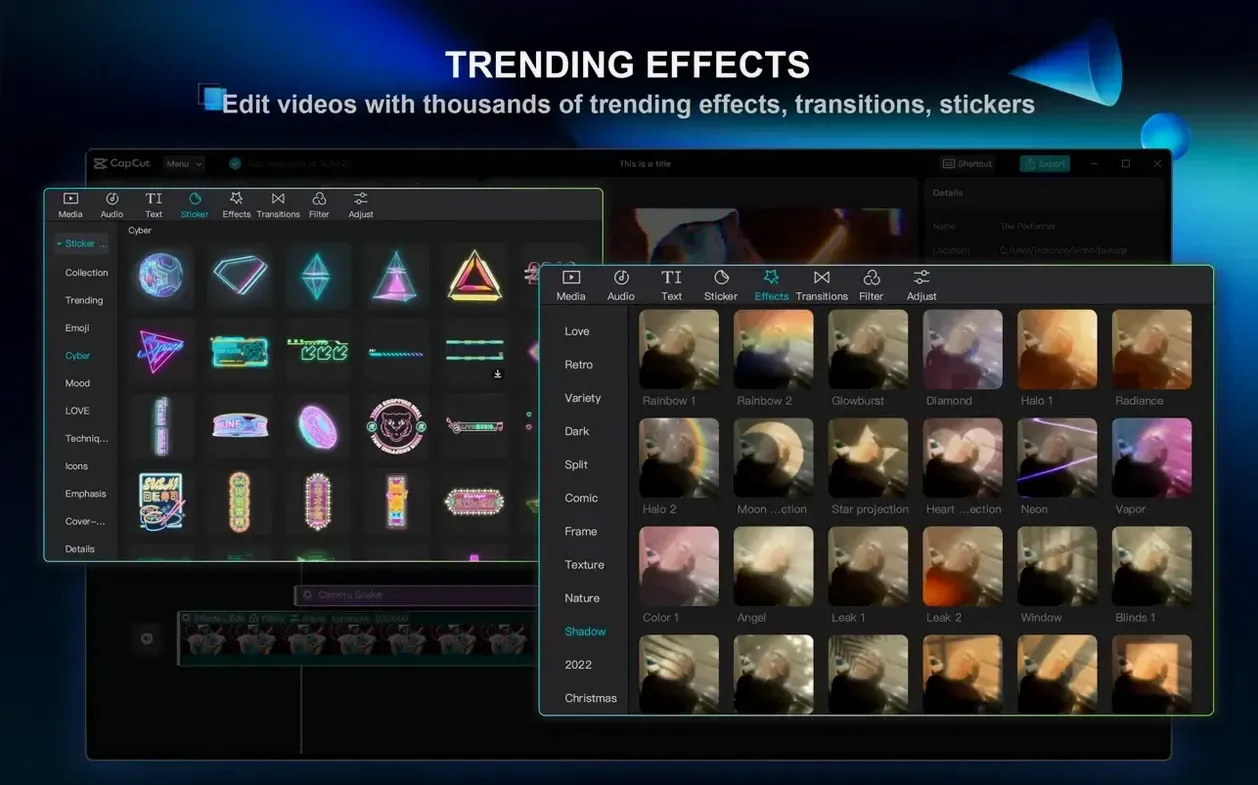
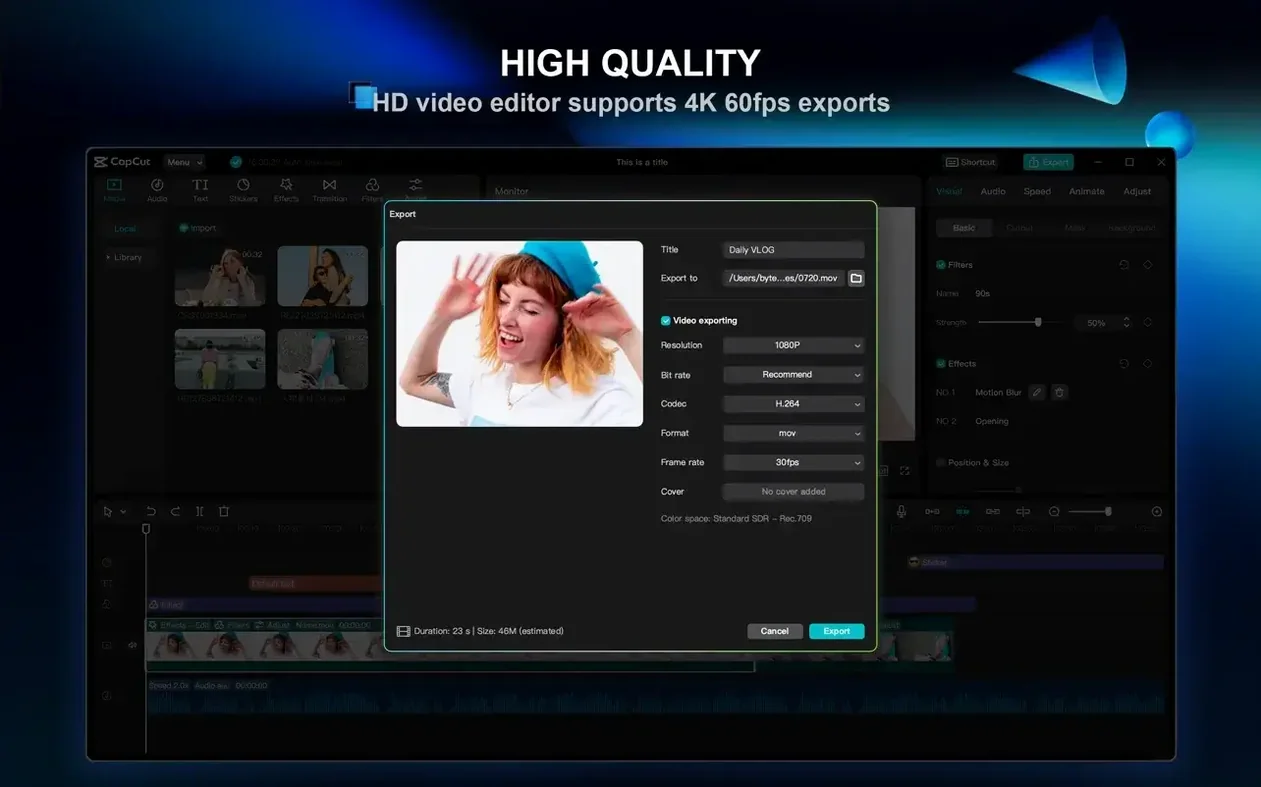
4K at 60 frames per second. That's the export ceiling, and it sets the tone for a desktop editor that doesn't hold back on output quality.
If you're on macOS 10.14 or later, yes. It supports both Apple Silicon and Intel 64-bit Macs, so older and newer machines are covered.
The official recommendation is 4 GB for editing, but 8 GB or more makes the timeline smoother, especially once you layer on effects. It's lightweight enough to launch from a standard laptop.
Chroma key removes a background by colour, stabilisation steadies shaky handheld clips, and the AI can strip filler words and pauses from a podcast in one click. Subtitles appear automatically from speech, no typing needed.
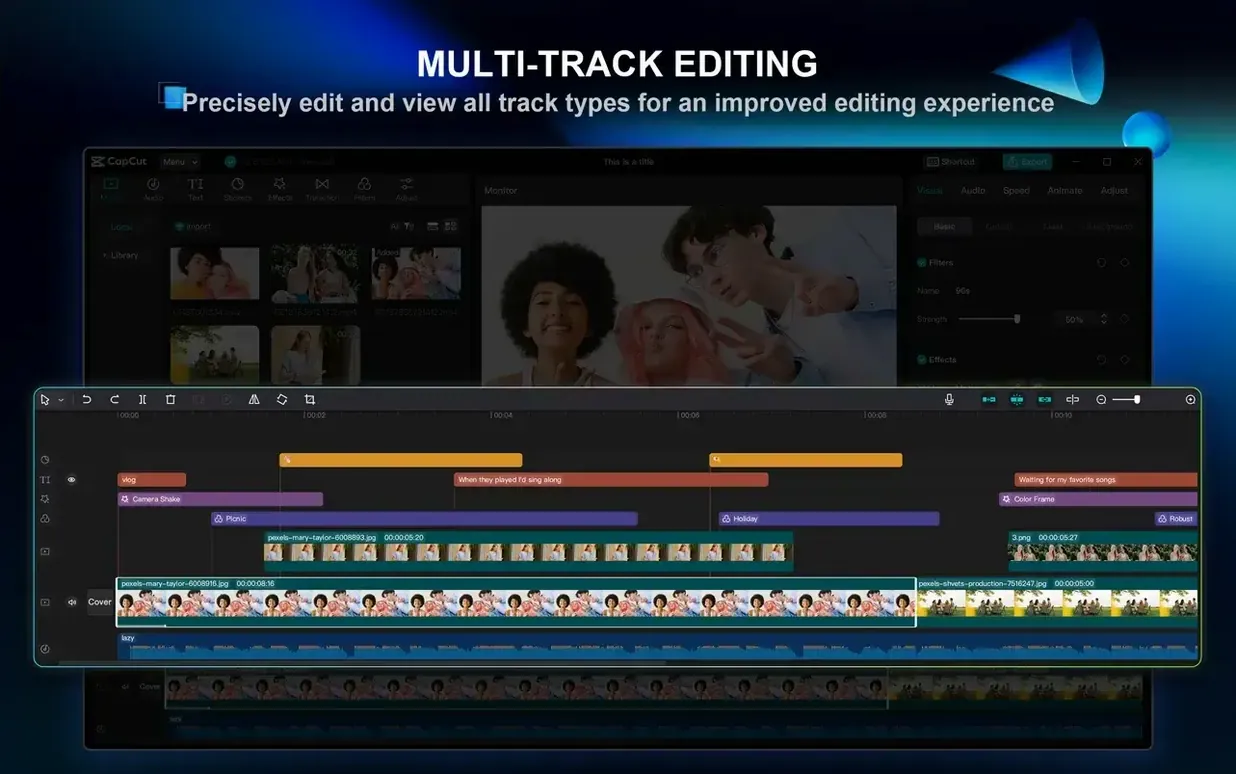
New editors often dump every clip onto one track and wonder why the timeline turns into a traffic jam. CapCut gives you multiple tracks for a reason. Stack video layers, keep audio on its own lane, and your edits stay clean long after the project grows.
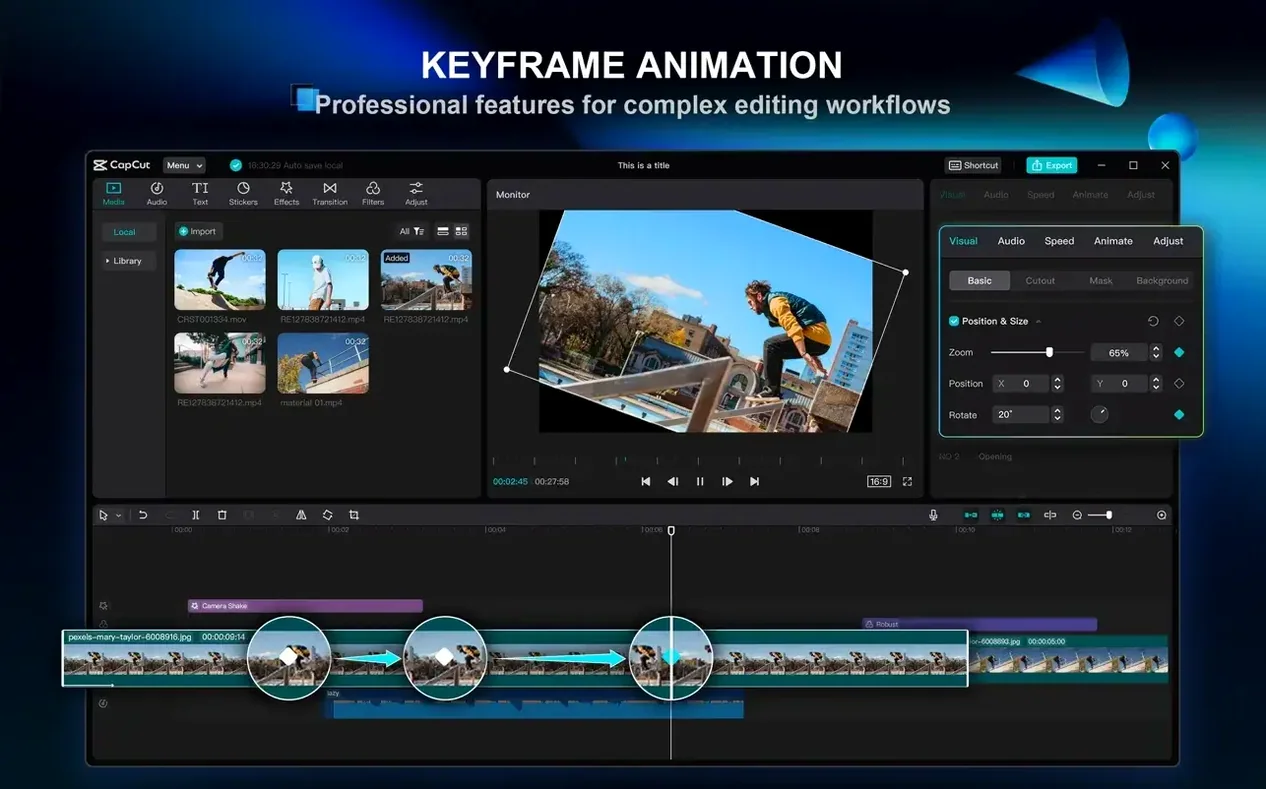
Another common slip is ignoring keyframe controls entirely. A text overlay that drifts across the screen or a slow zoom into a photo feels polished, but beginners tend to place static elements and leave them there. Tap the diamond icon next to any parameter and set at least two points. Movement happens between them.
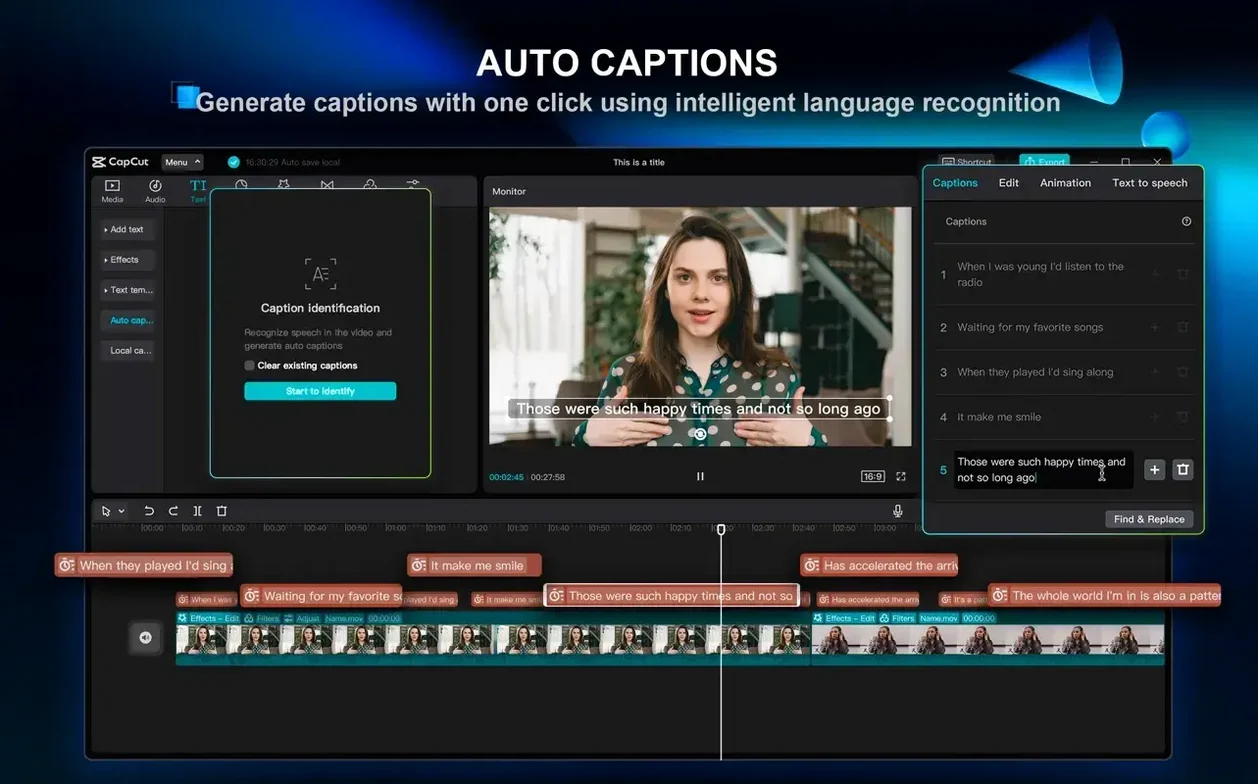
Relying on auto-captions without listening back catches people out too. The speech-to-text engine is quick, but it stumbles on names, slang, or thick accents. A five-minute proofing pass saves you from subtitles that say something you definitely didn't.
Export settings trip up plenty of newcomers. They finish a project, hit export, and don't check the resolution slider. If you shot in 4K but export at 720p by mistake, you've left quality on the table. Glance at the output settings before the final render.
Finally, the built-in music library is generous, but slapping a track under dialogue without adjusting the volume curve makes speech hard to follow. Duck the background audio during talking segments. Your viewers' ears will thank you.
You open CapCut and drop a folder of clips shot on a weekend trip straight into the media bin. Thumbnails populate instantly. You drag the hero shot—a wide pan across a coastline—onto the main track and trim the wobbly start with a quick split.
Next you pull a close-up of coffee being poured onto track two, directly above the first clip. You shrink it with the corner handles so it plays as a picture-in-picture overlay while the coast stays full-screen behind it. A soft border from the effects panel gives it definition.
You notice the handheld footage jitters slightly. Right-click, choose stabilisation, and let it process for a few seconds. The result is smooth enough to keep without cropping too much of the frame.
Now the timeline needs pacing. You tap a transition between the first two clips, pick a cross-dissolve, and shorten its duration to half a second. Anything longer would drag. Between the coffee shot and the next scene you leave a hard cut—no transition at all. It works because the action changes abruptly.
Time for audio. The original clip sound is fine as ambient texture, but you add a royalty-free track from the built-in library underneath. You drag the music volume down until it sits just above a murmur, then use the auto-ducking slider so it dips whenever the voiceover track plays. A short fade-out at the end prevents a harsh stop.
Subtitles come last. You let the AI generate them from your narration track, then scroll through the captions list correcting three words and adjusting the timing on two lines that appear a beat too early. You pick a clean sans-serif style and position the text block in the lower third, safe from any on-screen movement.
Before export you scrub the whole timeline once at full speed. Satisfied, you set the output to 4K at 30 fps, name the file, and render. The whole session took about forty minutes, and nothing felt like a workaround.
Social media editors who publish daily shorts and reels get the most mileage here. The template library means they can drop clips into a pre-timed structure and tweak colours and text in minutes, not hours. Speed matters when you're posting three times a day.
Podcasters and talking-head creators lean heavily on the filler-word removal and auto-captioning. A twenty-minute recording can become a clean, subtitled export before lunch. The silence trimming alone saves a surprising amount of manual cutting.
Designers branching into motion work find the keyframe system approachable. It's visual rather than numeric, so you drag elements on the canvas and the timeline records the movement. There is less graph-editor friction than in heavyweight NLEs, which keeps the learning curve shallow.
Students and hobbyists running older Macs appreciate that CapCut doesn't demand the latest hardware. A 2-core processor and 4 GB of RAM are enough to open a project and make real progress without the fan spinning at takeoff speed.
If your work involves travel vlogs, event recaps, or tutorial content where you need quick chroma key, background removal, and text-to-speech voices in multiple languages, the toolset lines up neatly. The app doesn't bury you in menus; tools sit where you expect them, and the right-click context options cover most needs without hunting through panels.
Good to know: the multi-track layout and shortcut keys feel familiar if you have used other desktop editors, so switching costs stay low.














Chat 0
Hop in or make an account to join the chat.
Quiet in here so far. If you have used this build, tell me what the install actually did.