
 CapCut
 Carbon Copy Cloner
 Canopy
 Canary Mail
 CCleaner Pro
 Camo Studio
 BuhoCleaner
 BricsCAD


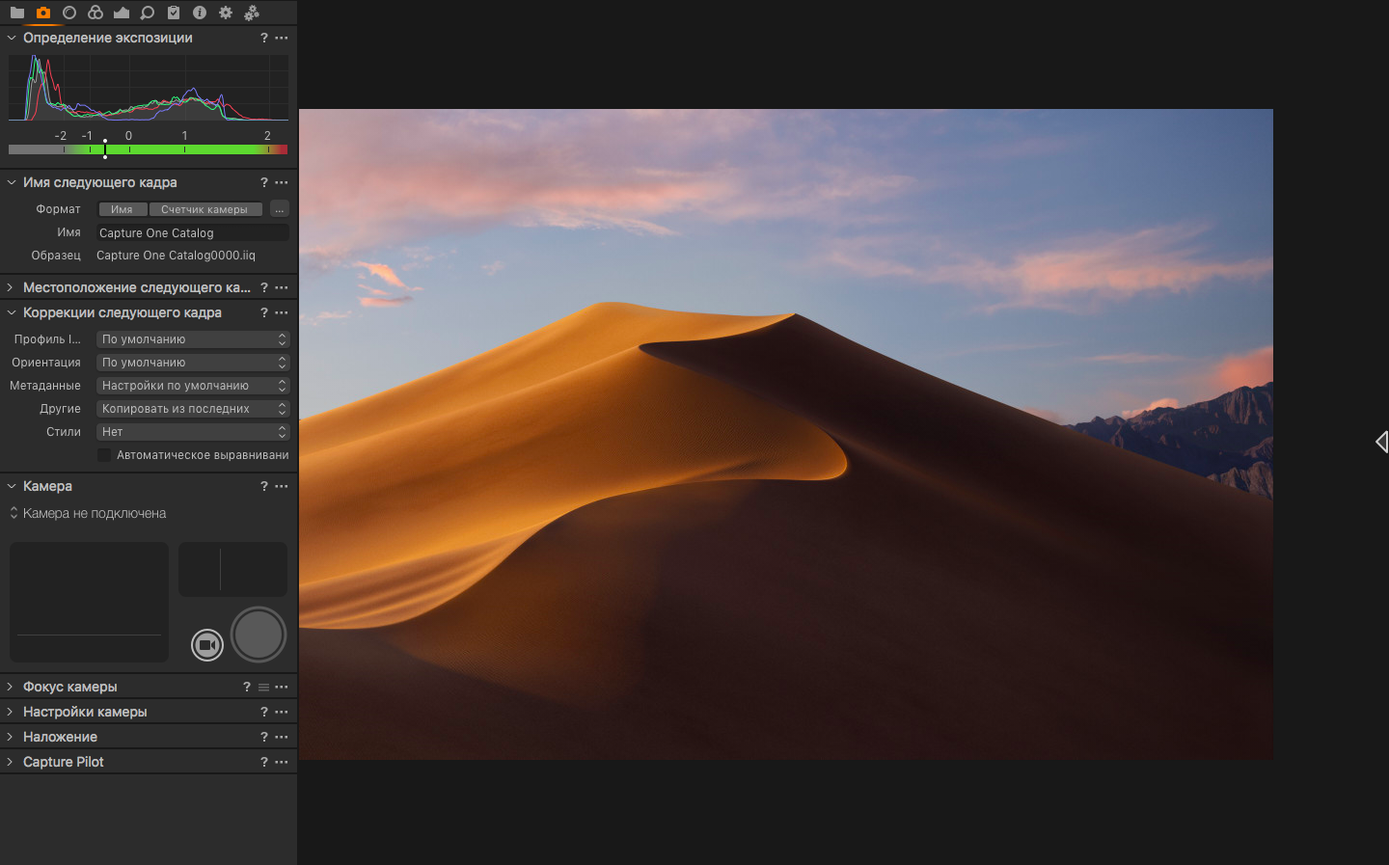
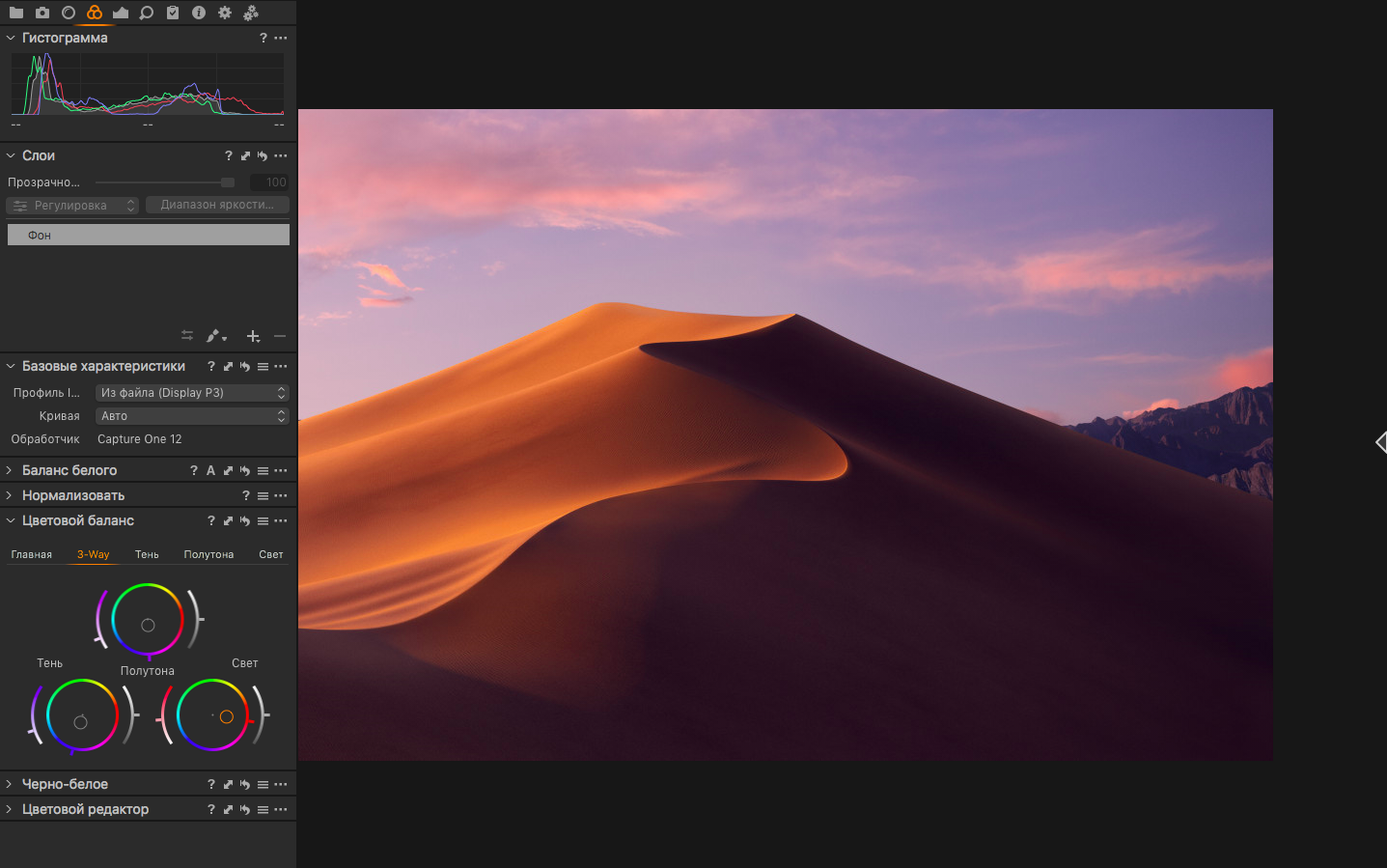
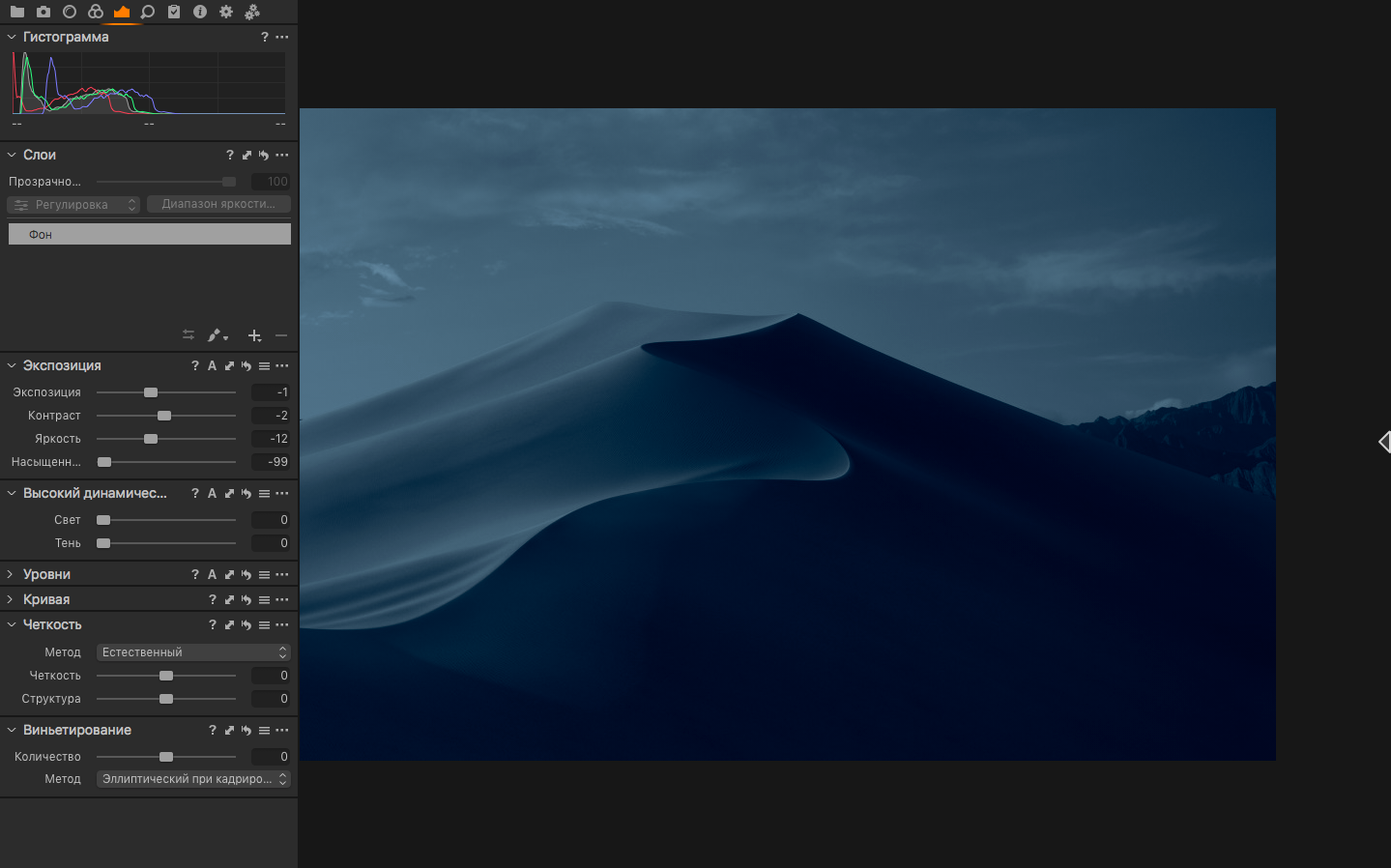
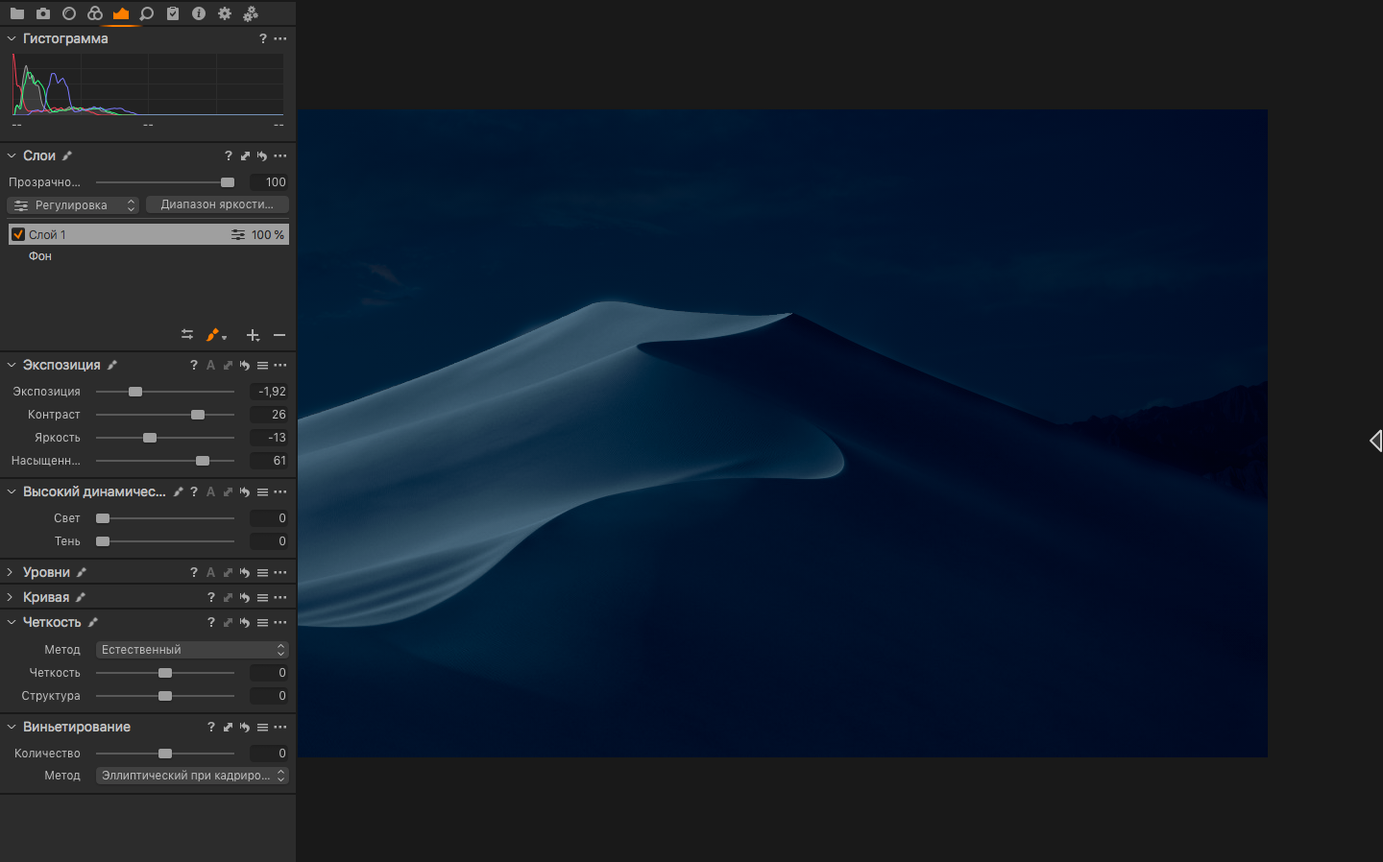
A photographer returns from a shoot with a card full of high-contrast frames — some pushed too bright, others barely holding detail in the shadows. Before any edits land in a layout, those RAW files need a space built for precision, not presets.
Yes. Capture One is built to pull detail back from both overexposed highlights and underexposed shadows, working from the RAW file’s original data rather than a baked-in preview.
Over 500. The RAW engine recognises files from most major brands, so you rarely hit a compatibility wall when importing a new batch.
White balance uses proper colour temperature and tint sliders, and you can create multiple correction variants from a single RAW file — each one starts fresh from the original, not from the last edit.
Few things stall a studio faster than a camera that stops talking to the Mac. First check the cable — a worn USB-C or micro-USB lead is the culprit more often than the software. Swap it for a short, high-quality cable and avoid hubs where possible. In Capture One, open Capture preferences and toggle the Camera panel's priority setting from Speed to Reliability. If you are on a laptop, disable Wi-Fi during tethered sessions; some Canon and Nikon bodies share the same frequency band and interference causes unexpected disconnects.
By default, Capture One generates previews at a resolution that keeps the browser snappy, not at full pixel depth. You can set preview size under Preferences > Image. Crank it to 3840 px or higher if you regularly judge sharpness at fit-screen view. Keep in mind larger previews eat more disk space on your catalog drive, so bump the number only for the current session's folder, not the whole library.
If a TIFF looks desaturated in Preview but rich inside Capture One, the display profile chain is likely to blame. Under View > Proof Profile, pick the output intent you actually use — sRGB for web, Display P3 for Apple screens, or your lab’s ICC profile. Then enable View > Hide Viewer Warnings to stop the soft-proof overlay from masking the shift. On export, double-check the ICC Profile dropdown in the recipe matches what you proofed against.
Large catalogs accumulate orphaned preview files and fragmented databases. Run File > Verify Catalog once a month; it rebuilds the internal structure without touching your images. If the beachball still spins, consider splitting your archive into session-based folders rather than one monolithic catalog. Sessions keep previews and adjustments in a self-contained bundle that loads faster on spinning drives.
Lightroom still holds the upper hand for map-based organisation and the sheer volume of third-party presets. But when you place the two side by side on a calibrated display, Capture One’s default colour rendering feels less baked-in and easier to push around. The Levels and Curves tools offer finer grain than Lightroom’s sliders, and the Luma Range masking gives you control that Lightroom’s luminance mask approximates but never quite matches. Where Lightroom wins back ground is the mobile sync ecosystem; Capture One’s iPad app exists but the desktop-to-cloud bridge is thinner.
DxO PhotoLab leans heavily on lens profiles and automatic corrections — it often nails geometry and vignette removal with one click. Capture One asks you to dial those in manually unless you build a style. The trade-off is flexibility: a tilt-shift lens or a vintage adapted prime gets no help from DxO’s database, while Capture One treats every lens the same way. PhotoLab’s DeepPRIME noise reduction was the benchmark for years, but the enhanced denoise that arrived in Capture One 16.8 closes that gap enough that most editors won’t see a practical difference at ISO 6400 and below.
RawTherapee is open-source and costs nothing, yet it packs a staggering set of demosaicing algorithms and wavelet-based sharpening. It suits the patient tinkerer who enjoys building a processing chain from scratch. Capture One wraps a cleaner interface around fewer but more polished tools. The real gap shows in tethering — RawTherapee simply does not offer it. For a studio photographer who needs live view, overlay, and capture pilot, the choice is already made.
Imagine a fashion e‑commerce shoot with 400 frames to deliver as layered TIFFs by end of day. The steps below assume a tethered session with a Canon body, but the rhythm works for any supported camera.
Good to know: the Assisted Review feature added in 16.8 can pre‑flag images with soft focus or closed eyes, but it works best when you train it on your own reject criteria for at least two sessions before trusting the
Full-size TIFF in RGB or CMYK, plus standard JPG. The interface also supports plug-ins through a developer portal if your pipeline needs a custom step.
Russian, English, German, Spanish, Italian, Simplified Chinese, Korean, Portuguese, Ukrainian, French and Japanese.














Chat 0
Hop in or make an account to join the chat.
Quiet in here so far. If you have used this build, tell me what the install actually did.