
 Default Folder
 Disk Drill
 djay Pro
 DockView
 DCommander
 dBpoweramp Music Converter


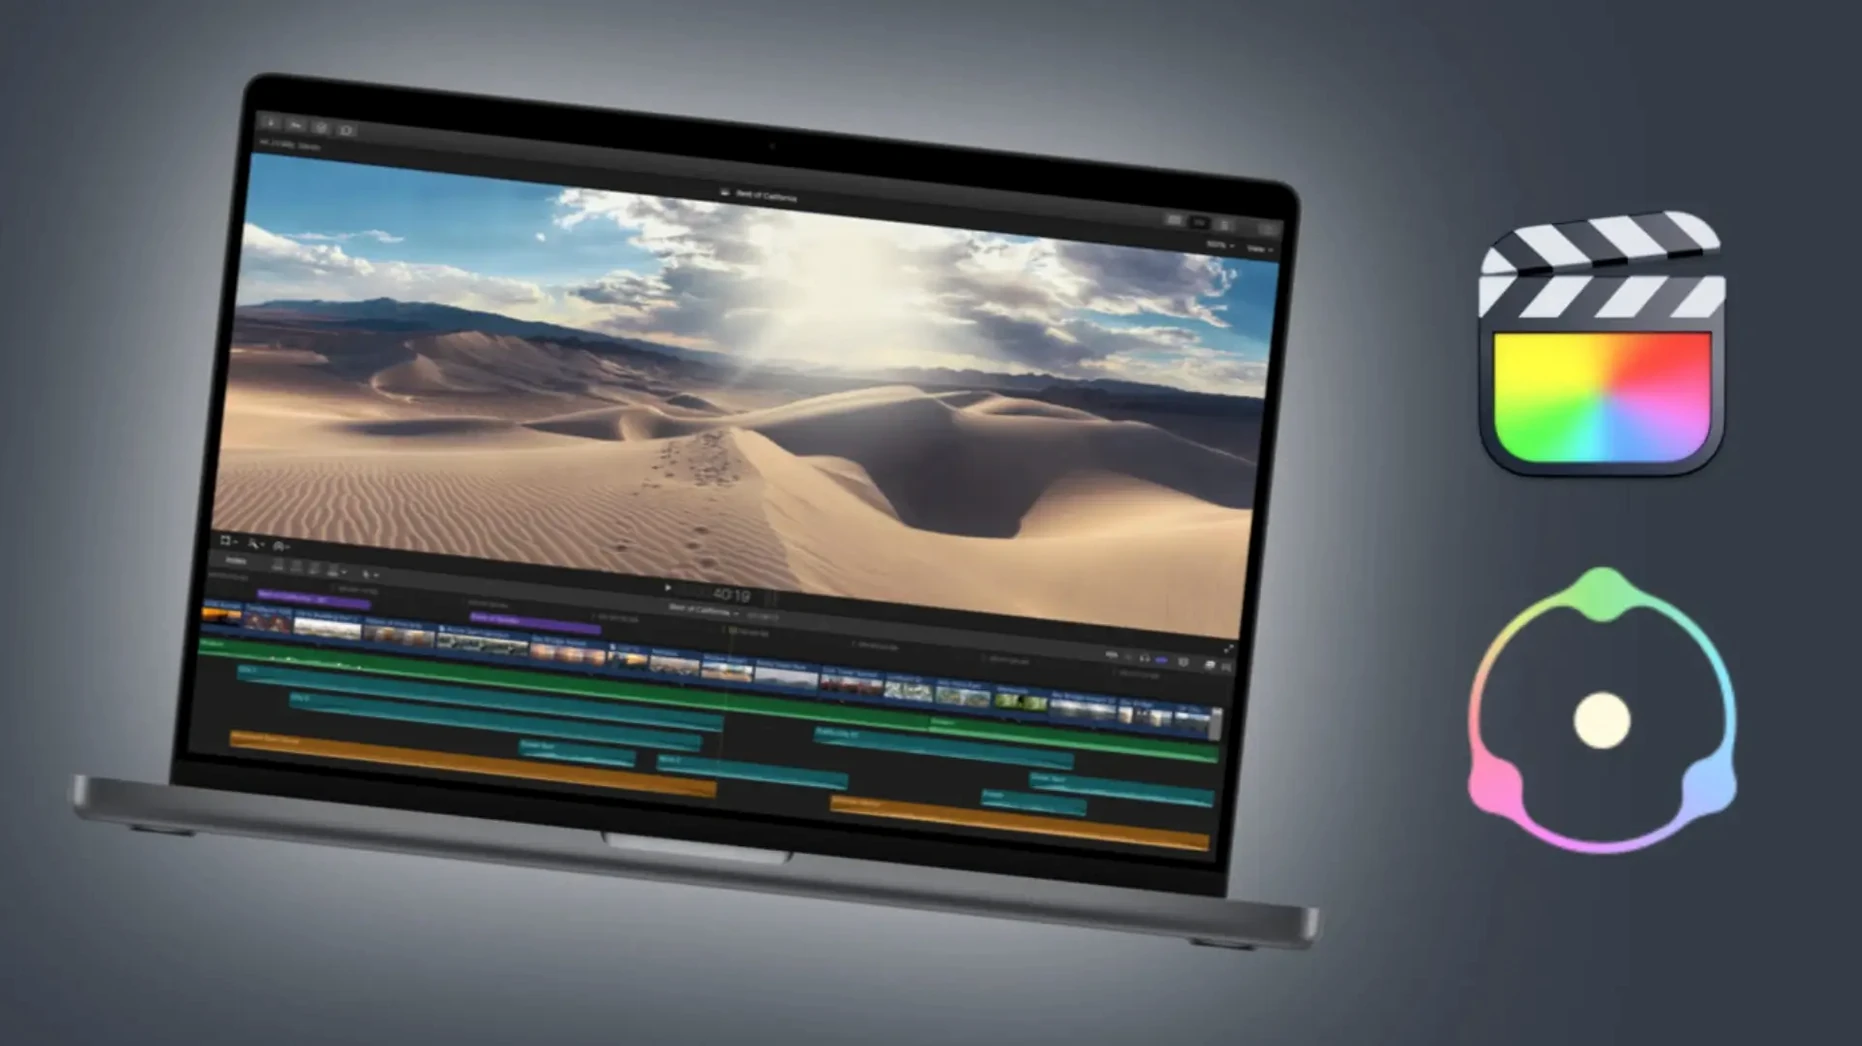
Dehancer Pro is a film emulation plugin that sits on your adjustment layer or clip inside Adobe After Effects and Premiere Pro.
Good for
Keep in mind
Dehancer Pro leans heavily on the GPU, which keeps playback reasonably fluid even with multiple film layers stacked. On an M2 MacBook Air I saw a 1–2 frame drop scrubbing 4K ProRes when bloom and halation were both enabled, but nothing that interrupted the grade. The plugin caches intelligently — once a section is rendered in your NLE's timeline, re-triggering it is near-instant.
RAM use stays modest. A single 4K clip with grain, bloom and a print profile added around 400 MB to After Effects' footprint. Stacking multiple instances on adjustment layers pushes that closer to 1.2 GB, which is still manageable on 16 GB machines. The real bottleneck is the grain engine — heavy grain settings on 6K or 8K timelines will spike render times noticeably. For offline edits or preview drafts, dropping grain resolution to 50% keeps things snappy without losing the texture's character.
Stability in 7.3.4 feels solid. I threw twenty clips at it in Premiere Pro, each with its own Dehancer instance and a mix of film stocks, and it didn't crash once during a two-hour session. The plugin also handles host sleep well — waking a Mac mid-timeline didn't produce any render glitches, which older builds occasionally did.
Yes. The build is universal, so it runs without Rosetta on M1, M2 and M3 chips. Intel Macs are supported too, all the way back to macOS 11.
You can install the plugin for multiple hosts from one package. The installer places the right components for After Effects, Premiere Pro, DaVinci Resolve and Final Cut Pro. You pick which hosts to enable during setup.
No. Dehancer Pro lives inside a host application. You need at least one compatible NLE or compositing tool to run it.
Noticeably heavier than bloom or halation. A five-minute 4K timeline with subtle 35mm grain added about 40% to my usual h.264 export time. For quick turnovers, dial grain resolution down or render it separately and bake it in later.
Yes. You can generate a LUT from your current Dehancer node setup, which is useful for on-set monitors, dailies colour or passing a look to an editor who doesn't own the plugin.
Dehancer Pro slots into a colour pipeline without forcing you to abandon your usual scopes and wheels. In Resolve, it sits as an OFX plugin on a node — you can place it before or after your primary balance, and the built-in camera profiles help neutralise sensor quirks before the film stock touches the image. I often run a technical LUT on node 1, Dehancer on node 3, and keep node 2 for exposure tweaks. That way the film profile sees a clean, balanced signal.
In After Effects, stacking Dehancer on an adjustment layer above pre-composed scenes gives you a unified film treatment without baking it into individual elements. Motion graphics artists who want grain and halation on titles but not on backgrounds can split Dehancer across two instances with different settings — something the plugin handles gracefully thanks to its per-effect masking support.
It also plays well with macOS colour management. The plugin respects the display colour profile set in System Settings, so what you see grading on a MacBook Pro's XDR screen translates predictably to a calibrated external monitor. If you use Sidecar with an iPad as a secondary display, the viewer updates correctly — no colour shift or black-level mismatch.
For photographers who occasionally dip into video, Dehancer can be used inside Premiere Pro or After Effects on still image sequences. The same film stock settings you enjoy in a photo workflow carry across, making it easier to match a short film's grade to a companion stills series.
Colourists building show LUTs. If you need one plugin that handles the entire film look — stock, print, grain, halation and damage — Dehancer replaces three or four separate effects. The LUT generator turns a node tree into a portable .cube file in seconds.
Documentary editors with mixed camera sources. The camera profiles are the unsung hero here. Dropping Sony, Canon and drone footage onto a timeline and running each through its matching profile before a shared film stock gives the whole edit a cohesive texture without per-clip grading marathons.
Motion designers who want subtle texture. Grain and bloom on title cards or end crawls make typography feel grounded. Using a light 16mm stock with minimal damage adds warmth without distracting from clean vector shapes.
Indie filmmakers grading their own projects. If you don't have a dedicated colourist but want a look beyond a basic LUT pack, Dehancer gives you the same tools a post house uses, in a single effect you can tweak while watching the image. The learning curve is gentle — pick a stock, adjust exposure, dial grain to taste, and you're already close.
Users who just need a quick contrast boost or a simple S-curve won't see the value. Dehancer shines when you care about the specifics: which print film handles highlights smoothly, how much halation feels period-correct, whether the grain pattern reads as Super 16 or 35mm.
It works as a plugin for Adobe After Effects and Adobe Premiere Pro on Apple Silicon and Intel Macs running macOS 11 or later.














Chat 0
Hop in or make an account to join the chat.
Quiet in here so far. If you have used this build, tell me what the install actually did.