
 Wondershare Recoverit
 Wirecast Pro
 Wondershare UniConverter
 Wipr
Wipr Workspaces
 WinZip Mac Pro
 Winclone Pro
 WiFi Explorer Pro 3


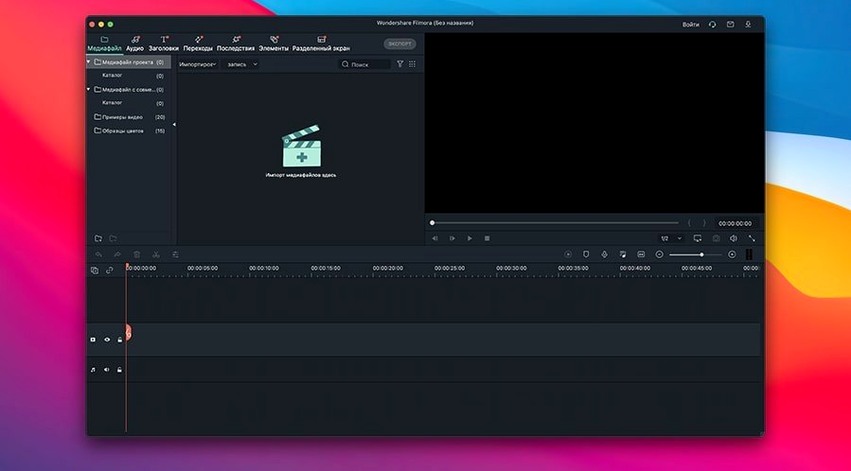
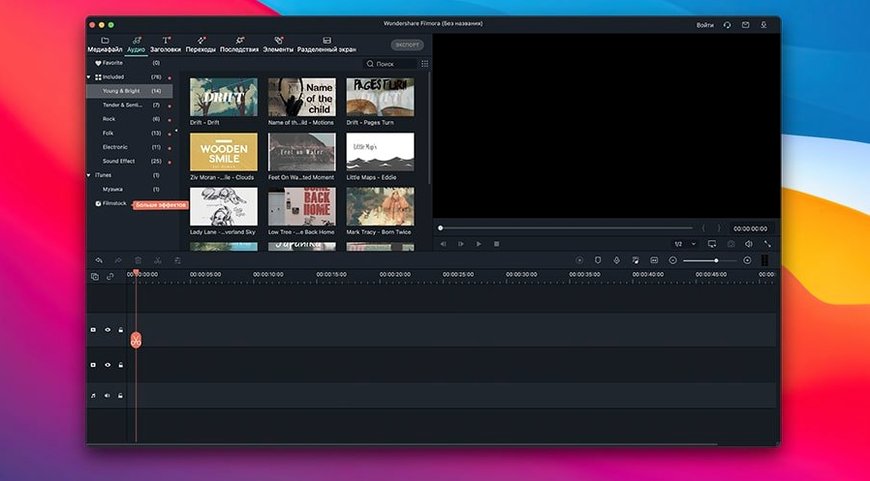
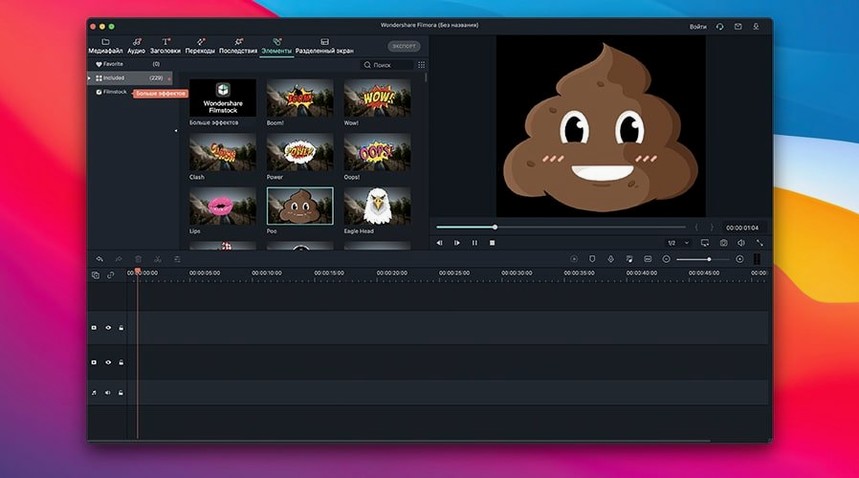
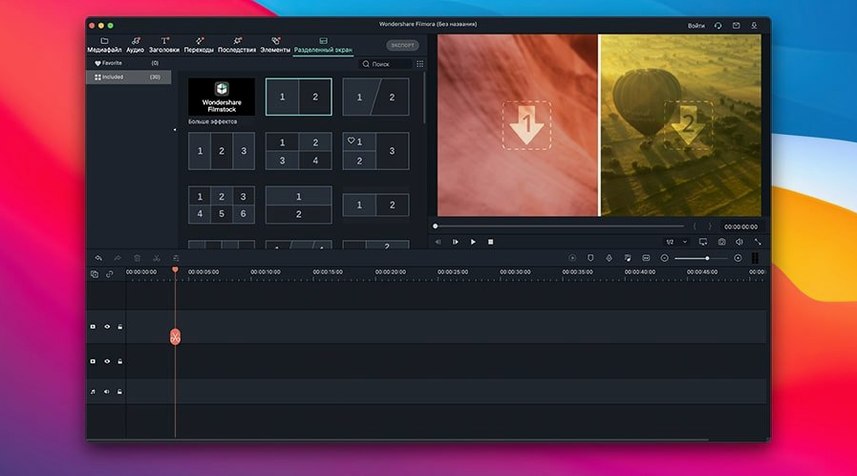
Filmora runs on macOS 10.14 and later, with native support for Apple M1 through to M4 chips.
Timeline — the classic strip-based editor where you trim, split and layer clips without hunting through menus.
Text engine — a built-in toolkit for titles, lower thirds and subtitles; pick a style, type your words, drop it on the track.
AI Denoise — a clean-up pass that quietens grainy footage, refined in the 14.8 cycle.
NewBlueFX — a third-party effects bundle that now plays more smoothly on Mac thanks to the recent optimisation pass.
Export — dial in your format, name the file and write it straight to your Mac; no cloud detours.
The interface speaks Russian, German, French, Japanese and several other languages. Under the hood, the same trimmer, splitter and layered timeline that editors know, with extras like AI Denoise and NewBlueFX tuned a little tighter.
Out of the box, Filmora makes a few assumptions that slow down a daily workflow. Two small tweaks in Preferences fix the most common friction points.
Open Filmora > Settings (macOS menu bar) and head to the Performance tab. Tick Enable GPU Acceleration if your Mac has a discrete graphics card or an Apple Silicon chip. It takes one click and cuts export times noticeably, especially with HD timelines that carry colour grades or NewBlueFX overlays. While you are there, scrub the Proxy slider to a resolution your machine can play back smoothly — ½ or ¼ is usually enough to keep the preview fluid without touching the final render quality.
Next, visit the Save tab. Filmora defaults to saving projects in a buried user-library folder. Point it at a folder you actually use — a dedicated Filmora projects directory on the desktop or inside a cloud-synced folder — so you can find yesterday’s work without Spotlight. While you are in that tab, switch Auto Save to every 5 minutes. The default 10-minute gap feels generous until you lose a carefully placed subtitle track.
Imagine a fresh morning with a handful of clips from a weekend market shoot. The footage sits in a folder on the desktop: six short MOV files, a few seconds of b-roll, and a 15-second piece that needs a voiceover title.
Drag and build. You pull the first clip straight from Finder onto the timeline. Filmora imports it without a wizard or a separate bin step. Three more clips follow, stacked on the video track in the order they were shot.
Rough cut with the blade. Click the razor tool — or tap Command + B — and snip the long pause at the start of the second clip. Select the unwanted chunk, press Delete. The timeline ripples closed. No gap, no extra step.
Overlay text. Open the Titles tab, browse the lower-thirds until a clean white-on-dark style catches your eye. Drag it onto a new track above the third clip. Double-click the preview window, type the stall-holder’s name, change the font weight to medium. The text snaps into place on playback.
A quick clean-up pass. The b-roll shot of coffee being poured has noticeable grain — low light in the morning stall. Select the clip, open Audio/Video > AI Denoise, tick the checkbox. The preview softens the noise without turning the steam into mush. You leave the strength at the default 50 and move on.
Save and walk away. Hit Command + S. The project file lands in the folder you set during that first preferences tweak. Twenty minutes later you come back, drag in two more clips, and the session picks up exactly where you left it.
Spend the first session with throwaway clips — a phone video, a screen recording, anything you do not mind mangling. The goal is muscle memory, not a finished edit.
Learn the split-and-trim rhythm. Place a clip on the timeline, then try splitting it five ways with Command + B. Drag the edges of each segment inward to trim. Delete the middle chunk. This one exercise teaches you how Filmora handles ripple deletes, clip boundaries and timeline snapping without a manual.
Build a tiny effects preset library. Apply a colour adjustment to a clip — bump the contrast, cool the temperature slightly — then right-click the clip and choose Save as Preset. Name it something plain like “indoor warm light fix.” Do the same with one text style you like. By day three you will have three or four presets that match your shooting conditions, and you will never dial those sliders from scratch again.
Test your export pipeline early. Cut a 30-second sequence on day one, even if it is nonsense. Export it to MP4 (H.264) and play the file in QuickTime. Check the frame rate matches your source footage and the audio is in sync. Finding an export quirk on a test clip is painless; discovering it on a finished 20-minute project is not.
Ignore the advanced panels. The keyframe editor, the audio mixer, the colour wheels — they are all there, but you do not need them on day two. Stick to trimming, text and basic colour correction until the timeline feels boring. Boredom means the basics are automatic, and that is when the deeper tools start making sense.
Some editors look for a quick way to explore the tool before committing to a workflow. If you search for filmora mac torrent, you will find versions floating around that let you poke at the feature set on your own timeline.
The 14.8 cycle did not rewrite the interface, but it tightened a few things that affect daily editing rhythm. The AI Denoise improvement in 14.8.10 means the filter now analyses footage faster on Apple Silicon — what used to take a few seconds of “Processing…” now completes almost instantly on M2 and M3 machines. For anyone mixing phone footage with camera clips, that speed bump turns denoising from a deliberate step into something you apply without hesitation.
The NewBlueFX optimisation in the same release solved a nagging stutter. Older Filmora builds would drop preview frames when stacking multiple NewBlue transitions on a single track. After the optimisation, those effects play back smoothly at half-resolution preview, so you can layer a vignette, a film-grain overlay and a colour wash without rendering a preview file first.
One under-the-radar change: project files saved in 14.8 open faster on relaunch, especially timelines longer than 10 minutes. The difference is subtle — a second or two shaved off the loading spinner — but it makes reopening a project feel like flipping a notebook open rather than waiting for software to wake up.
People hunting for Wondershare Filmora torrent often do it to grab a recent build that includes these under-the-hood fixes without the version lag of older packaged installers.
Filmora hides a handful of time-savers in plain sight. Most users walk past them for weeks.
Delete — the gap closes automatically. No right-click, no “Ripple Delete” menu item. The default behaviour is already ripple mode, so your timeline stays clean without extra clicks.Space to play from the playhead position. Press it again to pause. That sounds obvious, but Filmora also lets you hold Shift + Space to play only the selected clip in isolation — useful when you are tweaking one segment in a crowded timeline.These are not headline features, but they are the difference between editing that feels like driving with the handbrake on and editing that flows. If you downloaded a filmora torrent to try the software, spending ten minutes with this list pays back more than watching tutorial videos.














Chat 0
Hop in or make an account to join the chat.
Quiet in here so far. If you have used this build, tell me what the install actually did.