
 Wondershare Filmora
 Wondershare UniConverter
 Workspaces
 Wirecast Pro
 Wipr
Wipr WinZip Mac Pro
 Winclone Pro
 WiFi Explorer Pro 3


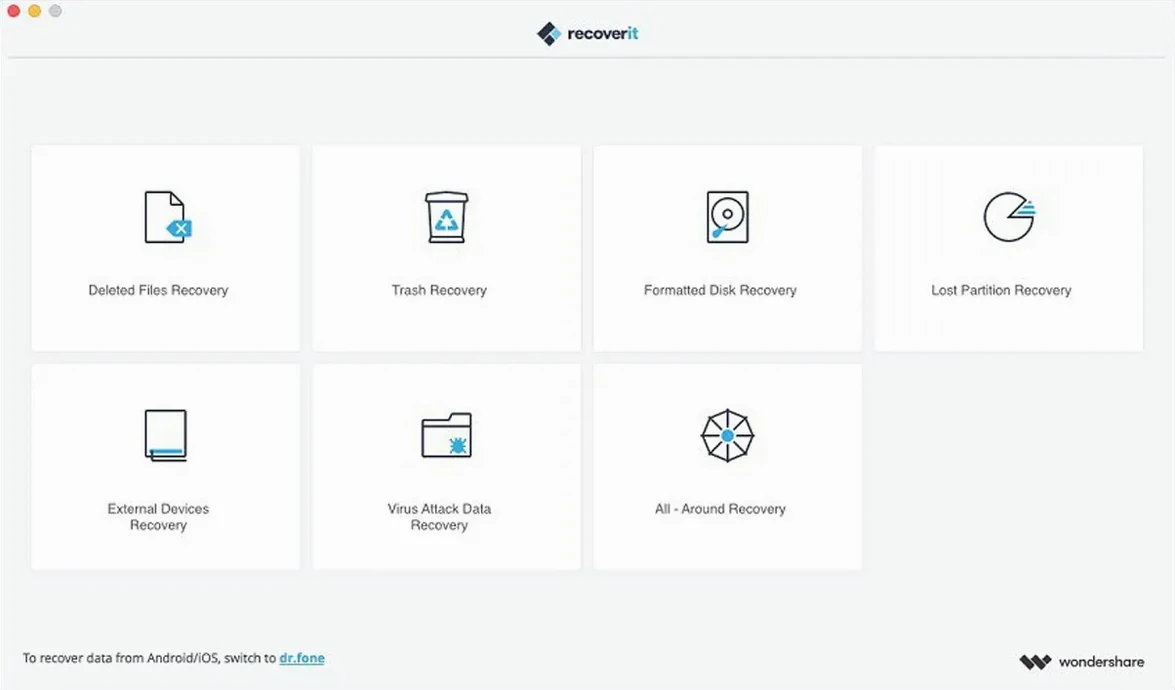
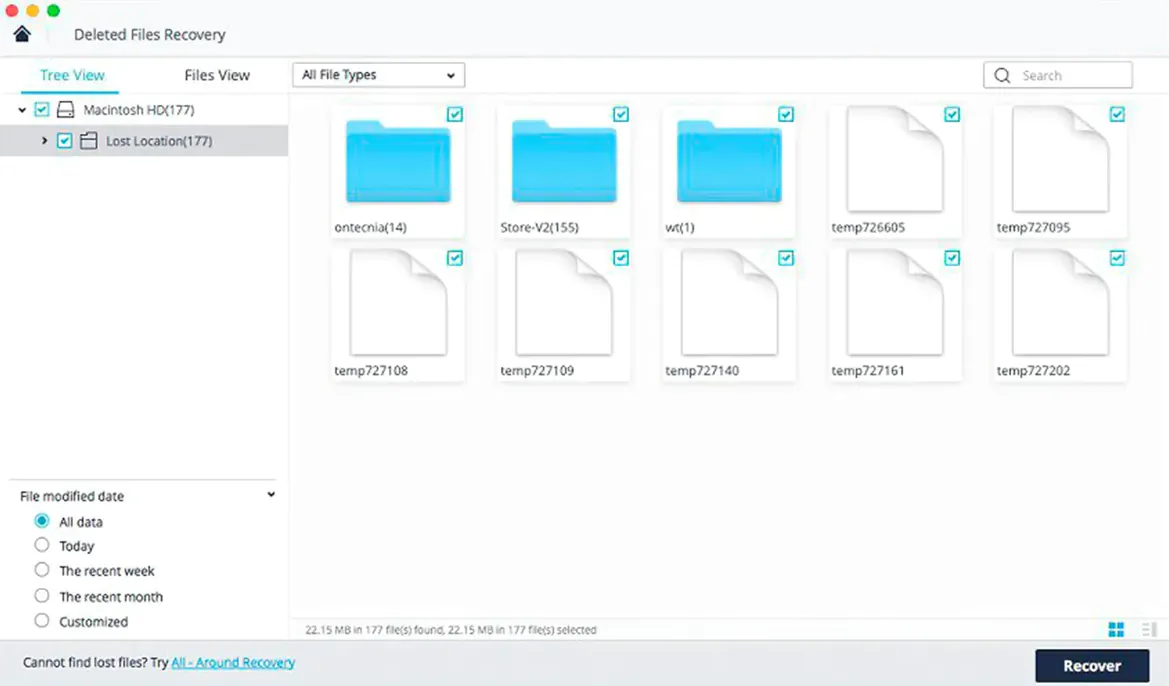
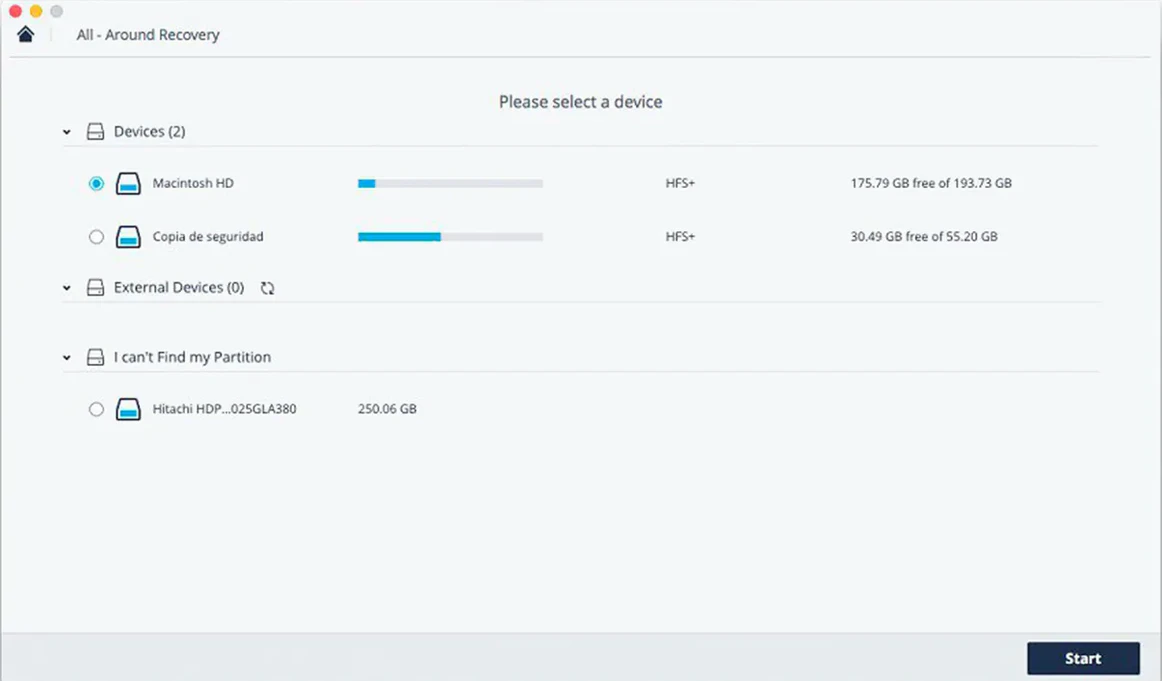
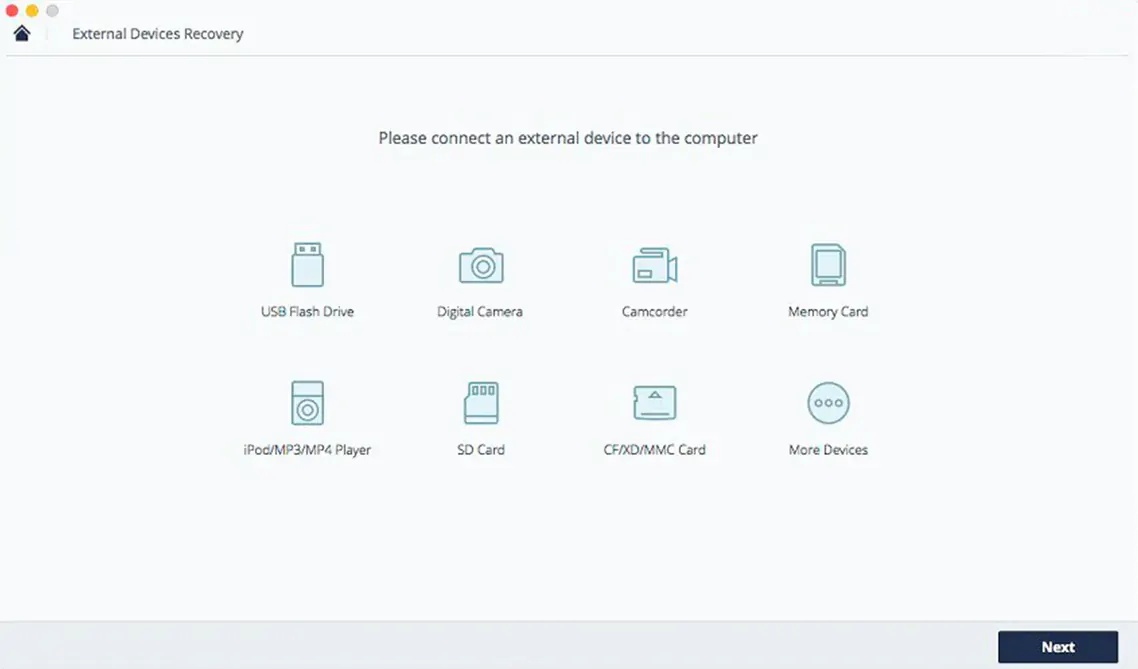
Recoverit is the tool freelancers and small studios reach for when a client drive goes blank or yesterday's photo edit has vanished from a formatted card. It scans your Mac's internal disk or connected storage to pull back files you thought were gone.
Good to know: Stop using a drive the moment you realise files are missing. Any new writes can overwrite what you hope to recover.
Photographers who format a card before offloading a session see the value inside ten minutes. The app reads straight from SD cards and camera storage, and the preview pane lets you check a RAW file is intact before you commit to the full restore. Video editors working with external SSDs fall into the same camp — they tend to lose a single project folder rather than the whole drive, and a targeted scan on one volume feels snappier than crawling the entire disk.
Freelancers juggling client files on cheap USB sticks get a lot of mileage too. Those drives corrupt without warning, and Recoverit often pulls the last saved DOCX or PSD off the stick when Finder shows nothing. People who empty the Trash on muscle memory — designers, mostly — reach for it a few times a year after a late-night cleanup goes too far.
Less obvious: anyone who dual-boots or experiments with partitions on an older Intel Mac. When a Boot Camp resize slips or a partition manager leaves a greyed-out slice in Disk Utility, the app can still see the underlying data and tease out folders that the system treats as gone.
The biggest one is installing Recoverit on the same drive they want to scan. Every write — including the app's own support files — risks stomping on the very data you are chasing. If you only have one internal disk, download the installer on another machine and run the app from an external drive. It sounds fussy, but it matters.
Another classic mistake is stopping the scan too early. The quick pass shows files with intact directory entries, so it finishes fast and looks complete. People see a partial list, assume the missing items are truly gone, and close the window before the deep scan has crawled through raw sectors. Let both passes run. Deleted video and ZIP files often only turn up in the second sweep.
Some users tick every file in the results and hit recover in one go, then wonder why half the filenames are gibberish. A better habit: preview five or six files first, check they open, and restore in small batches to a different physical disk. That way a corrupted header in one recovered MP4 does not tangle the write cache for everything else.
Disk Drill gives you a cleaner, more spacious window and a one-click approach that feels native from the first launch. Its scanning engine is thorough, though on older spinning drives the speed difference is a wash. Where Recoverit pulls ahead is the sheer range of oddball file signatures it recognises — things like EMLX mailboxes and old Flash video containers show up more reliably here than in Disk Drill's default pass.
PhotoRec is free command-line software that runs rings around most paid apps for raw recovery depth. The catch is the interface: there is no preview, no folder tree, and filenames come out as randomised strings. Recoverit sits at the opposite end of the spectrum. You trade the terminal for a visual browser where you can sort by type and watch a thumbnail build before you save the file. If you need one folder back now and you do not want to learn a CLI, the choice is obvious.
EaseUS Data Recovery Wizard for Mac feels similar in layout — left-hand device list, staged scan results, preview on the right. EaseUS tends to be a fraction lighter on CPU during long scans, but Recoverit handles partially overwritten video files with a little more grace. Both apps recover the usual document and photo formats; the difference shows up when you are pulling a half-broken AVI off a formatted SD card and you want to see if the frames are intact before you spend half an hour restoring.
Recoverit works alongside Disk Utility rather than fighting it. When a drive does not mount, a quick First Aid check in Disk Utility can stabilise the volume enough for Recoverit to scan it without mid-scan disconnects. The two tools complement each other: one repairs the container, the other pulls the contents.
After recovery, Preview and Quick Look become your triage station. Recovered files sometimes carry generic icons or no extension at all. Select a batch in Finder, hit Space, and flick through them — you will spot the intact JPEGs from the duds in seconds. For video, dropping the files into VLC is often more forgiving than QuickTime, especially with repaired AVI or FLV containers.
If you run Time Machine alongside manual recovery, there is a neat workflow: restore the folder structure from Time Machine first, then use Recoverit to fill in the files that were created after the last backup snapshot. That way you keep your Finder hierarchy and only pull the missing bits. The app also sits comfortably in a workflow with HFS+ and exFAT volumes used for cross-platform transfers; it reads both without fuss.
The first screen you see is the drive picker, so head to Preferences before you scan anything. Under the general tab, switch the default output location to a folder on an external disk — never the one you are about to scan. It is a one-time change that saves you from a painful misclick later.
In the scan settings, narrow the file-type filter to what you actually lost. Leaving every box ticked makes the deep scan crawl, especially on large HDDs. If you only need Photoshop files and PNGs, deselect video and audio. The scan finishes faster and the results list is easier to browse.
Turn on the preview thumbnail cache if you are working through a large SD card full of mixed media. It builds small thumbnails during the scan so you can visually scan for the right folder even before filenames fully resolve. On older Intel Macs, the setting adds a tiny CPU load but saves you twenty minutes of squinting at generic document icons.
Good to know: A Wondershare Recoverit torrent download that floats around older forums often bundles version 10 or 11. Those builds lack the current deep-scan signatures for APFS volumes, so to run smoothly on macOS Ventura and later you'll want to check that the app has full disk access enabled in System Settings. When a Recoverit torrent pops up in a search, the file list it shows after a scan will miss items the current engine catches — especially on SSDs where TRIM has already started cleanup.
Yes, the app is built to handle partition loss situations and can scan the underlying storage for recoverable data.
The current version officially supports Intel-based Macs running macOS 10.14 or later.














Chat 0
Hop in or make an account to join the chat.
Quiet in here so far. If you have used this build, tell me what the install actually did.