
 Wondershare Recoverit
 Workspaces
 Wondershare Filmora
 Wirecast Pro
 Wipr
Wipr WinZip Mac Pro
 Yoink
Yoink Winclone Pro

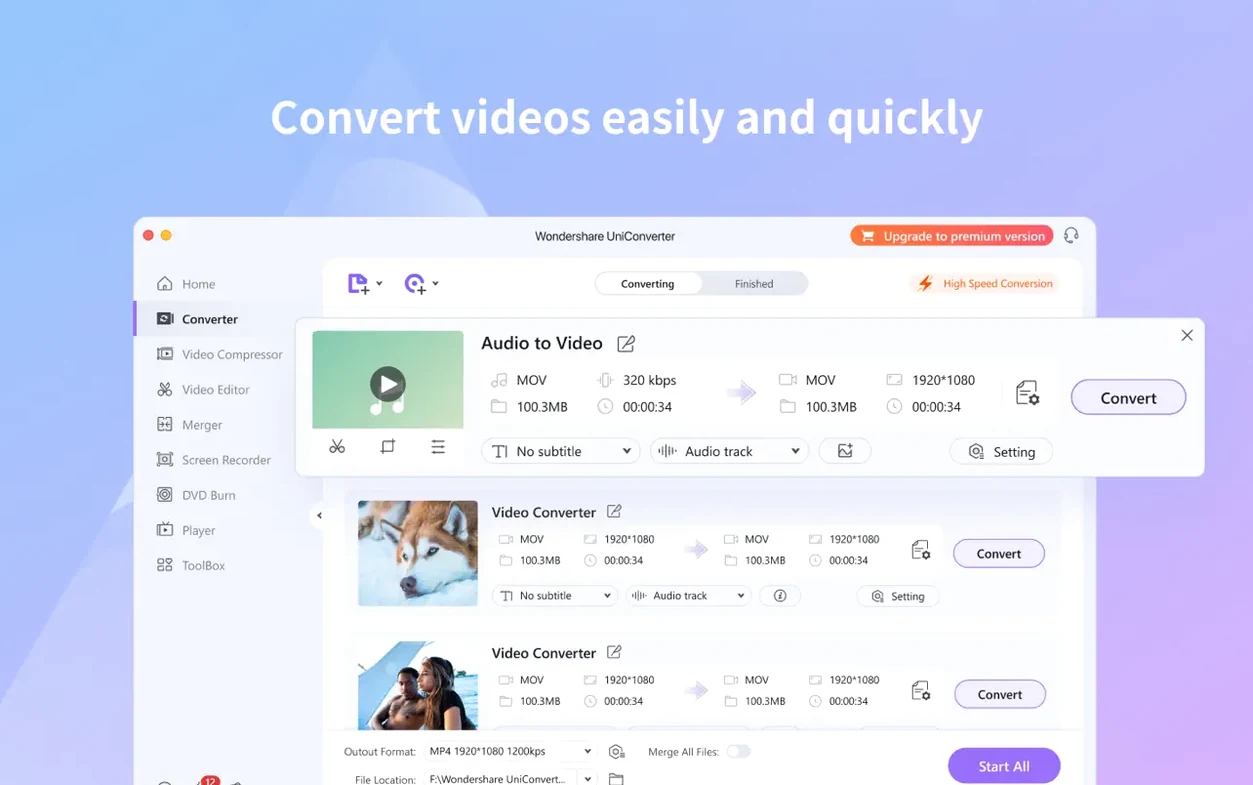
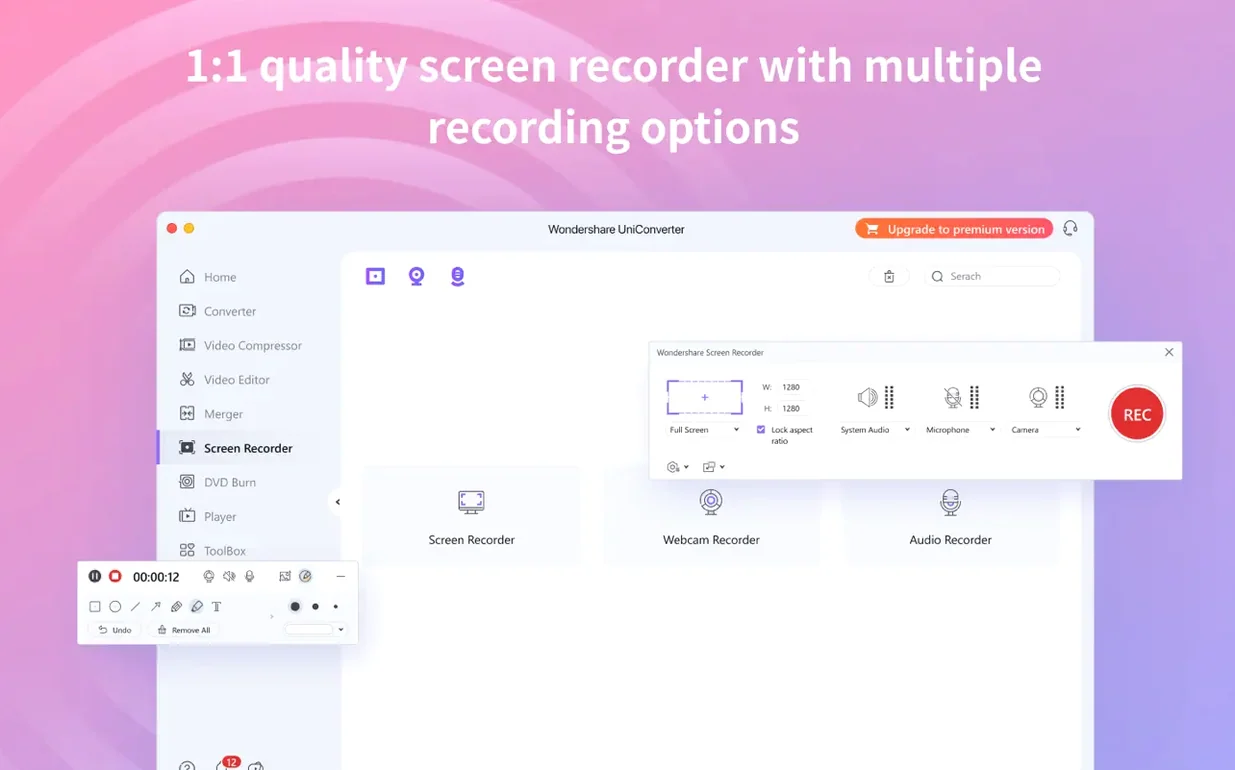
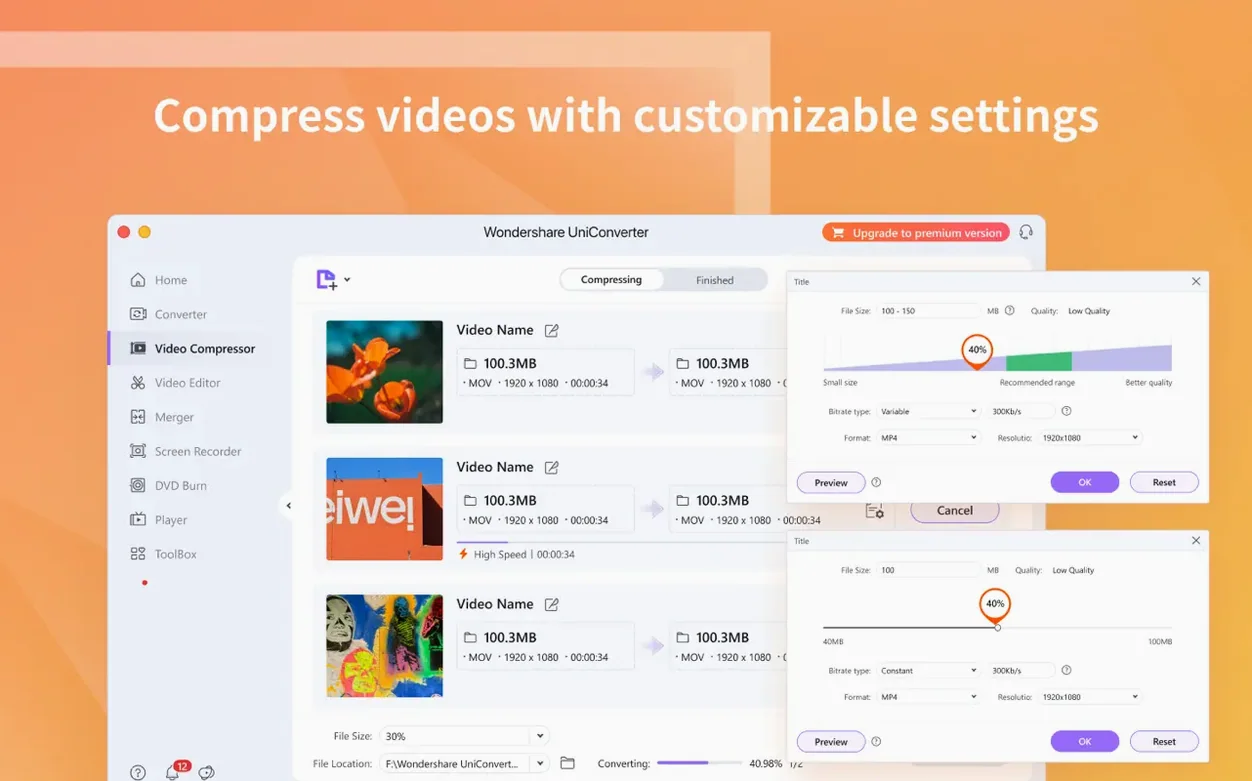
Video editors, home-movie archivists, and anyone with a bulging folder of mismatched clips tend to pick up UniConverter. It is less a single-purpose tool and more a workbench for wrangling media on a Mac.
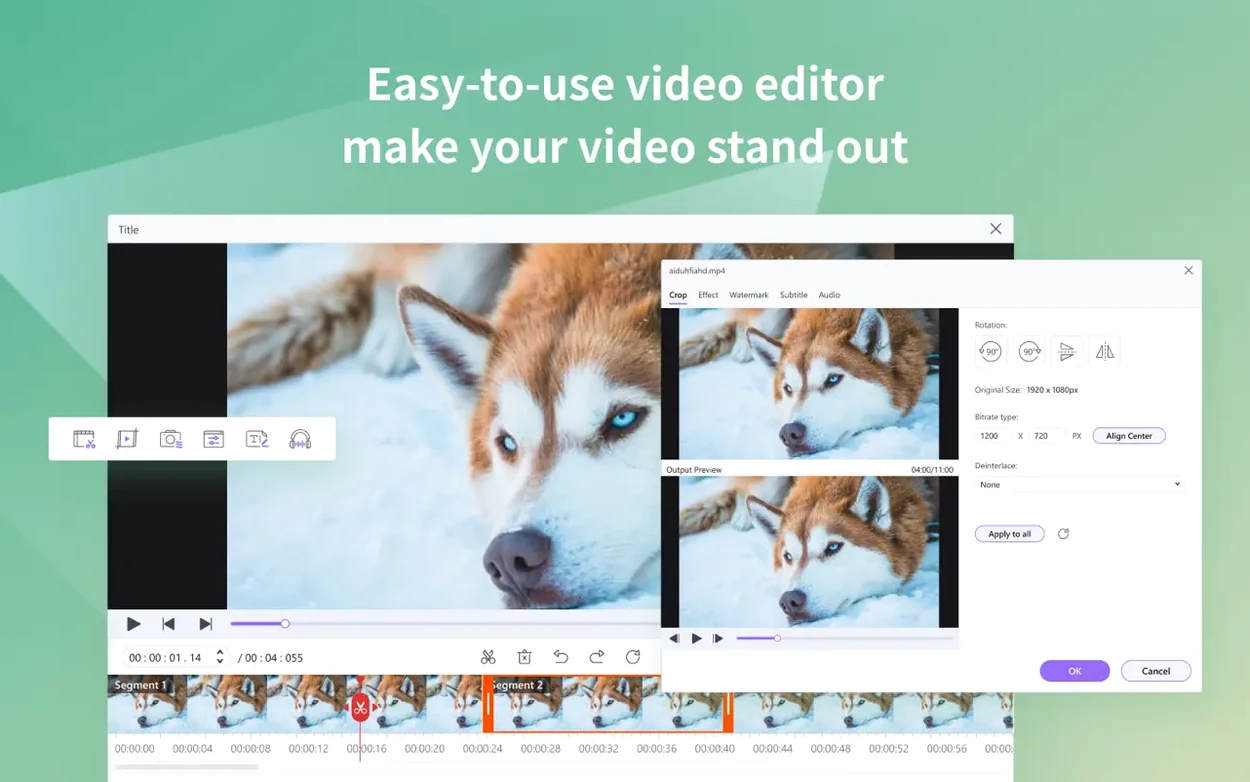
The crop tool does more than trim edges. Drag a preset from the dropdown and it strips letterbox bars from a widescreen film automatically—no guesswork measuring black rows. While the preview plays, right-click the frame and Save Snapshot grabs a still to your desktop. That alone covers a dozen quick-thumbnail tasks.
In the conversion queue, hover over any file row. A tiny film-strip icon appears; click it to scrub through the clip before committing to a long encode. The wireless-transfer pane keeps a short device history, so a second send to the same iPhone skips the pairing dance. And if you regularly convert to the same three presets, pin them via the star icon inside the format picker. They then sit at the top of the list for every session.
UniConverter’s codec library slips native presets straight into iMovie and Final Cut Pro. Once installed, the formats appear inside those apps’ share and export sheets, meaning a timeline can be written out as a compact HEVC without leaving the editor. The app also talks to iTunes; during a batch conversion, tick Transfer to iTunes and the files land in your library with metadata intact—artist, album, artwork all pulled from the source if available.
On the system side, the app respects macOS colour profiles. A wide-gamut P3 display shows video previews without a saturation shift. Drag a clip onto the Dock icon and UniConverter opens directly to the conversion pane with that file loaded. Finder tags survive a round-trip, so a green-tagged “client review” file stays tagged after re-encoding. And because the current build is universal, activity monitor shows a clean Apple Silicon process with no Rosetta translation in sight.
Say you have a DVD of a documentary you want on an iPad for a long-haul trip. Here is a path that takes about four clicks once you know the steps.
No extra app touched the file between the disc tray and the iPad home screen.
Start with a small test file—10 seconds of anything—and convert it to three different presets (H.264, HEVC, and a device preset). This warms up the engine and confirms all codecs are active. Next, open Preferences and set the default output folder to a dedicated “Converted” directory; otherwise files scatter into the Movies folder and pile up fast.
If you work with 4K sources, spend a minute in the quality slider panel. The default is 90% for most presets, which is generous. Dropping to 78% trims file size noticeably while keeping a clean image on a laptop screen. For DVD rips, enable High-Speed Conversion only when you trust the source disc is scratch-free—it remuxes rather than re-encodes, saving half an hour but amplifying any read errors.
Finally, pin your most-used format presets on day one. The interface rewards a setup session upfront; once the home pane shows your custom shortlist, the daily flow shrinks to drag, pick, convert.














Chat 0
Hop in or make an account to join the chat.
Quiet in here so far. If you have used this build, tell me what the install actually did.