
 Absynth
 ACDSee Photo Studio
 A Better Finder Attributes
 Adguard
 1Password
 Adobe Premiere Rush
 Affinity Designer
 Affinity Photo


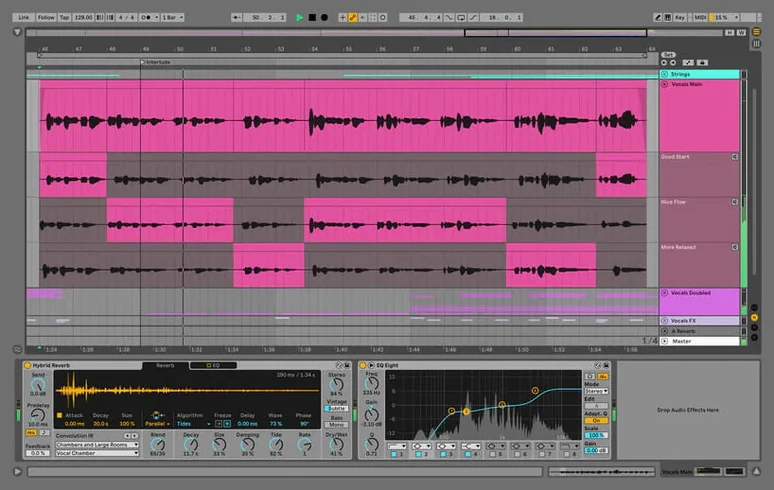
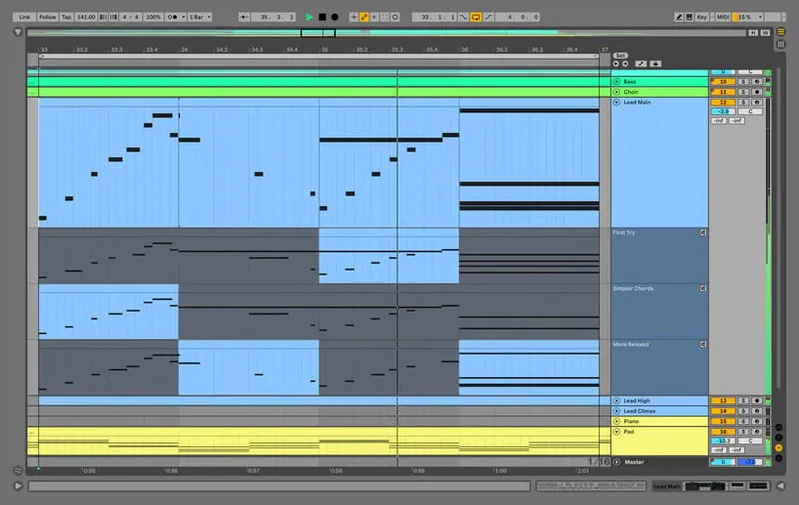
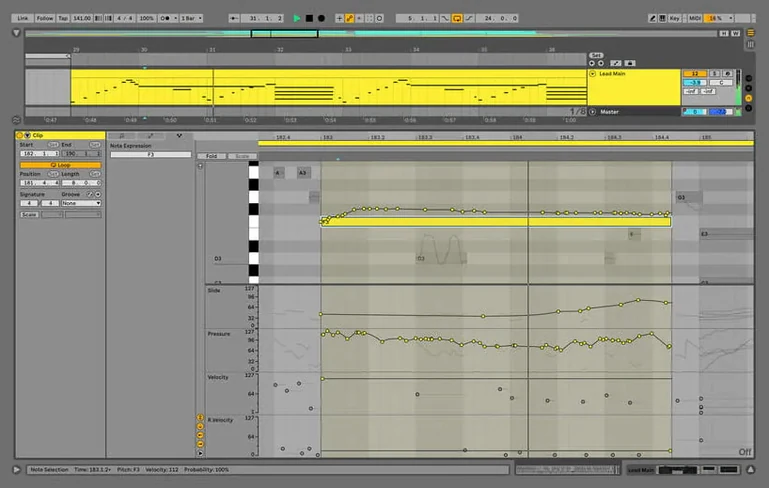
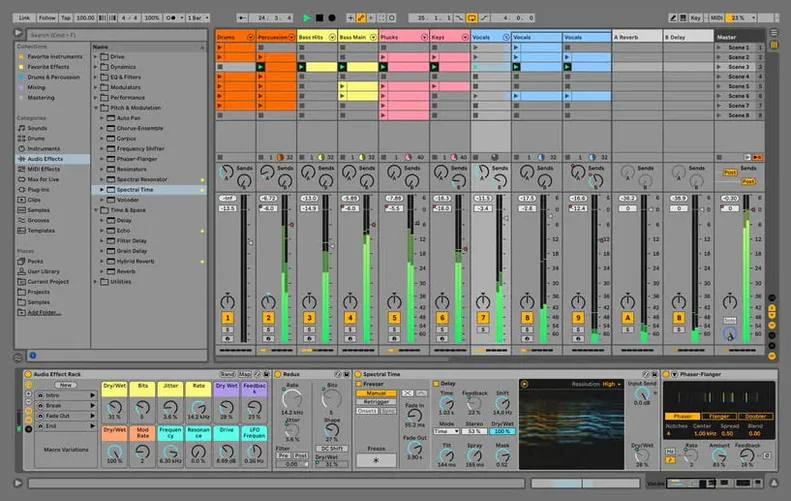
Live is for anyone who wants to make music without stopping the flow. Producers, DJs, and live performers use the same single-window workspace to sketch ideas, arrange full tracks, or trigger clips on stage. If you're new to version 12.4.6 on macOS, a few deliberate first moves help the whole thing click.
Forget the timeline at first. Hit Tab to flip to Session View — a grid of slots that hold loops and one-shots. Drag in a drum loop, a bassline, and a synth phrase, then launch them by clicking the play buttons per row. Everything stays in sync. Record a quick vocal take into an empty slot and it snaps to the project tempo automatically. Just mucking around here teaches you more about the engine than reading any manual.
Live listens even when you're not recording. Play a melody on a MIDI keyboard or your computer keys and press the Capture MIDI button afterwards — it retrieves what you just played. It is a safety net that lets you experiment without the pressure of a red record light. Try it with a few drum hits on a Drum Rack, then drag the captured clip into Arrangement View to start building a song structure.
A point release like 12.4.6 doesn't rewrite the feature list, but it fixes a headache that crept into larger projects. Before this update, users with Sets containing many audio tracks and clips set to Beats Warp Mode — specifically the Transients Granular Resolution option — could hit a hang during render, bounce, or consolidate. Live would freeze mid-process, usually when you were trying to print a mix or bounce stems for a collaborator.
That hang is gone now. If you work with dense arrangements, heavy drum editing, or stacks of chopped vocal takes, the render path stays stable. The fix is under the hood, so everyday use feels exactly as snappy as before — just without the risk of losing twenty minutes of export to a spinning beachball. No workflow changes needed; just run the same export you always would.
Complex warp modes eat CPU, especially on older Intel machines. If you hear clicks or short silences while scrubbing through a warped clip in real time, switch the clip's warp mode to Beats and set the Preserve control to Transients instead of Granular. The difference is subtle on a kick drum but much lighter on your processor. For sustained material like pads or vocals, Complex Pro at half the default formant setting is usually the safer pick.
Third-party AU or VST windows can get lost behind the main workspace, particularly on multi-monitor setups. Right-click the device header in Live's track view and choose "Show Plug-in Window" to bring it forward instantly. If it keeps happening with a specific plug-in, check the manufacturer's site — some older builds need an update to play nicely with macOS window management on Apple Silicon.
AbletonAutoSave runs as a menu bar helper and starts together with Live. If it's not saving at the interval you set, open its menu bar icon and confirm the timer is enabled. The app quits and launches alongside Live automatically, so a quick restart of both usually resets the connection. Check your Documents folder for the "AbletonAutoSave" directory — that's where copies land.
When you drop a sample into a Drum Rack pad, the pad gets its own chain with Simpler, but the audio still routes through the rack's master output by default. If you want individual processing per drum sound, expand the chain list, right-click a chain, and choose "Extract Chain." This pulls it out as its own track while keeping the MIDI note routing intact — handy for sending kick and snare to separate compression or reverb.
Imagine a sample-flip producer who digs through old soul records on a Saturday. They've pulled a four-bar piano phrase and a dusty drum break into Live 12.4.6. The piano clip sits in Session View on a track warped with Complex Pro; the drums are on a separate track in Beats mode, Transients preset, with the Granular Resolution turned off — they learned that trick after a render freeze on an earlier version.
They tap out a sub-bass line on a MIDI keyboard, press Capture MIDI, and Live retrieves the phrase. A Drum Buss on the drum track tightens the low end, while the piano gets a touch of Echo and a gentle EQ Eight cut around 300 Hz to leave room. They drag three scenes into Arrangement View to structure an intro, drop, and outro, then render the mix for a client preview. The export finishes in seconds, no hang — exactly what 12.4.6 promised.
Yes. Version 12.4.6 includes a universal binary that runs on both Apple Silicon and Intel 64-bit Macs. On M-series chips, the app launches as a native process without Rosetta translation. Plug-ins still need to be Apple Silicon-ready to load without bridging, so check individual instrument and effect developers if you rely on older VSTs.
Sets saved in Live 10 or 11 open in 12.4.6 without conversion headaches. Live reads the older format and, once you save, writes it as a new Live 12 Set. Keep a backup of the original file before opening it, just in case you need to revisit the project on an older installation.
After you copy the app to your Applications folder and launch it, dragging the provided Authorize.auz file onto Live's window activates the software. This step is part of the standard install flow and works offline — no account sign-in or internet connection needed at that moment.
Yes. The language pack includes Japanese alongside English, German, Spanish, Italian, and French. Switch the display language from Live's preferences under the Look Feel tab; the change takes effect after a restart.
Yes, the software supports Apple Silicon Macs natively as well as Intel 64-bit machines, and requires macOS 12 or later.
You can switch the interface between English, German, Spanish, Italian, French, and Japanese.
AbletonAutoSave runs alongside Live, lives in the menu bar, and saves your projects at a set interval. It starts and quits together with the main app.














Chat 0
Hop in or make an account to join the chat.
Quiet in here so far. If you have used this build, tell me what the install actually did.