
 BetterDisplay Pro
 BBEdit
 BetterMouse
 BetterTouchTool
 BatFi
BatFi BetterZip
 Bartender
 Beyond Compare


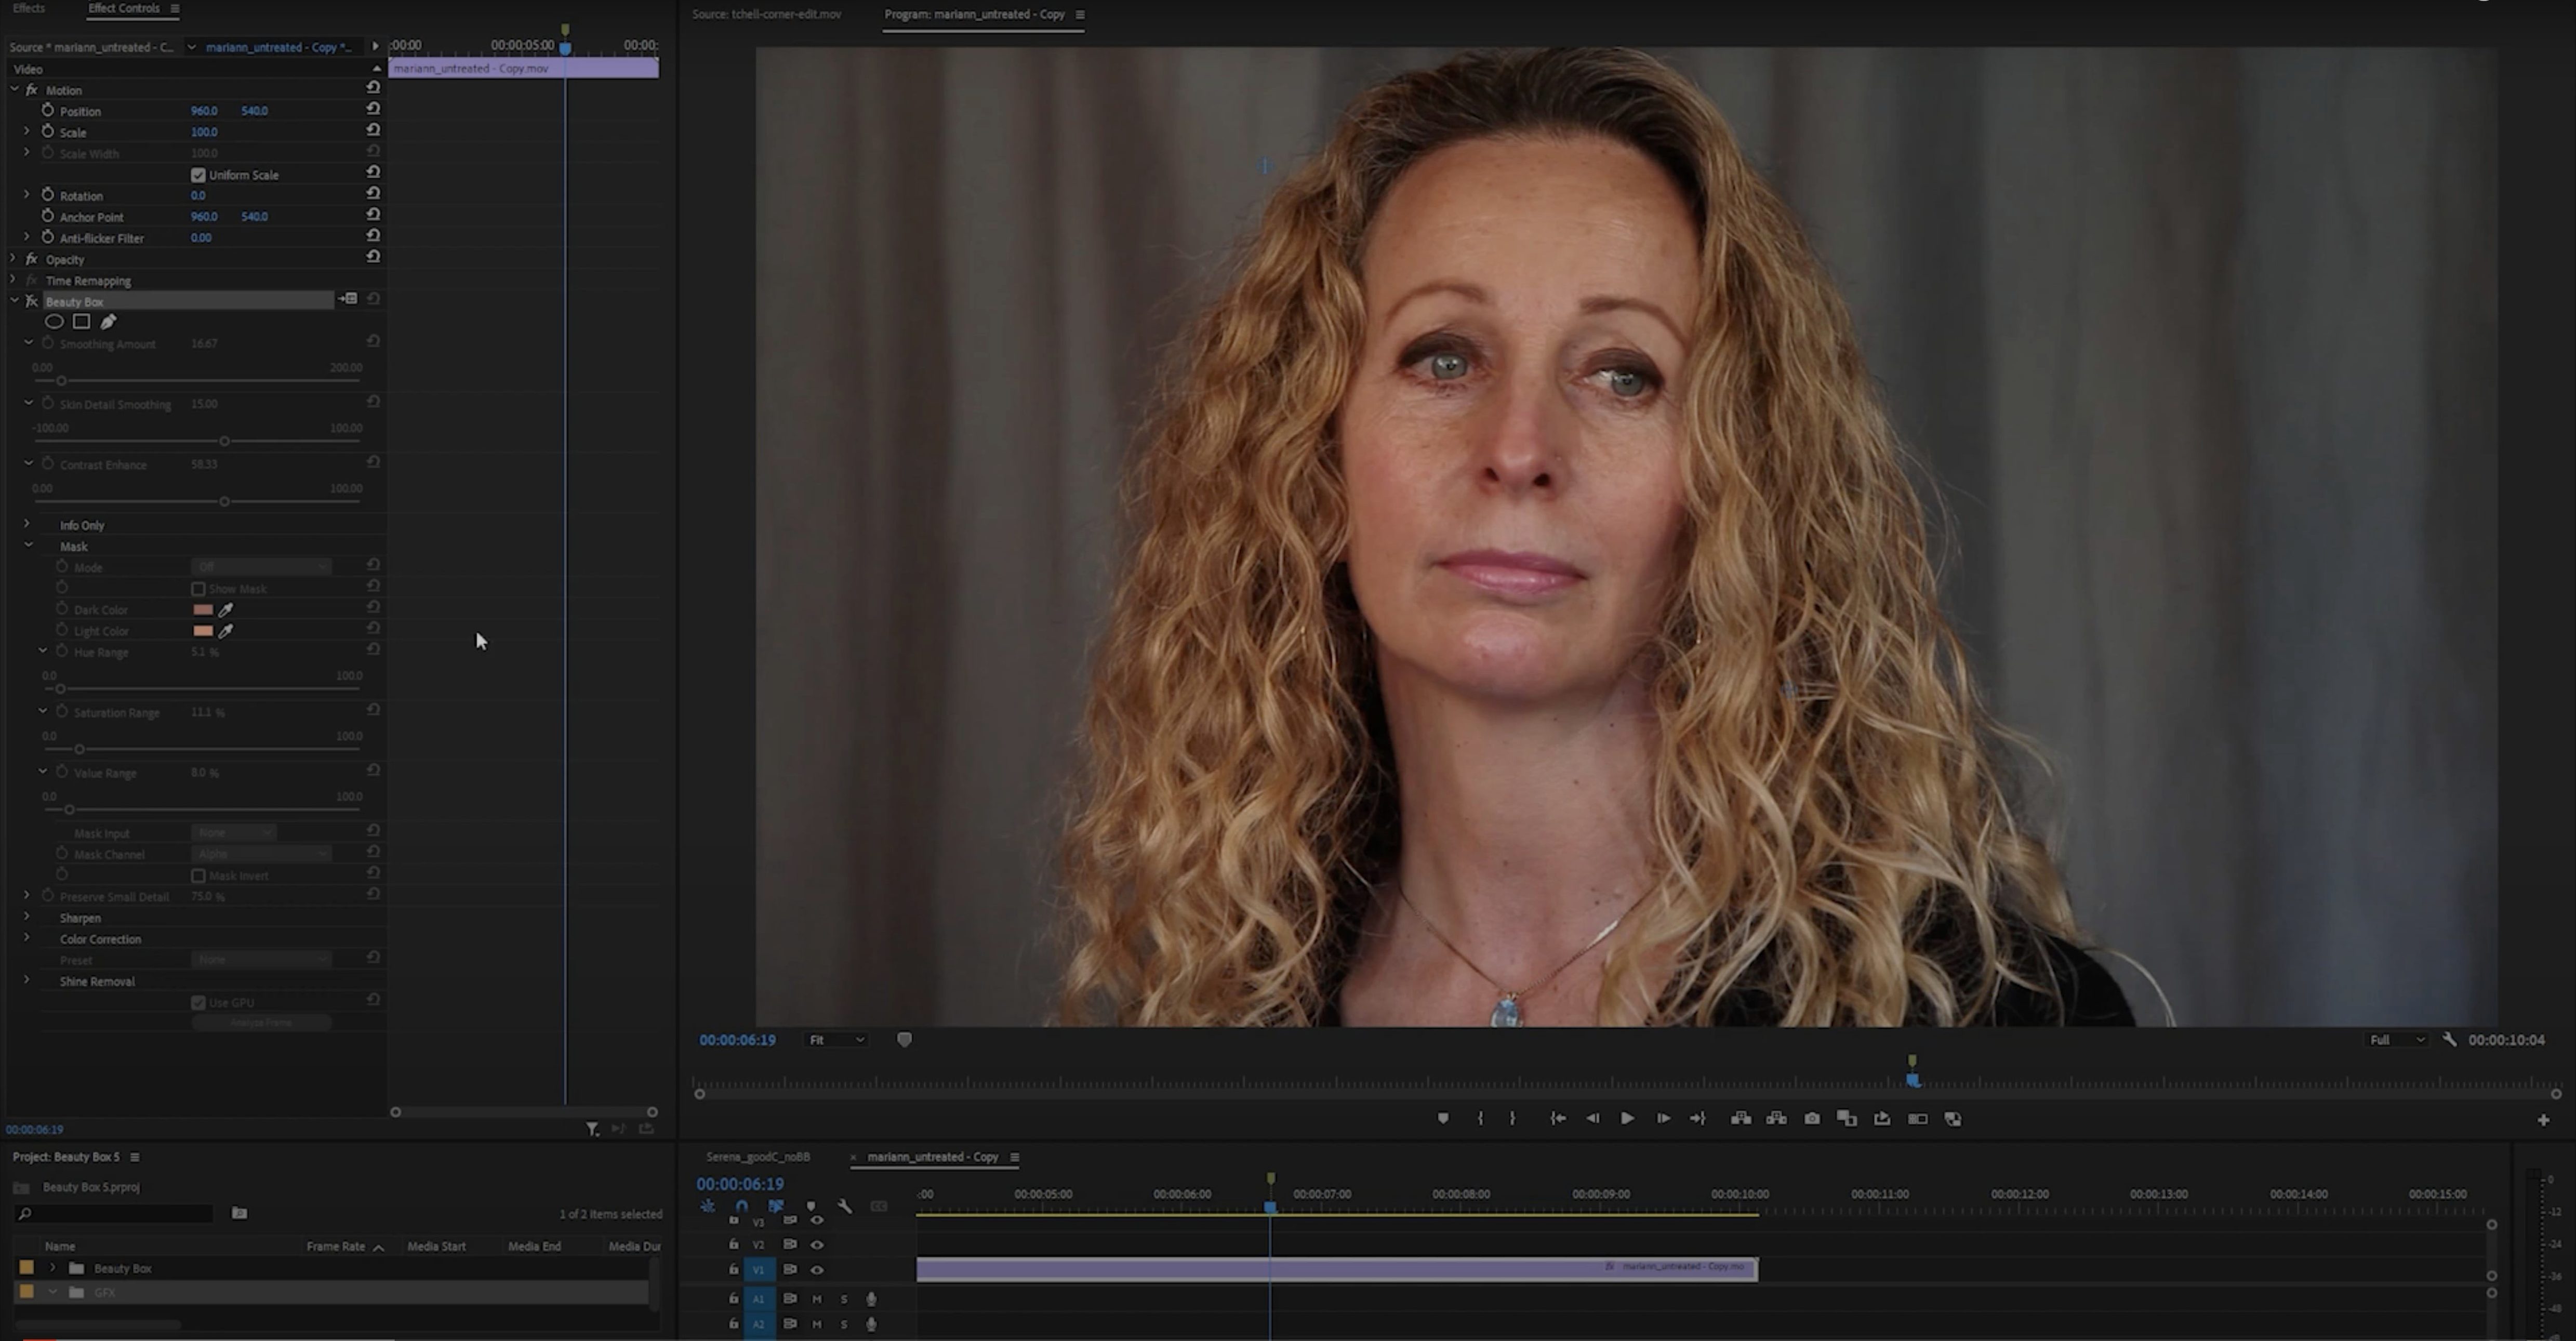
Makeup artists and retouchers reach for this when they need faces to look polished, not plastic.
Auto-masking — finds skin tones on its own. You can paint in the areas you want to treat, but the plug-in does the heavy lifting.
Detail preservation — pores, eyelashes and lip texture stay crisp while redness and shine dial back.
Real-time preview — CUDA and OpenGL push the render to your screen as you adjust, so there is no “apply and hope.”
Smoothing — targets fine lines, blotchiness and small blemishes without blurring the whole image.
Your first pass with Beauty Box can feel like a lot of sliders, so start simple. Open a portrait, add a new empty layer for non-destructive work, then launch the plug-in. Drag the Smoothing slider to about 25 and let the auto-mask do its thing. If the preview looks right, hit Apply and switch the layer blend mode to Luminosity. That keeps your colour grading intact and only borrows the texture fix. Day two, experiment with the Skin Color picker — sample three spots across the cheek and forehead to build a mask that handles mixed lighting better than the automatic guess.
The biggest gotcha is a greyed-out plug-in menu. Beauty Box lives under Filter › Digital Anarchy, but if you opened a 32-bit document or a CMYK file, it won't show. Convert to RGB 8-bit or 16-bit first. Another common hiccup: the preview window stutters on an Intel Mac with a weak GPU. Switch the renderer from CUDA to OpenGL in the plug-in preferences, or drop the preview resolution to half. It sharpens right up when you apply the effect.
If skin turns waxy with the default settings, back the Smoothing down to 12–18 and nudge Edge Detail up by 5 points. That tells the algorithm to hold onto jawlines and cheekbones. And on darker skin tones, the auto-mask sometimes misses the neck — just grab the Mask Paint tool and brush it in by hand. Two strokes usually cover it.
If you've used the beauty box fcpx or Premiere version before, the stills plug-in feels quieter — no timeline scrubbing, just a single frame and a full set of masking brushes. Photographers who also hunt for a beauty box for mac premiere pro workflow often keep the Photo edition for their print work because the skin detection model is identical, just applied frame by frame.
Good to know: This is the Adobe-only build. It slots into Photoshop and leans on the GPU to keep things fast.
No. The plug-in keeps facial details like eyelashes and pores sharp while smoothing skin, removing blemishes and wrinkles selectively.














Chat 0
Hop in or make an account to join the chat.
Quiet in here so far. If you have used this build, tell me what the install actually did.