
 Jettison
 Jump Desktop
 iStat Menus
 JustStream PRO
 iReal Pro
 Keyboard Maestro
 KeyCue
 Infuse Pro


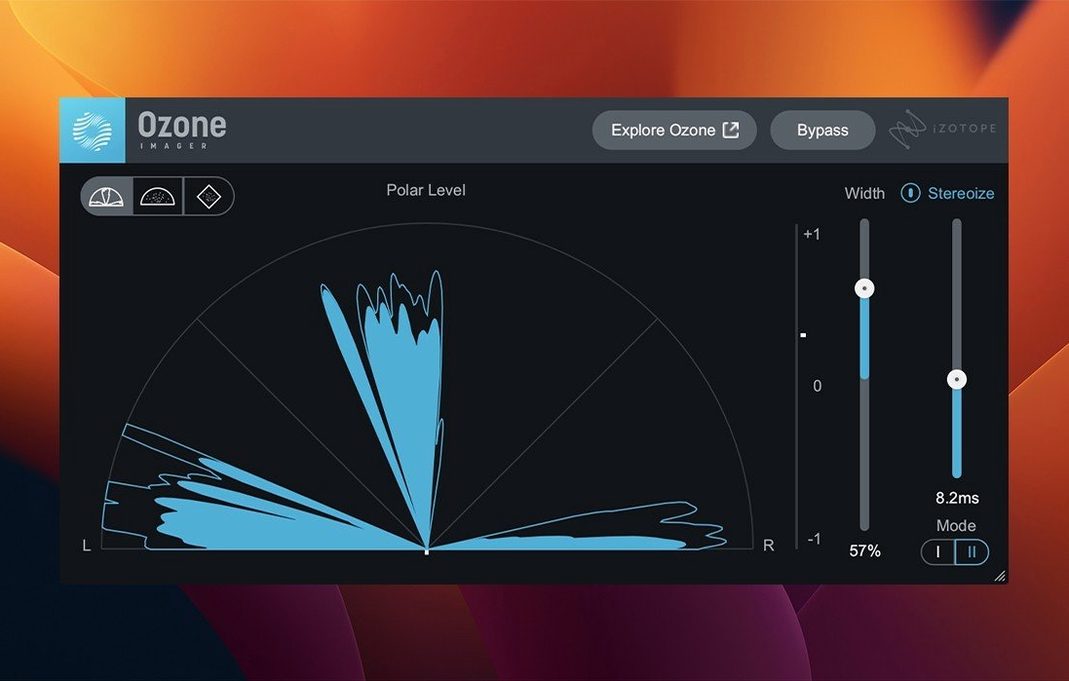
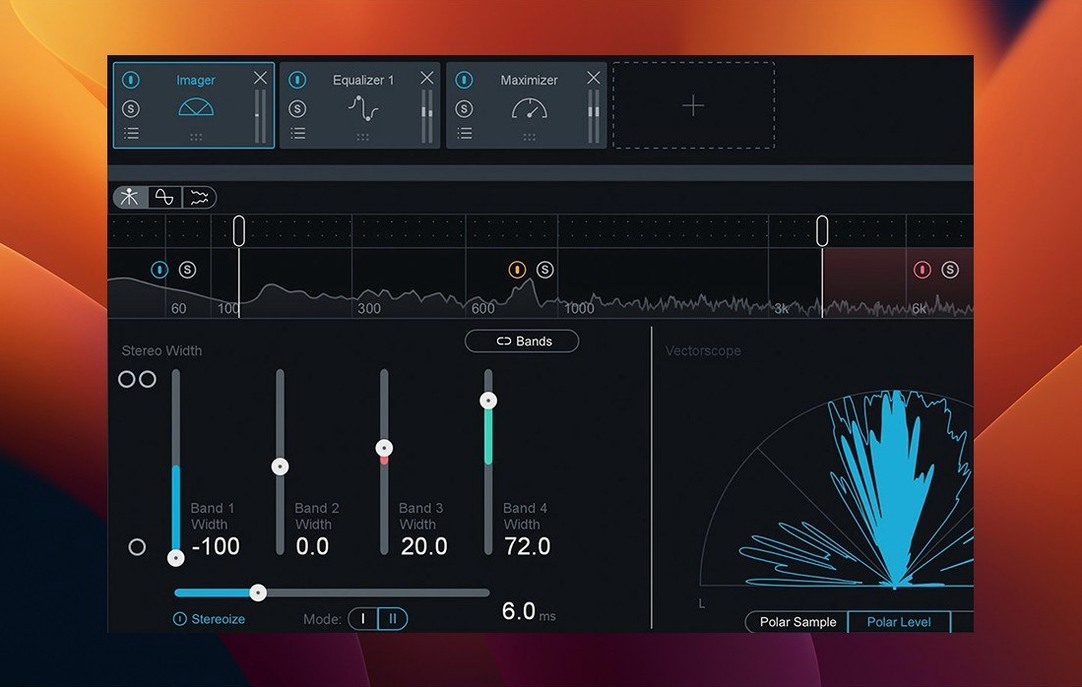
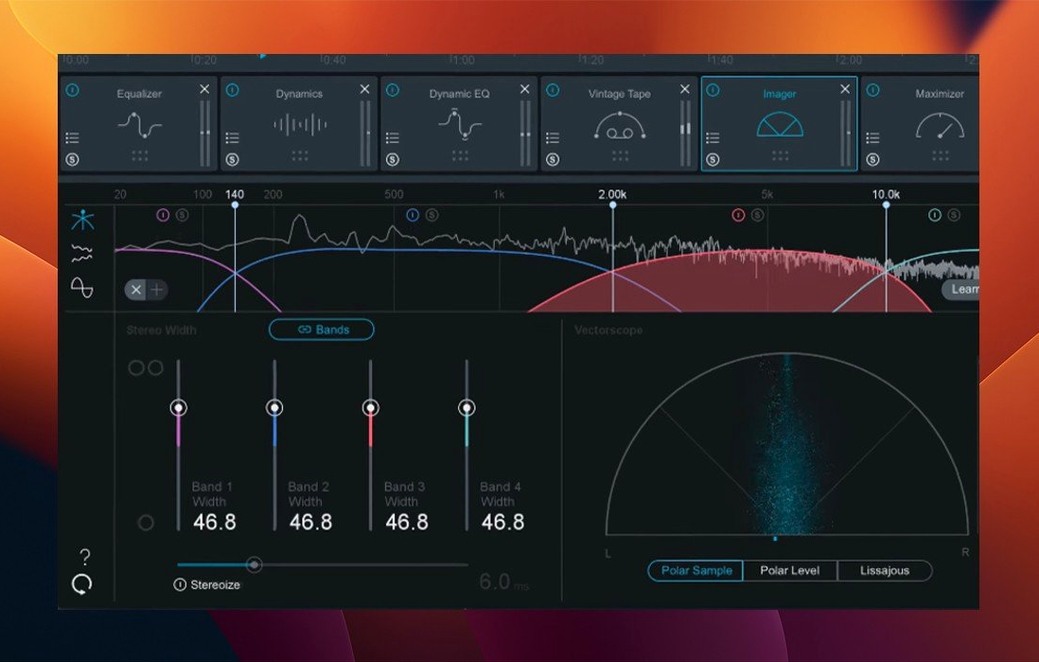
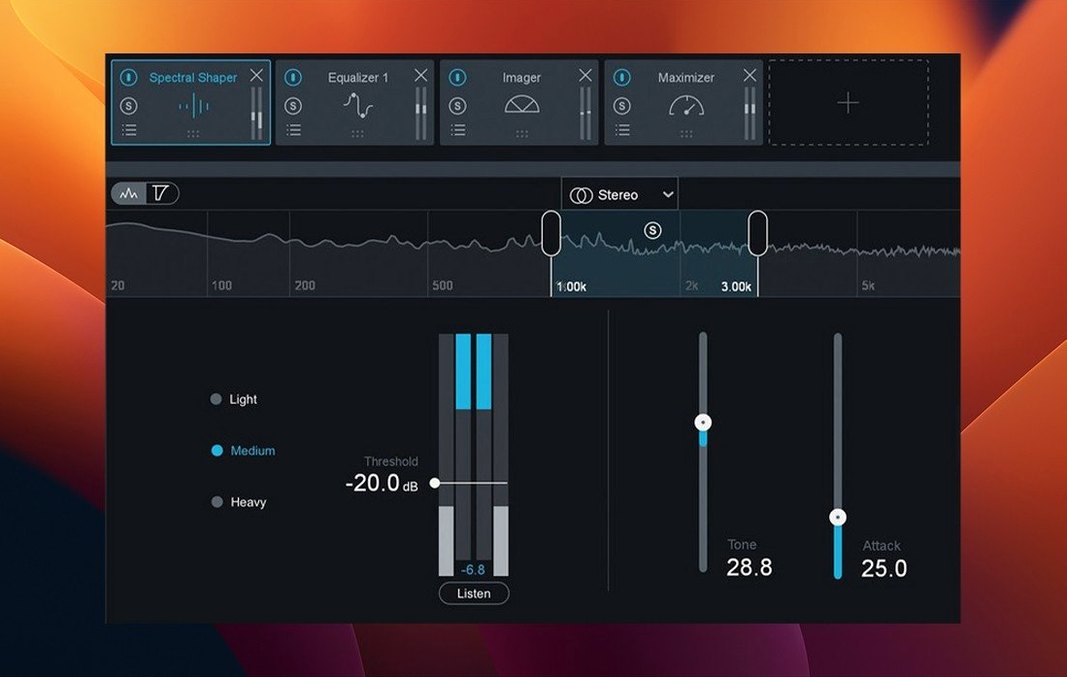
Version 12.1.0 landed with a handful of fixes that tidy up the everyday experience. Mono-to-stereo instances now output proper stereo processing, the UI loads noticeably faster, and Cubase 15 joins the list of supported hosts. It also locks in official compatibility with macOS Sequoia 15.4, Sonoma 14.7, and Ventura 13.7.
| Key detail | Quick fact |
|---|---|
| Current version | 12.1.0 |
| Plugin formats | AU, AAX, VST3 (64-bit) |
| macOS support | Ventura 13.7 to Sequoia 15.4 |
| Architecture | Intel & Apple Silicon |
Beyond the version bumps and bug fixes, the suite rewards an engineer who likes to shape a master with precision. The Maximizer module comes with IRC 5, a limiting mode that handles peak reduction with a transparency you can push harder than earlier IRC versions. Bass Control lets you tighten or widen low-end punch across the stereo field without collapsing the mix — useful when a reference track has a centre-focused kick but your own low end feels smeared. Stem EQ gives you per-stem tonal shaping right in the mastering chain, so a vocal-forward stem can get a different curve than the drum bus. And then there's the Unlimiter, a tool built for loudness curves that step well past standard brickwall behaviour. The whole set runs as AU, AAX, and VST3 plug-ins across Intel and Apple Silicon Macs, slotting into any modern mastering workflow.
Let's walk a real session. You've bounced a dense indie-pop mix — drums, bass, two guitars, layered vocals, a touch of synth. It peaks around -6 dBFS and feels a little cloudy in the low mids. You load Ozone as the final insert on your stereo out in Logic. The Master Assistant opens first; you play the loudest section of the song and let it listen for about twelve seconds. It returns a custom chain: EQ, Dynamics, Stabilizer, Maximizer. You accept the suggestion but immediately bypass the Dynamics module — the mix already breathes well, and you don't want the assistant's multiband compression softening the snare transients.
Next you solo the EQ module and pull up a mid-side view. The side signal has a small buildup around 280 Hz — probably the doubled acoustic guitars panned hard. You dip 1.2 dB with a medium Q, then switch to stereo view and notch 320 Hz on the centre channel by half a decibel to clear space for the lead vocal. Small moves. You toggle the module on and off; the cloudiness lifts without thinning the warmth.
The Stabilizer catches your attention. You pick the "Indie Rock" genre target and set the blend to 35%. It nudges the tonal balance toward a curve that matches references in that space — a slight lift above 8 kHz, a gentle tuck around 400 Hz. You listen on headphones, then on nearfields, then on a Bluetooth speaker in mono. The translation holds. You drop the blend to 25% after the mono check because the original character deserves more weight.
Now the Maximizer. IRC 5 is set to Transparent mode by default. You pull the threshold down until the gain reduction meter flickers around 3 dB on snare hits. True Peak stays engaged. You A/B against a reference track you loaded into Tonal Balance Control earlier; the perceived loudness sits within half a decibel. You toggle the Maximizer off one last time, confirm you're not squashing the choruses, and print. From open to export, about twenty minutes. The assistant did the first pass; your ears did the rest.
A few defaults in Ozone 12 are sensible but not sacred. Changing them early saves time across projects.
The three practical fixes in version 12.1.0 address friction points that anyone who masters daily will recognise. The slow UI loading and instantiation times were most noticeable when inserting Ozone on a project that already had a dozen other plug-ins loaded — the interface would pause for a beat before drawing the modules. That pause is gone now. On an M1 Max MacBook Pro, the window appears in under a second, even in a heavy session. On Intel machines the difference is subtler but measurable; bouncing between plugin windows while referencing feels snappier.
The mono-to-stereo fix matters in a specific but common scenario. Many producers mix in mono or use mono-to-stereo channel strips for individual elements, then run Ozone on the master bus. Before 12.1.0, if a mono-to-stereo instance fed the mastering chain, the stereo processing would sometimes collapse or behave unpredictably — widening modules like Imager or Bass Control would produce odd phasing. With the fix, mono-to-stereo instances pass signal correctly into the stereo modules, so you can trust the stereo image no matter what your session routing looks like.
Cubase 15 support arrived quietly but signals iZotope keeping pace with Steinberg's update cycle. If you work in Cubase, you're now covered through the latest host version without compatibility workarounds.
Ozone doesn't demand to work alone. A common chain places it after a clean surgical EQ like Pro-Q and before a loudness meter such as Youlean or Insight. The EQ handles narrow cuts and resonant peaks; Ozone handles broad tonal shaping, stereo width, and final limiting. In that arrangement, Ozone's own EQ module often stays bypassed or works only in mid-side mode, leaving corrective work to the dedicated tool upstream.
On the macOS side, Ozone's AU and VST3 formats slot neatly into Logic Pro, Ableton Live, and Cubase. The AAX format keeps it available in Pro Tools for engineers who track and master in the same session. Apple Silicon support means the plug-in runs natively without Rosetta overhead — relevant when you're stacking multiple instances of Ozone's individual modules as separate plug-ins across stems. You can, for example, load Bass Control on a bass stem, Stem EQ on a vocal bus, and the full Ozone suite on the master, all running as native ARM processes.
The Stabilizer's genre targets also pair well with Tonal Balance Control's reference curves. Set Stabilizer to a genre target, then open Tonal Balance Control in a separate window while you adjust the blend. The two tools together give you a moving target and a static reference at once — one automated, one manual — and the combination catches tonal shifts that either tool alone might miss. If you've ever pulled a reference track into your session and matched levels by ear, adding Stabilizer on a low blend percentage gives you a second opinion without replacing your judgment.
For creators working across video and audio, Ozone's standalone application can process exported audio stems outside a DAW, which means you can master a podcast episode or a short film mix without launching a full session. Drag a WAV onto the standalone window, run Master Assistant, tweak, and export. The processed file drops right back into Final Cut or DaVinci Resolve with no plugin routing required.
Good to know: Ozone's modules can be loaded individually as separate plug-ins — EQ, Dynamics, Maximizer, Imager, and so on. That keeps CPU use lean when you only need one piece of the suite on a track.
It's confirmed compatible with macOS Ventura 13.7, macOS Sonoma 14.7, and macOS Sequoia 15.4.
It fixed slow UI loading, corrected stereo output for mono-to-stereo instances, and added Cubase 15 as a supported host.














Chat 0
Hop in or make an account to join the chat.
Quiet in here so far. If you have used this build, tell me what the install actually did.