
 Luminar AI
 Lunar Pro
 MacBooster
 Loopback
 MacCleaner Pro
 Loop Mash Up Pro
 MacDroid Pro
 MacFamilyTree

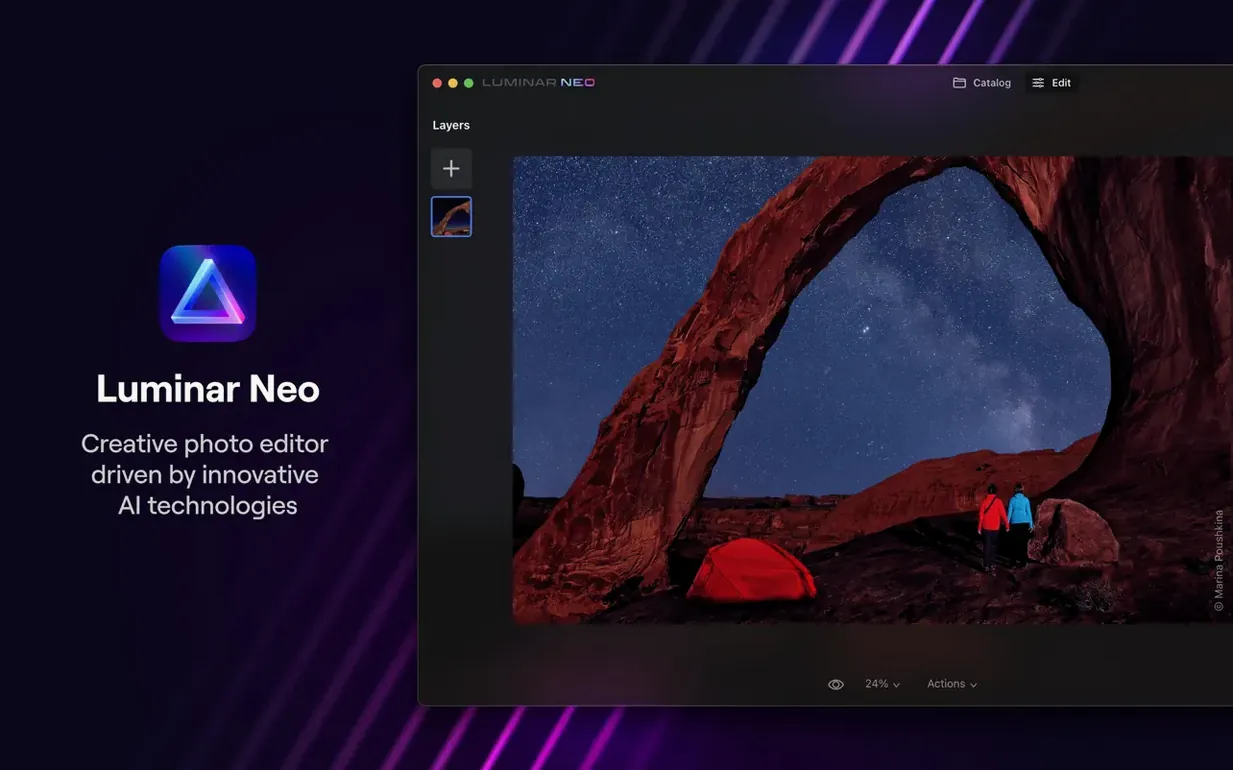
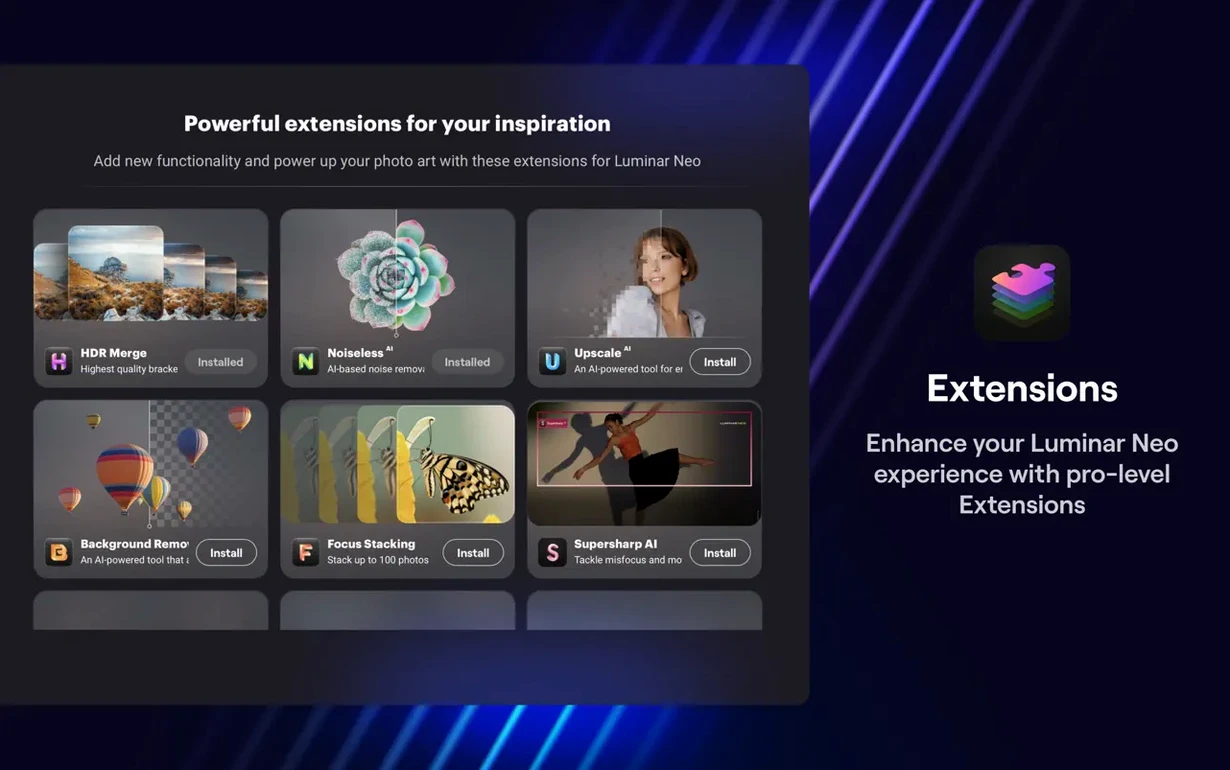
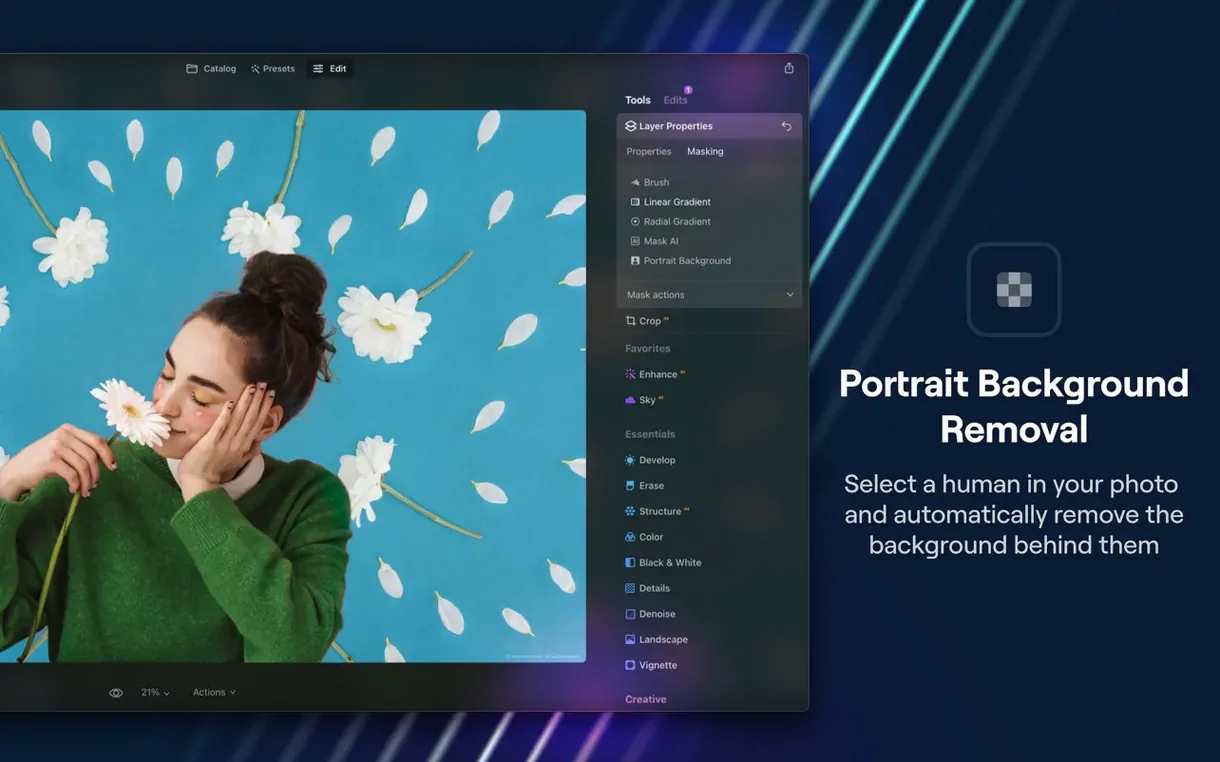
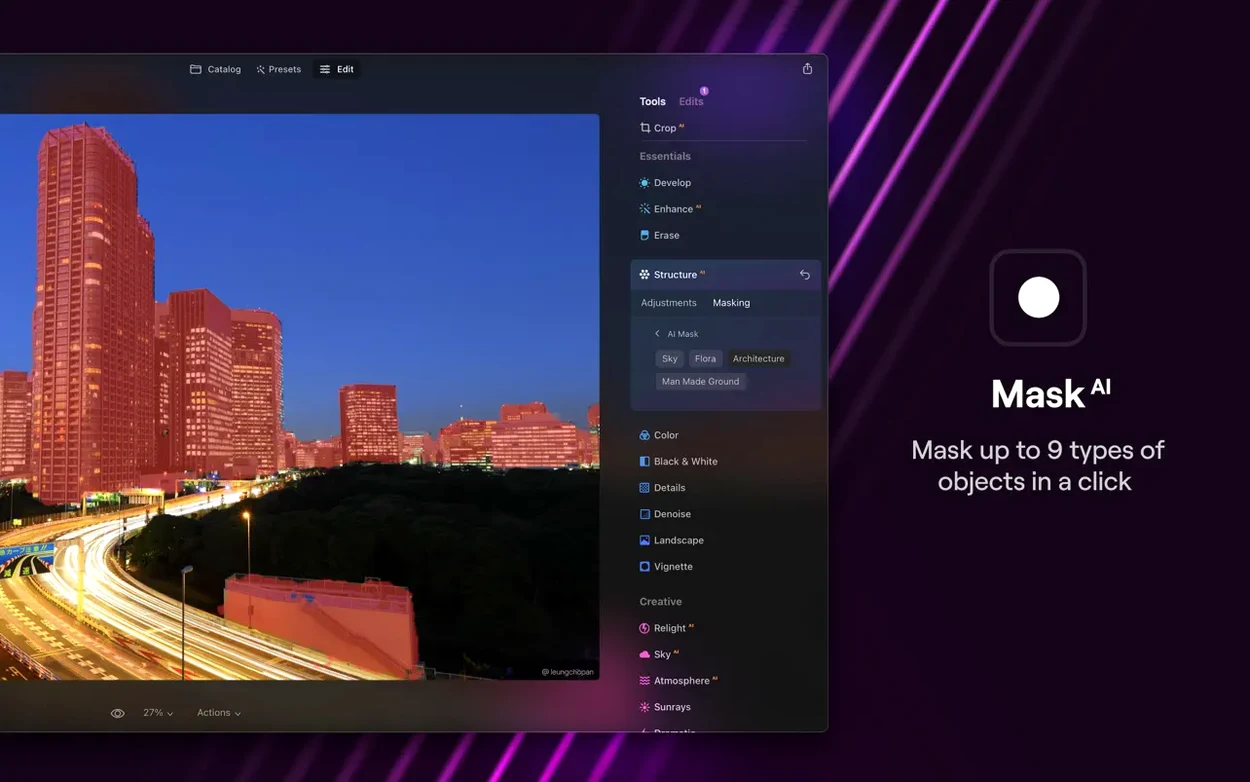
The latest update places the AI Assistant directly inside the Presets and Edit tabs, making it a constant editing companion rather than a separate tool.
One realistic task: cleaning up a portrait shot against a bright window. Open the raw file and the AI Assistant immediately lifts shadow detail on the face while pulling back blown highlights. Switch to the Edit tab, apply a subtle preset, then let the dust removal scrub out a couple of spots on the background wall. The whole fix takes under a minute and the result looks like a careful manual edit.
A family portrait photographer wraps up a session with 40 frames on the card. The client wants three final images by lunch. The screen shows a toddler against a messy playroom — toys scattered, a half-eaten biscuit on the carpet.
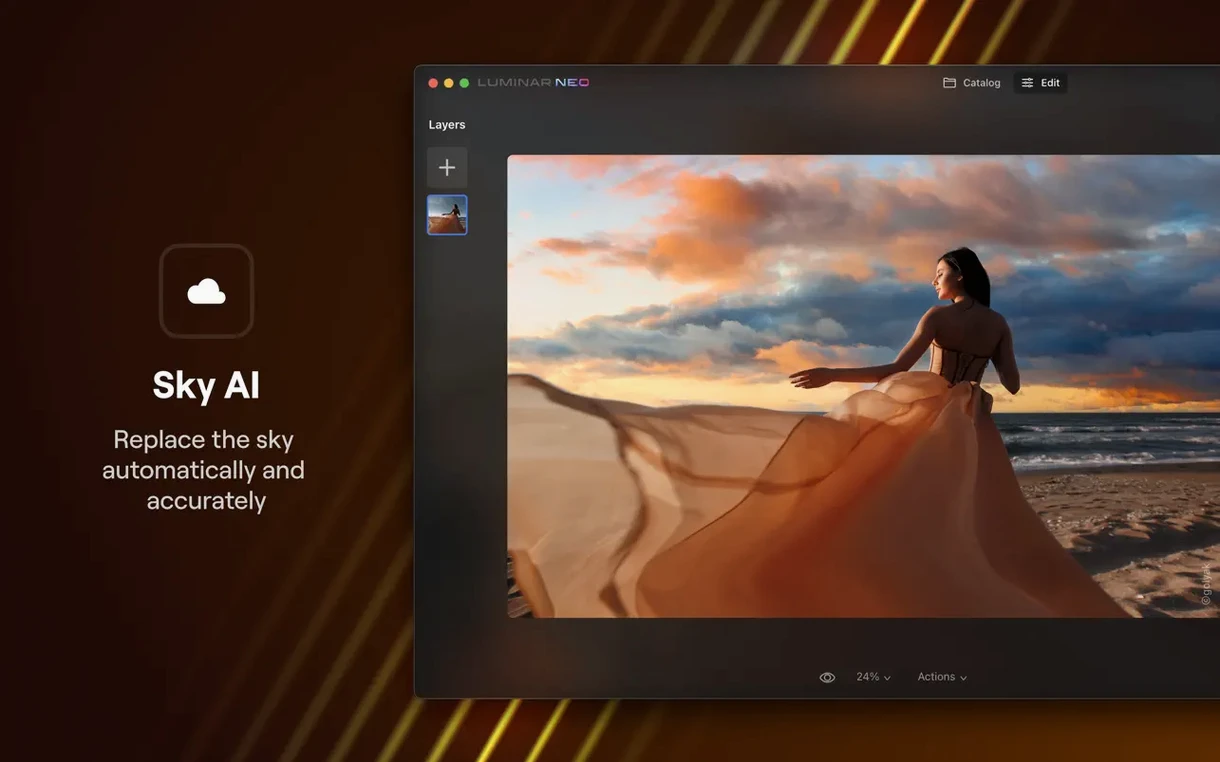
She drags the raw file into Luminar Neo. The AI Assistant reads the scene and nudges exposure up, warms the white balance, and softens the contrast just enough to smooth out the midday window light. She ticks through four presets in the tab, settles on a muted film look, then opens layers. A quick background replacement drops in a soft grey studio sweep. No masking, no pen tool — just select the subject, pick the new background, and slide the edge refinement until the hair strands sit naturally.
Three files, twelve minutes, out the door.
The one-click presets often boost structure and vibrance more than a skin tone can handle. Instead of ditching them, drop the preset’s opacity slider to around 40–60%. The colour grading stays, but the texture overlay backs off enough to keep faces natural.
Fine hair against a busy original background sometimes shows a halo. Zoom to 100%, open the mask refinement pane, and push Defringe up in small steps. A value of 8–12 usually cleans up the transition without eating into the subject edge.
Night shots and moody interiors often get lifted more than they need. After the AI suggestion lands, grab the Develop sliders and pull Exposure or Smart Contrast back manually. Think of the assistant as a first guess, not the final word.
If a sensor spot sits on a high-detail area like tree branches, the automatic pass sometimes skips it. Switch to the Erase tool, paint over the spot by hand, and let the content-aware fill do the rest. The manual stroke overrides the automatic detection for that patch.
Minute 1–2. Drag a folder of wedding detail shots onto the Luminar Neo dock icon. The catalogue view pops up; click the first image — a ring sitting on a bouquet. The AI Assistant fires in the Edit tab and suggests a gentle crop, a contrast bump, and a touch of clarity. Accept all three.
Minute 3–5. Flick through the Presets tab. The Golden Hour preset adds warmth but clips the white rose petals. Dial the preset strength to 55%, then open Mask AI and paint a quick radial mask over the ring. Inside the mask, lift exposure and sharpness so the diamond catches the light.
Minute 6–8. Move to a reception shot. The ceiling lights create harsh shadows under the groom’s eyes. Open the Relight AI panel, drag the foreground brightness up, and push the background down by half a stop. The face opens up without flattening the room.
Minute 9–10. Spot a dust bunny on three consecutive frames. Open the first, run the automatic dust removal, then copy the edit settings and paste them onto the other two. Done.
Minute 11. Export all selects as full-res JPEGs to a client folder on the desktop. The whole batch is ready before the kettle boils.
Luminar Neo works as a standalone editor, but it fits neatly between other tools. Use Finder tags to mark raw files for editing, then open the tagged folder directly from the catalogue view — no import step required.
For a round-trip workflow, open a file from Apple Photos via the Edit With menu. Luminar Neo receives a TIFF copy, applies edits non-destructively, and sends the result back to the Photos library when saved. The original stays untouched.
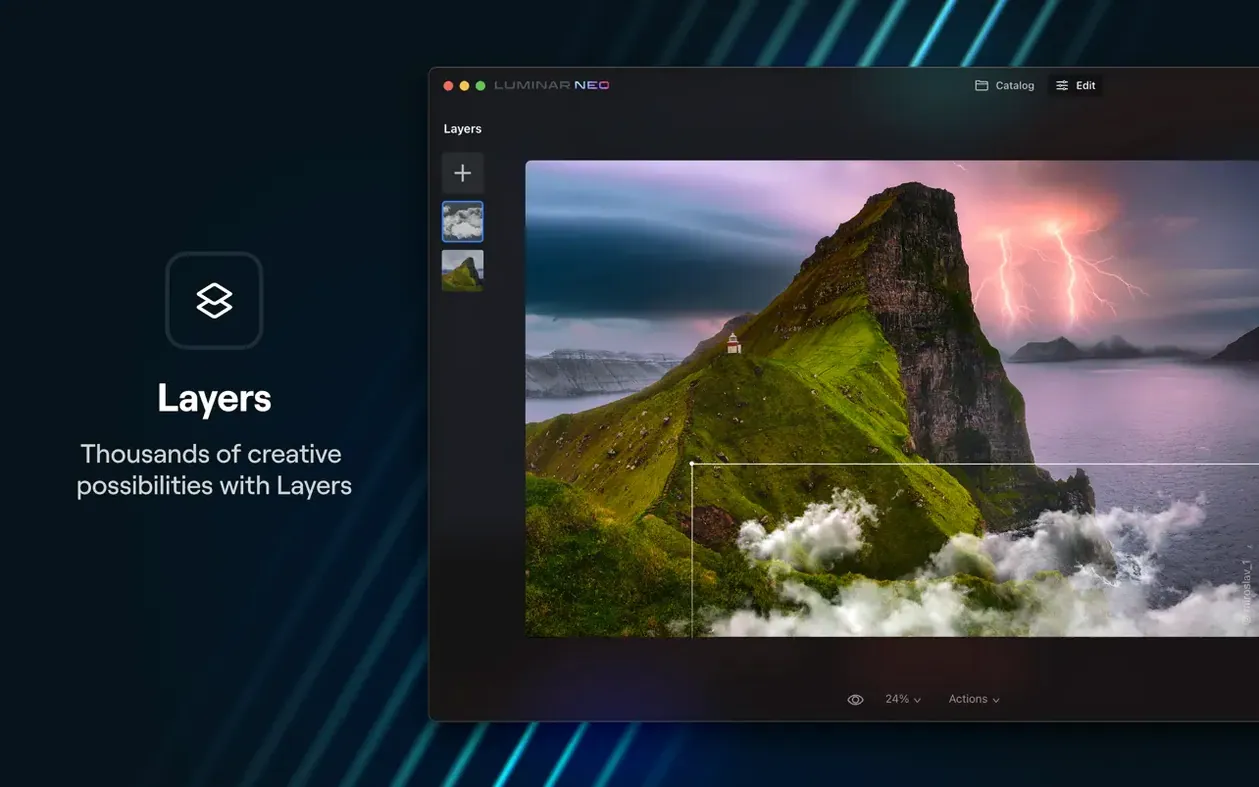
The Layers panel plays well with external textures and overlays. Drag a PNG sky replacement from a Finder window straight onto the canvas. Set the blend mode to Multiply or Overlay and use the opacity slider to dial it in. No need to pre-import assets into a library.
On the export side, the Share menu sends a finished JPEG or TIFF directly to Messages, Mail, or AirDrop. A wedding shooter can drop a sneak peek onto a client’s phone before packing up gear.
Good to know: Luminar Neo reads its edits from a sidecar file stored next to the original raw. Move both files together and another Mac running Luminar Neo sees the full edit history. No catalog migration, no relinking — just copy the folder.
It added the AI Assistant to the Presets and Edit tabs, designed to make editing faster, smarter and more inspiring.
Luminar Neo 1.26.0 supports macOS 12 Monterey, but the developer notes that the next release will require macOS 13 Ventura as the minimum.
It is a creative image editor built on artificial intelligence, designed as a more customizable app based on Skylum's earlier LuminarAI software.














Chat 0
Hop in or make an account to join the chat.
Quiet in here so far. If you have used this build, tell me what the install actually did.