
 Magnet
 MAMP PRO
 Magic Disk Cleaner
 Marmoset Toolbag
 Marvelous Designer
 MacWhisper
 Maschine
 Macs Fan Control Pro


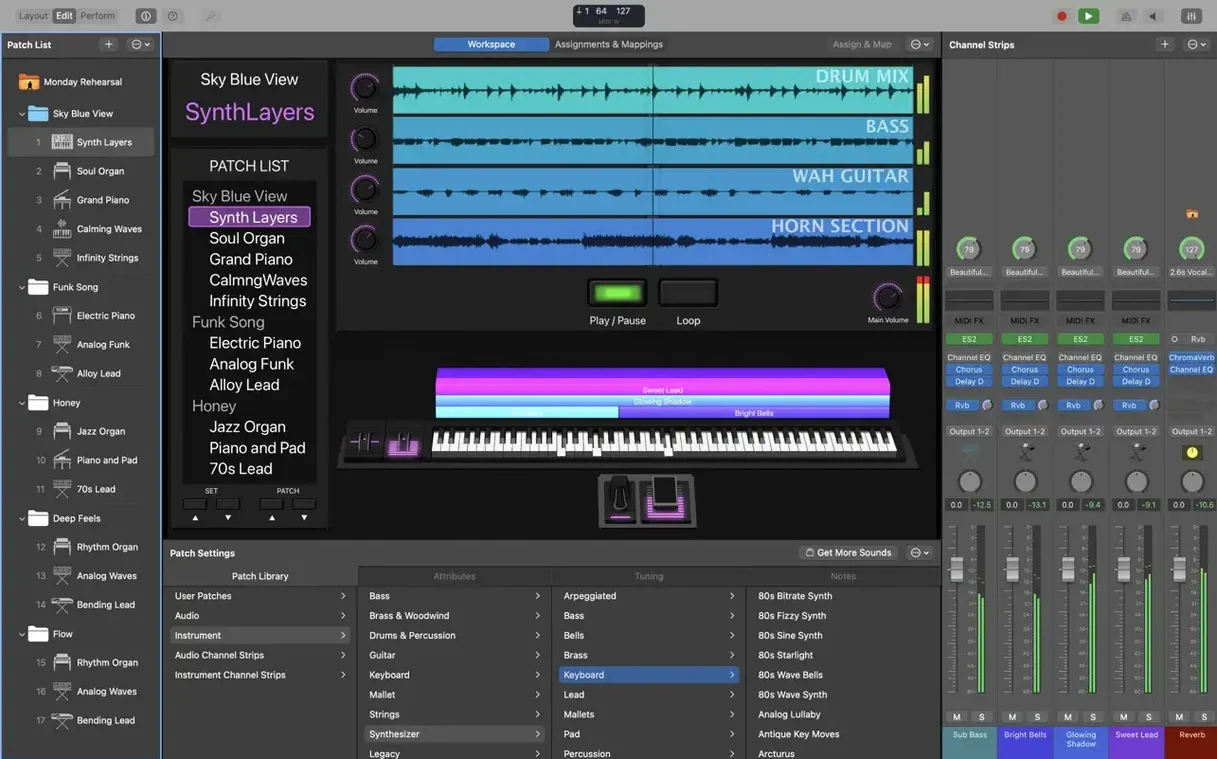
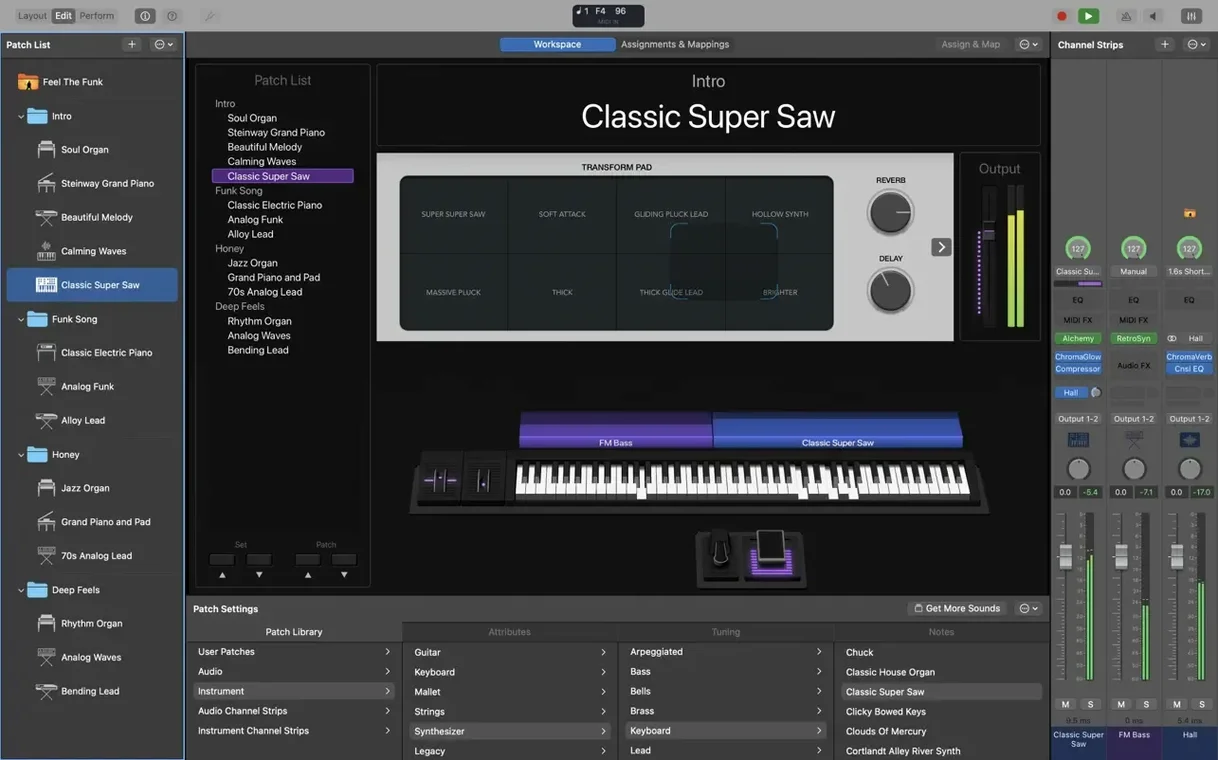
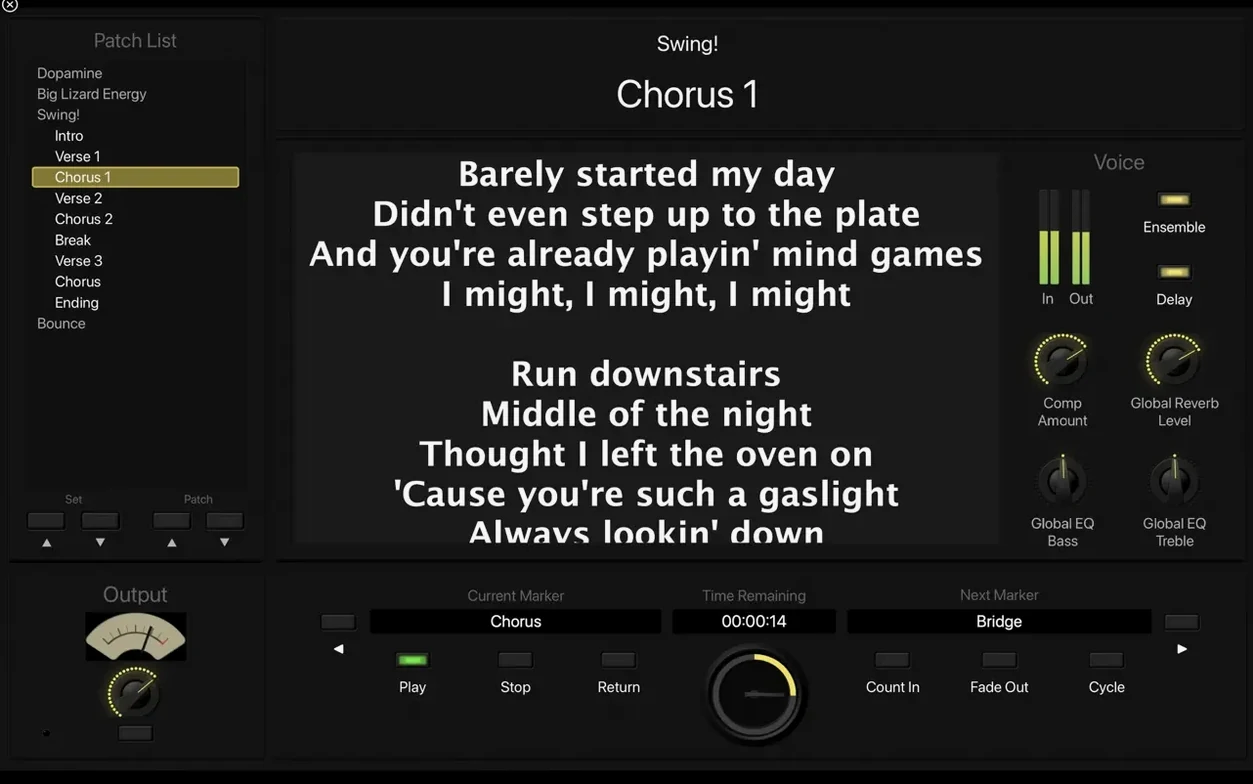
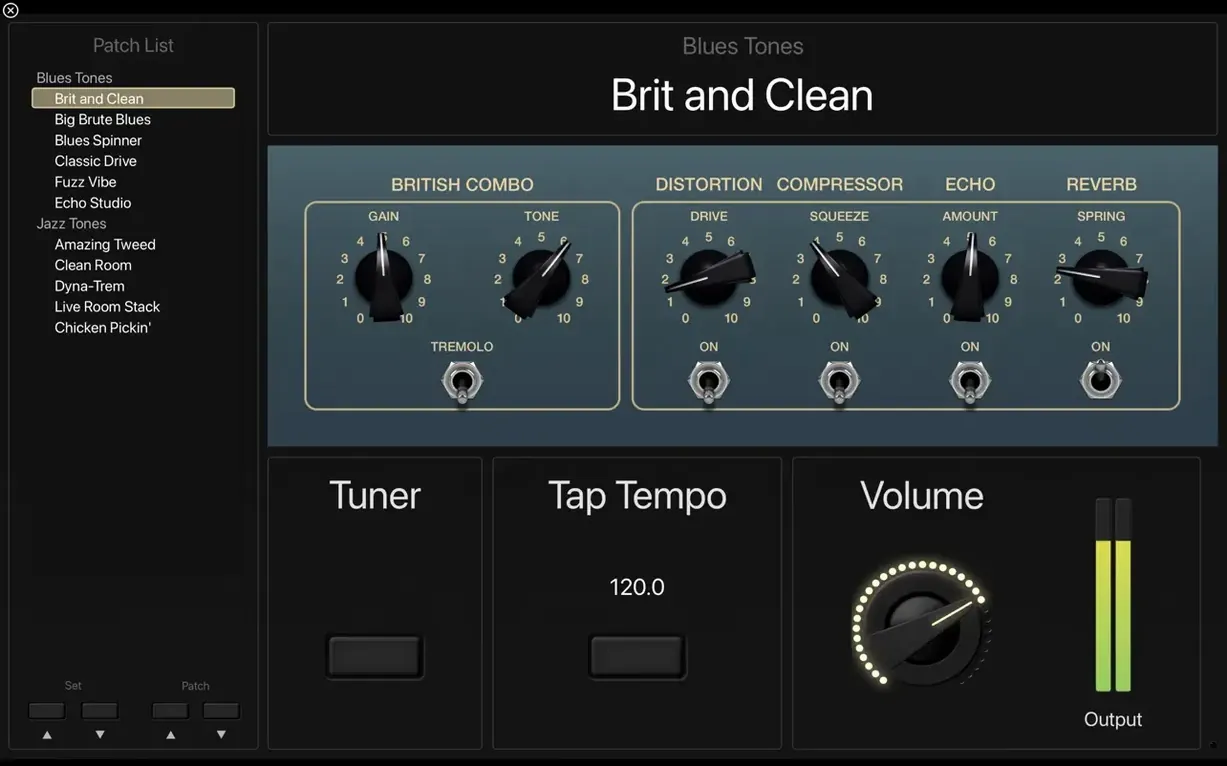
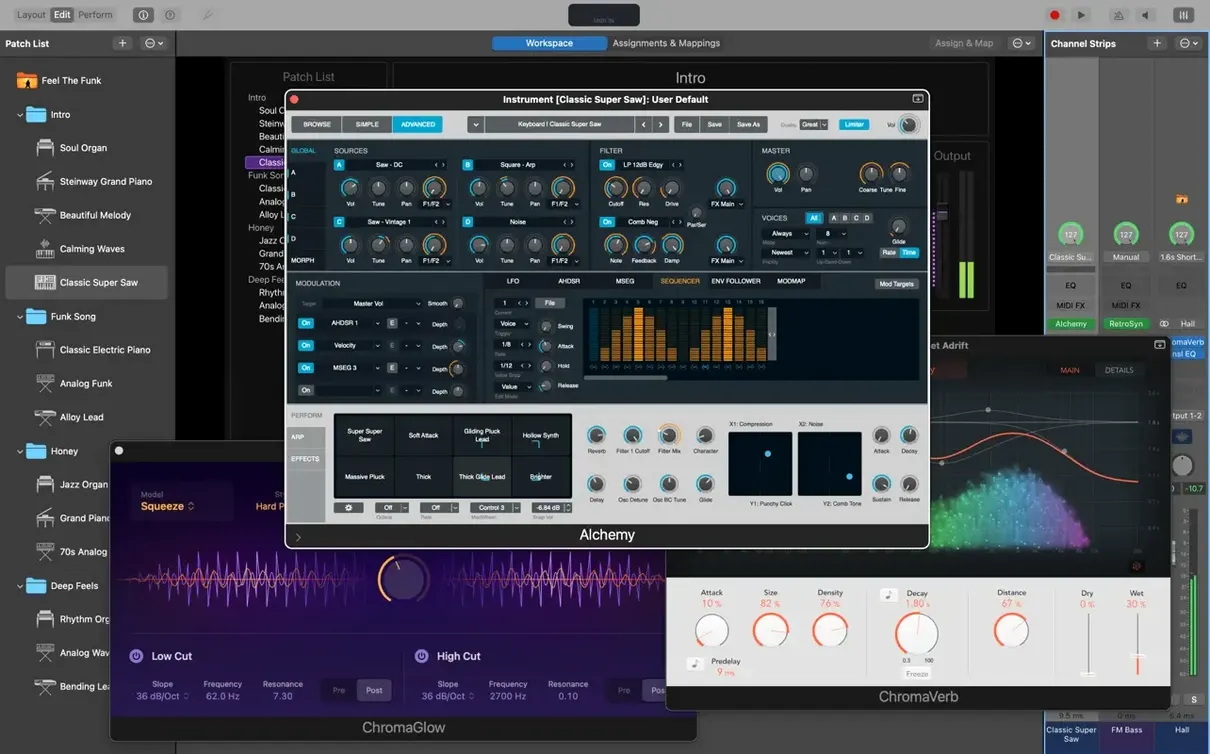
Playing a set shouldn't feel like wrestling a laptop. MainStage turns your Mac into a stage-ready rig with a full-screen interface, so you can switch sounds, trigger samples, and hear your guitar amp without hunting through menus. Here's one way a set comes together—from blank concert to first downbeat.
Once your concert is mapped, the screen shows only what you need: large patch names, a meter bridge, and your custom layout. The latest version also fixes a blocked MIDI SysEx issue and lets you type numbers straight into the Add Channel Strip window, so building a set feels faster and more fluid.
Out of the box, MainStage feels ready, but a handful of tweaks make it feel like yours. Head to Preferences > Audio and set the I/O buffer to 128 samples if you play keys or trigger samples—low enough to feel immediate, high enough to avoid crackles during a patch-heavy set. Bump it to 256 if your concert pushes 40 or 50 channel strips.
Under General, turn on Send unused patch changes to external instruments. If you run a hardware synth alongside your Mac, this keeps the two in sync when you stomp through patches. While you are there, disable Show Alert When Changing Patches. On a dark stage, the last thing you want is a dialogue box blocking your set list.
In the Layout tab, set your screen controls to Respond to Hardware Move for every knob and fader you map. That way, when you grab a physical controller during soundcheck and twist, the on-screen control jumps to match—no manual syncing needed. For vocalists, add a Meter control and pin it to the top-right corner of every layout. A quick glance confirms your mic is hot before you sing.
One more: open File > Concert Settings > Advanced and check Keep common samples in memory. If your set reuses a piano or string library across patches, this stops the sampler from unloading and reloading between songs. Memory use climbs a little, but patch changes stay silent.
On an Apple Silicon Mac, MainStage 4.3.1 stays out of the way. A concert with 30 patches—each hosting two instruments, a reverb, and a Playback instance—sits around 2.1 GB of RAM during a set. CPU hovers under 25% on an M2, even with Space Designer convolution reverb and three Amp Designer instances running together. That leaves headroom for a live looper or a screen recorder in the background.
Patch switching feels instant. Tap a button on a Launchpad or hit a program change from a keyboard, and the next sound arrives before your finger lifts. The audio engine keeps the tail of the previous patch ringing, so reverb and delay trails don't cut off. In three hours of rehearsal use, no dropouts, no stuck notes, no unexpected interface freezes.
Disk space is the main trade-off. A minimal install takes 6 GB; the full Sound Library with all sampled instruments demands 57 GB. If you only need electric pianos and a handful of synth patches, skip the orchestral and world instrument downloads. The app launches in under four seconds from an internal SSD, and concerts load in about two seconds for mid-size sets.
Say you play keyboards in a duo. You need stereo backing tracks, a piano patch, a synth lead for solos, and a way to move through the set list without looking at the screen. Here is how that comes together.
Create a new concert and name the first patch Song 1. Drag the Playback plug-in onto channel strip 1, then drop your stereo backing file into the waveform view. Set playback to Start with Patch so the track begins the moment you select the patch. On strip 2, load Vintage Electric Piano and pull the treble back a touch. On strip 3, add Retro Synth with a sawtooth lead preset—you will solo with this later.
Open Layout mode and drag a Patch List control to the top-left. Resize it to show six patches at a time. Below it, add a large Play/Stop button mapped to the Playback plug-in. Now head to Edit mode, click the Assign button, and map the Patch List's next/previous actions to two buttons on your MIDI controller. Map the Play/Stop button to a footswitch.
Duplicate the patch for each song and swap the backing file. For the synth solo moment, add a Channel EQ after Retro Synth and set a 3 dB boost at 2.5 kHz to cut through. Save the concert. In rehearsal, you tap the footswitch to start the track, play piano on strip 2, and tap the controller to move to the next song. When the solo arrives, your left hand moves to the synth keys while the right hand stays on piano—two sounds, one patch, zero menu diving.
Version 4.3.1 fixed a few rough edges that gigging musicians notice. The blocked MIDI SysEx messages are now flowing again, so hardware synths that rely on SysEx for patch dumps or parameter feedback work as expected. If your live rig includes older rack gear, this one matters.
Typing numbers into the Add Channel Strip window is back—small but welcome if you build large concerts and prefer the keyboard over dragging sliders. Sampler instruments now load the correct sounds every time, which avoids the awkward moment of hitting a key and hearing a glockenspiel instead of a string pad. The patch-switching bug triggered by keyboard value entry is also gone; you can dial in a compressor ratio without jumping to a different song by accident.
MIDI messages now reach the Scripter plug-in on patch change, which opens up cleaner set-list scripting. If you use a Scripter patch to send bank select messages or remap controllers, the handoff between patches feels tighter than in 4.3. For anyone who grabbed a mainstage for mac free download to test the waters, the 4.3.1 update makes the first rehearsal smoother—fewer unexplained quirks, more time playing.
Yes. MainStage works with Audio Unit plug-ins and can load instrument patches and sounds you've created or saved in Logic Pro and GarageBand.














Chat 0
Hop in or make an account to join the chat.
Quiet in here so far. If you have used this build, tell me what the install actually did.