
 Topaz Gigapixel AI
 Topaz Video AI
 ToothFairy
 TouchDesigner
 Traktor Pro
 Transmit
 Trimma
 TunesKit iPhone Unlocker


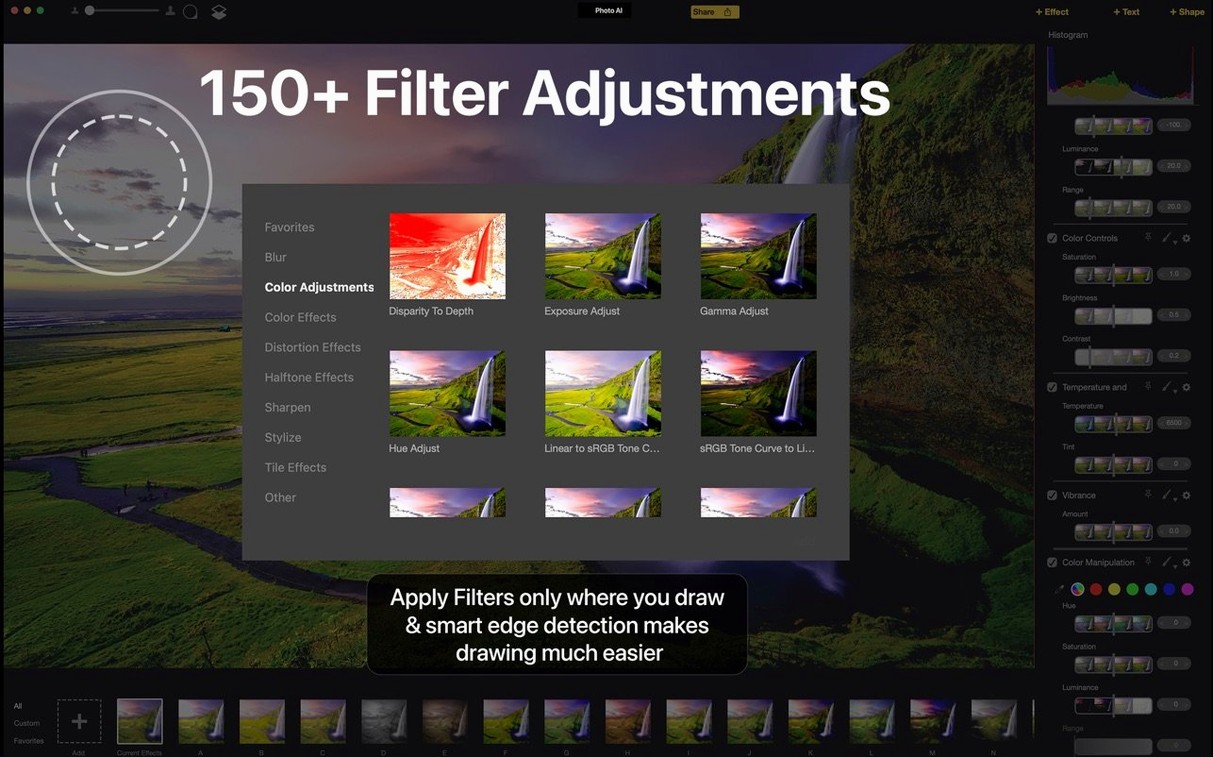
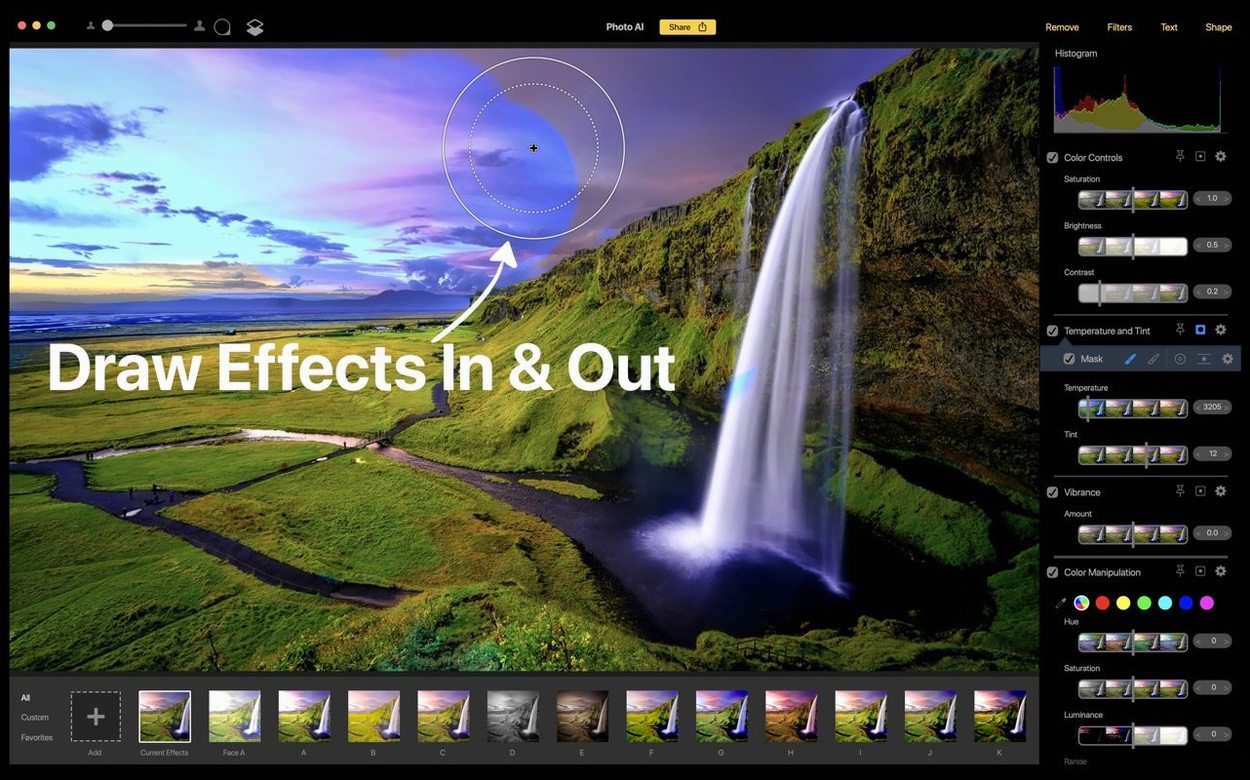
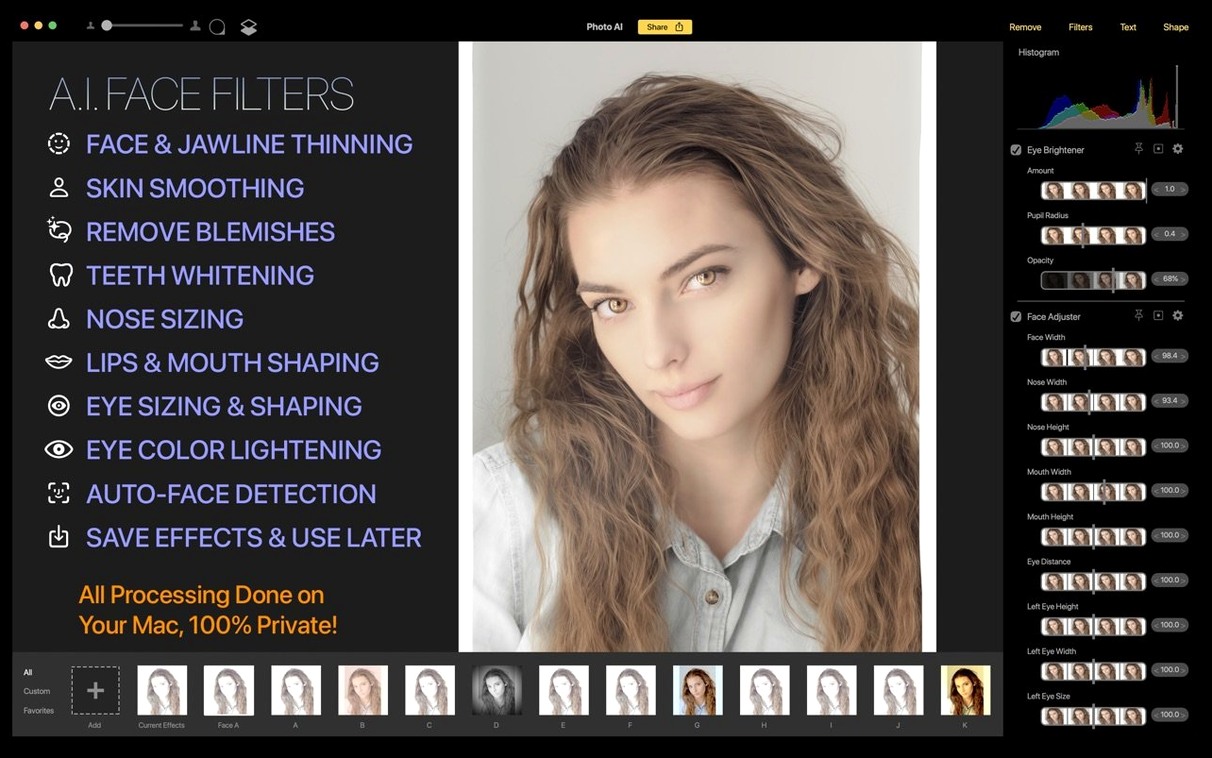
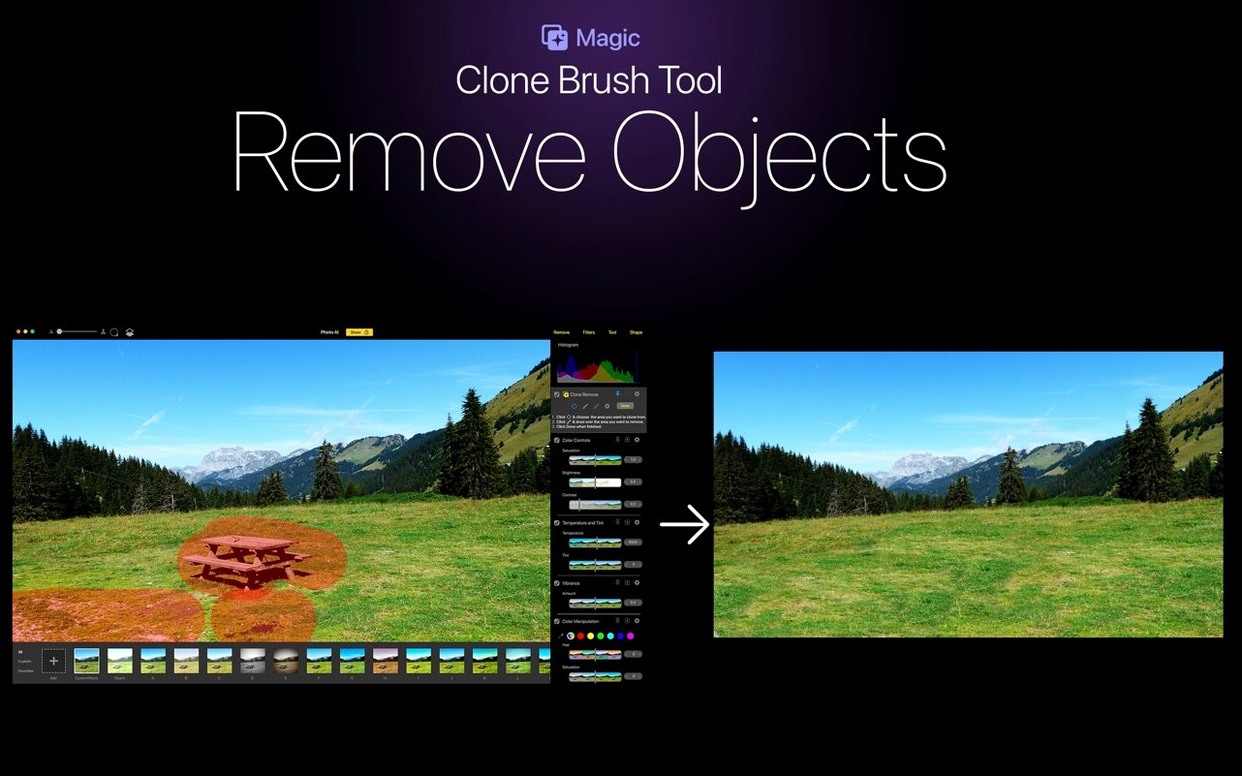
You open a folder of holiday shots, pick one that’s slightly soft, and watch the preview sharpen before you’ve touched a slider. Topaz Photo AI works on the image while you scan the rest, ready to export or tweak further.
Beyond the core AI fixes, the app lets you add text and shapes directly over an image — practical for quick annotations, social overlays or print layouts without jumping to another tool.
Once you’ve fixed a batch of photos, you’ll probably want them somewhere useful straight away. Topaz Photo AI doesn’t lock your images inside its own library — you save to whatever folder structure you already use. That means Finder tags, Spotlight comments and album workflows in other apps stay intact. Drag a corrected TIFF into Pixelmator Pro and keep editing, or open the folder in Preview to flick through before‑and‑after pairs with Quick Look.
The app acts as a pre‑press station more than a full editor. A common pattern: pull RAW files from a camera card into a dated folder, run the noisy ones through Photo AI, then import the cleaned versions into Photos or Lightroom Classic for cataloguing. Because it writes standard JPEG, TIFF or PNG files, anything that reads those formats — Luminar, Affinity Photo, even Keynote — picks them up without fuss.
On the system side, the app respects macOS colour management. It reads your display’s calibrated profile and embeds the working space you choose on export. If you use Sidecar with an iPad, the preview window drags across without glitching, though the interface isn’t optimised for touch — a Wacom or mouse feels more precise for mask brushing.
One less obvious link: the Services menu. Select an image in Finder, right‑click, and you can send it straight to Photo AI. The processed file lands back in the same folder with a suffix, so your originals stay untouched. Combine that with a Hazel rule that watches for “_enhanced” filenames, and you can auto‑sort finished shots without opening the app a second time.
No. All the AI models download once during setup and run locally on your Mac. You can turn off Wi‑Fi after that and keep processing — useful if you edit on a laptop out in the field. The only network activity is the optional check for model updates, which you can disable in preferences.
It’ll work, but patience helps. On a 2018 MacBook Pro with integrated graphics, a 24‑megapixel denoise pass might take 20–30 seconds. The app leans on the GPU when it can, so machines with discrete graphics fare better. If you batch overnight, the queue system handles crashes gracefully — it picks up where it left off after a restart.
Think of Photo AI as the focused predecessor. It contained the core denoise, sharpen, upscale and face recovery models. Topaz Photo, the current app, wraps those same models plus extras like lighting adjustments and preset‑based colour grading into one package. If all you need is noise reduction and sharpening, this version still delivers — the underlying engine is the same one photographers relied on before the rebrand.
Start small. Pick ten shots with different problems — high ISO noise, soft focus, a group photo where faces look smudged — and run them one at a time. Watch how the autopilot suggestions change per image. For most daylight shots, the default strength works; for astro or heavy shadow recovery, dial the sliders back about 15% to avoid crunchy edges.
Keep your originals in a subfolder called _raw and point exports to a sibling folder named _processed. It sounds fussy, but two weeks later you’ll be glad when you want to re‑edit without guessing which file was the starting point.
If you shoot portraits, test face recovery on a tight crop before committing to a whole gallery. The model sometimes over‑sharpens glasses frames or jewellery, so you may want to mask those areas out with a quick brush stroke. The mask tool is basic — soft edge, adjustable opacity — but enough to protect details that don’t need AI help.














Chat 0
Hop in or make an account to join the chat.
Quiet in here so far. If you have used this build, tell me what the install actually did.