
 extraDock
 Elmedia Player Pro
 Fender Studio Pro
 Fig Player - play mp4 mkv mp3
 File List Export
 DynamicLake Pro
 DxO PhotoLab


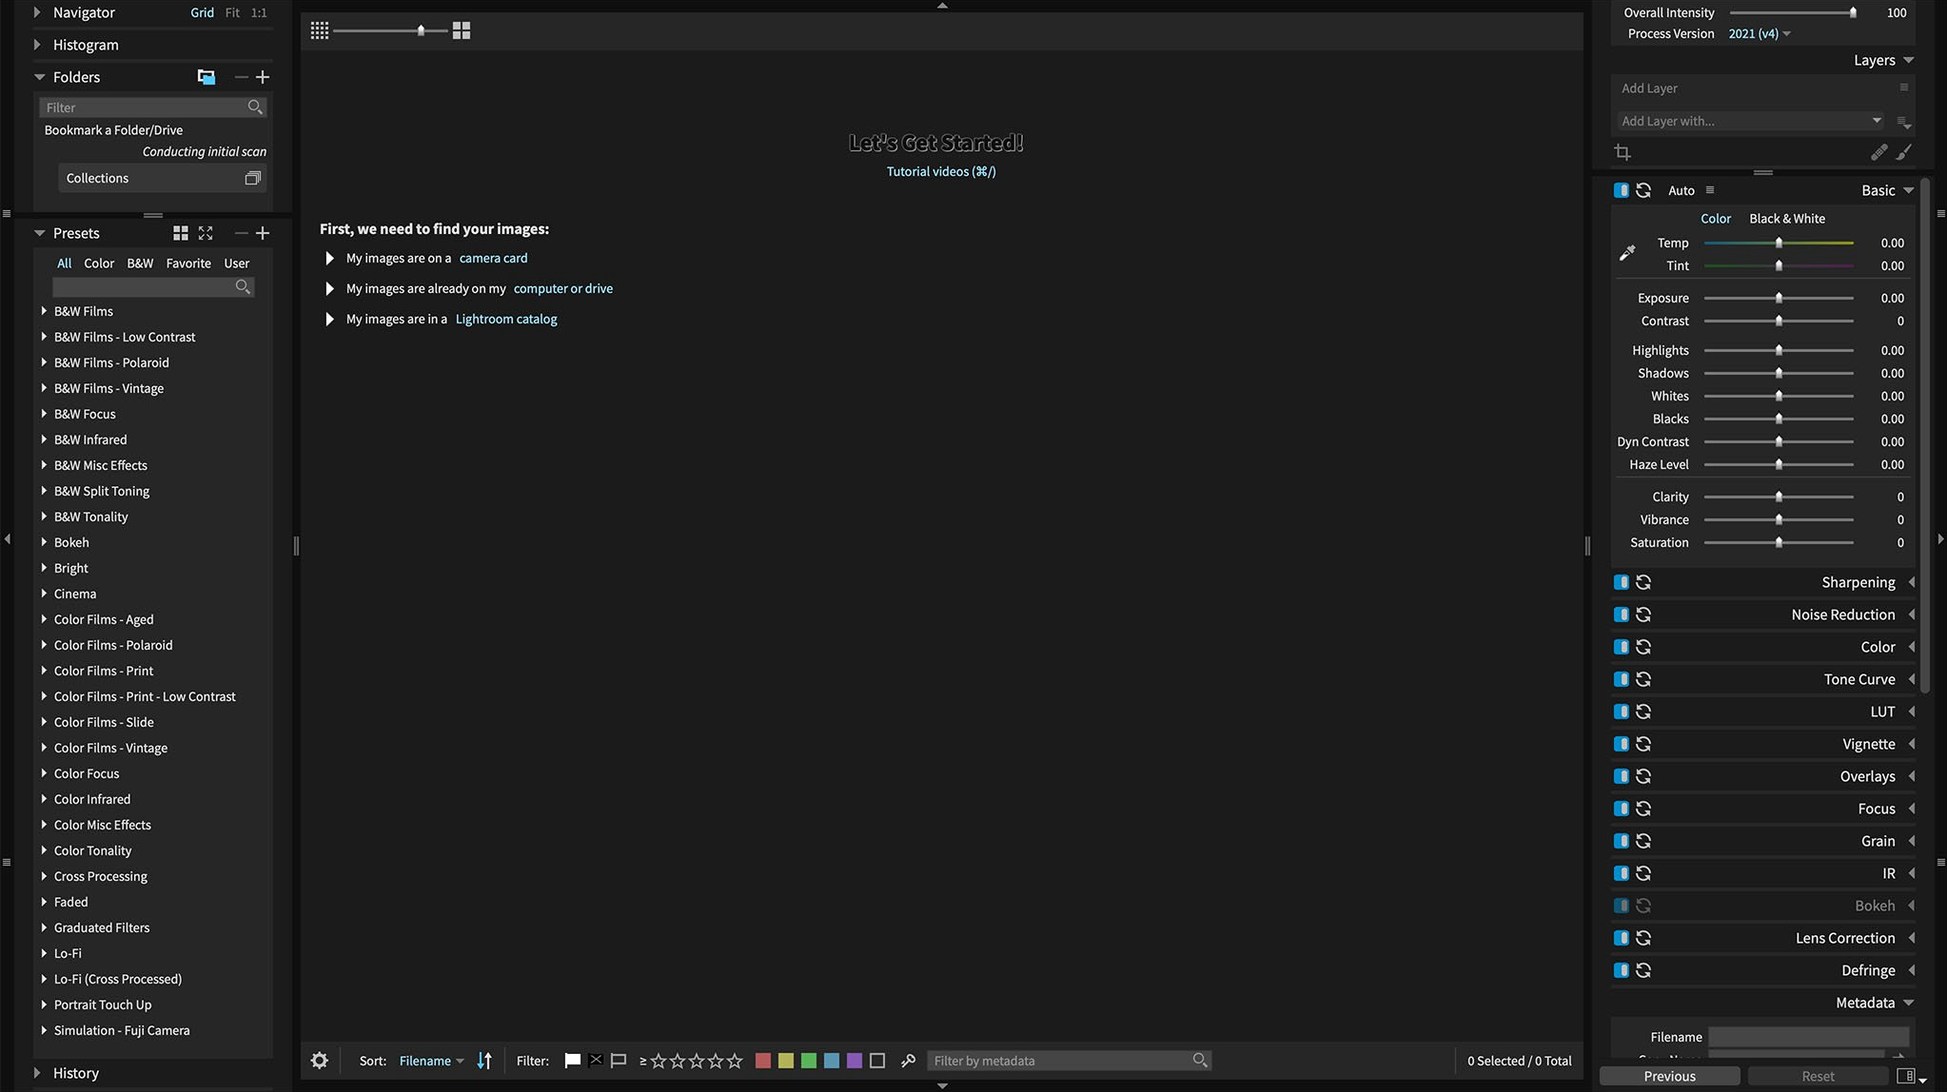
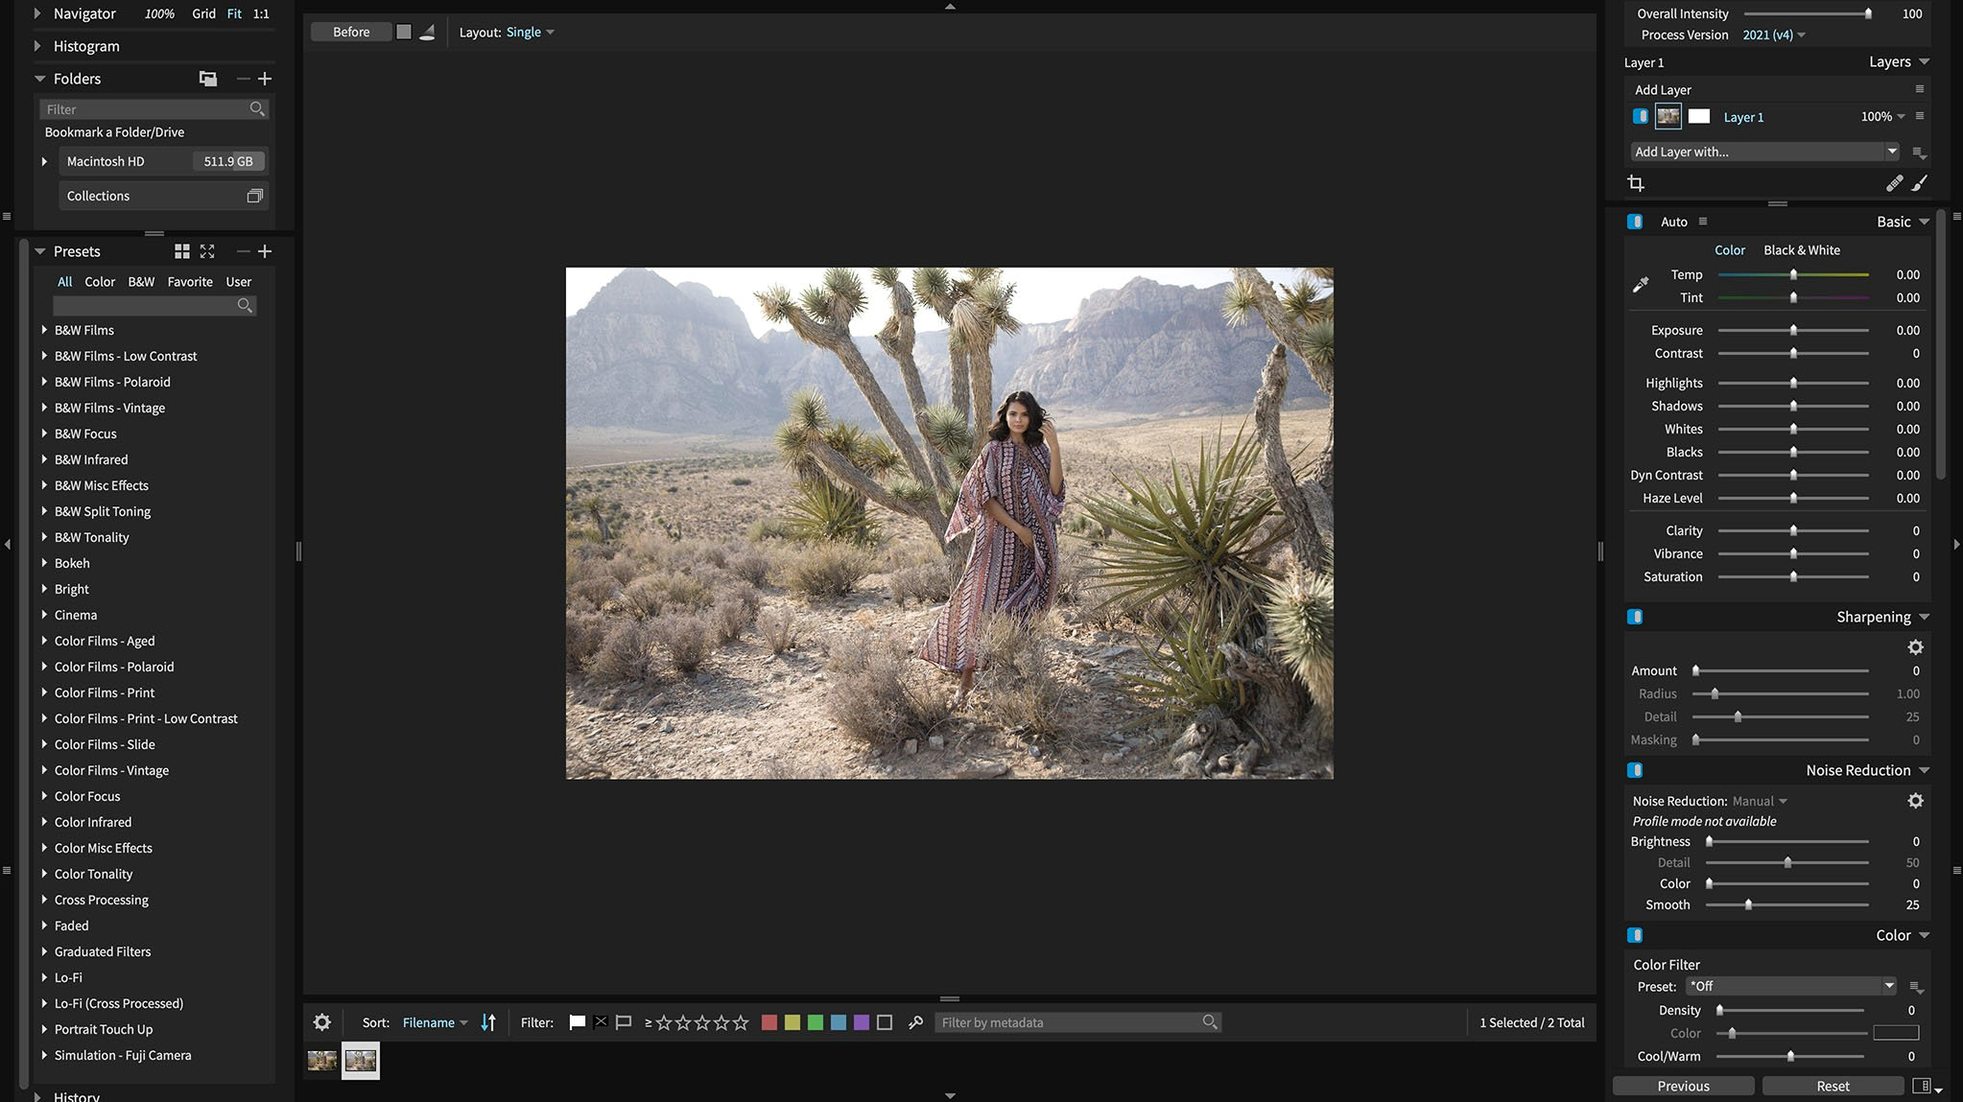
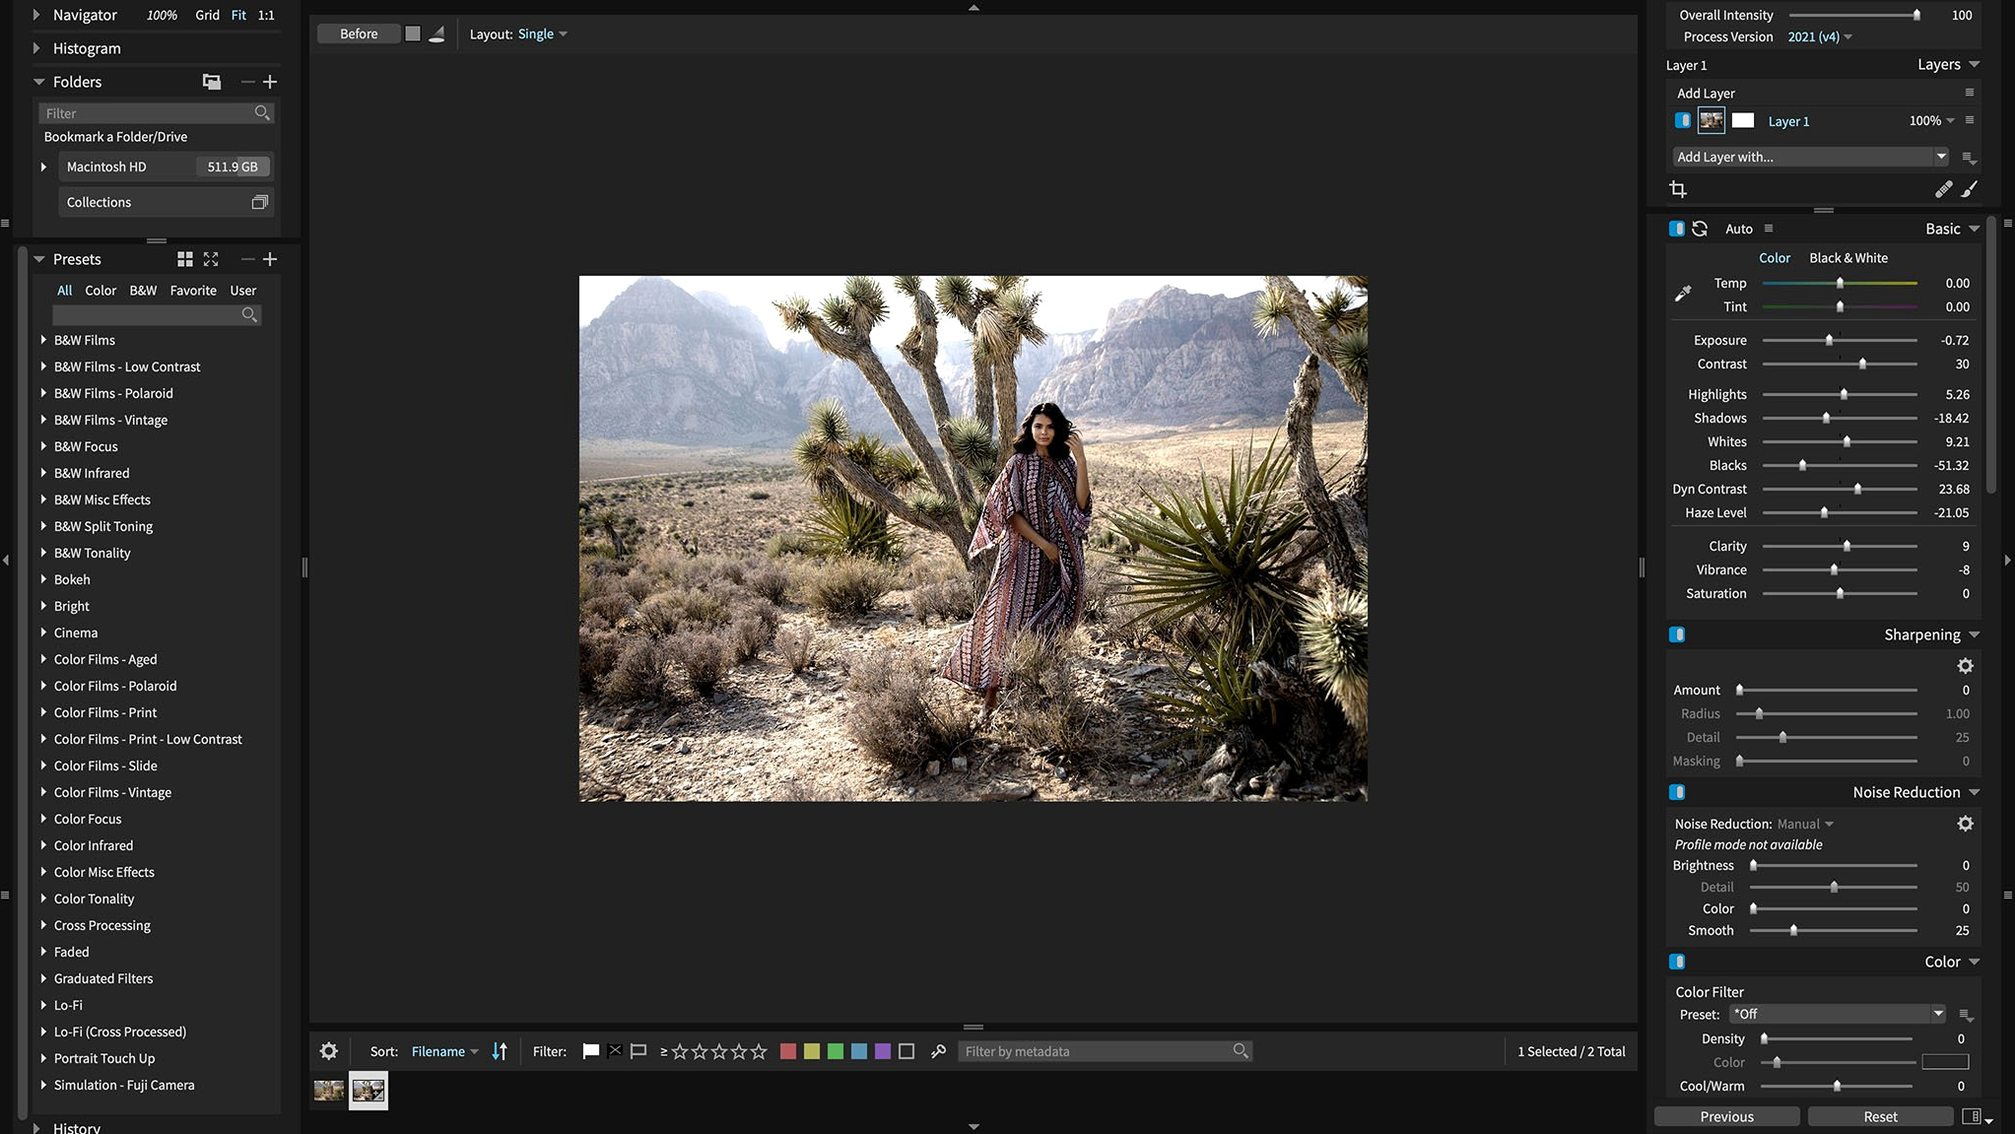
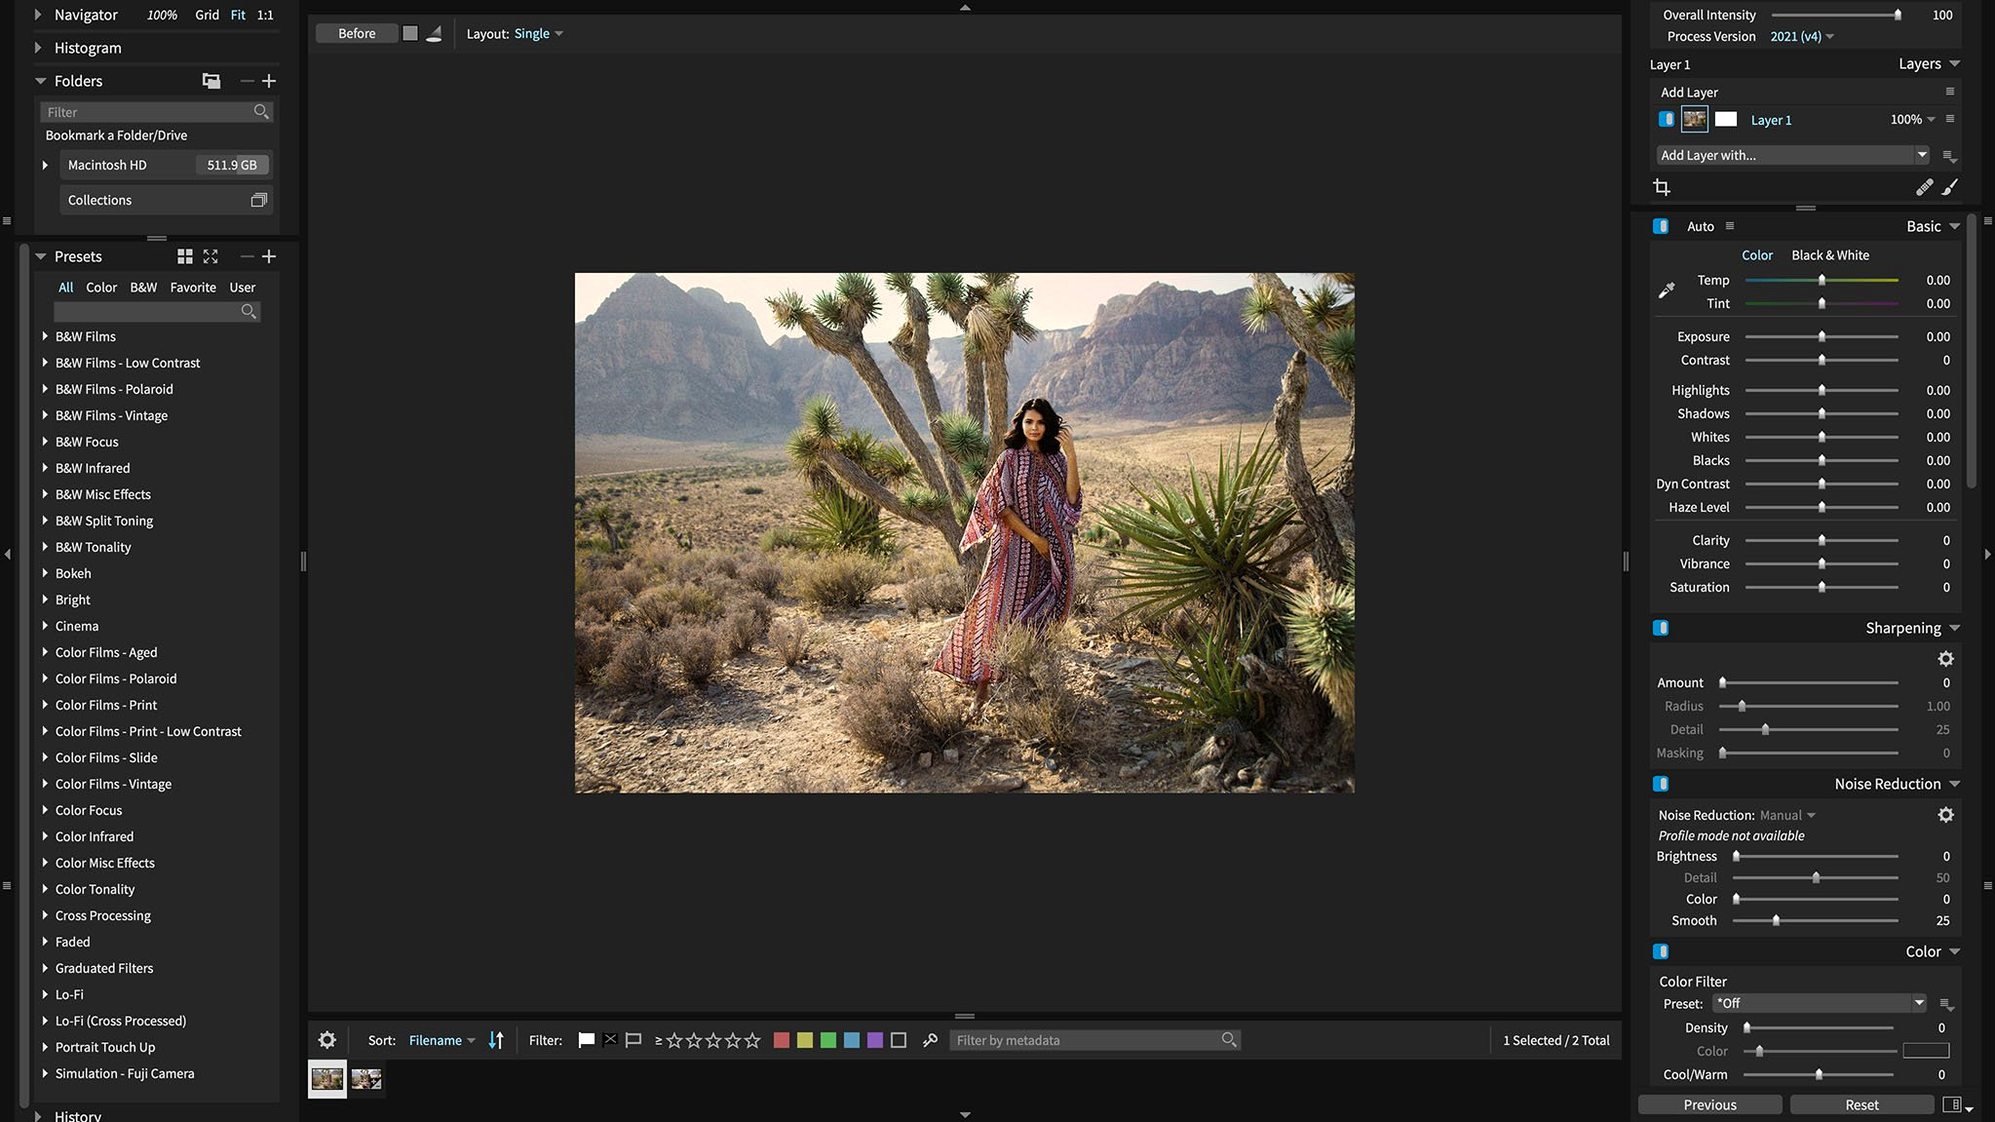
You're back from a shoot with a card full of Sony A7 IV files and a few iPhone HEICs. You mount the card, point Exposure X7 at the folder, and start culling with keyboard shortcuts. One file gets a black‑and‑white film preset, another needs a quick portrait retouch, and a third gets sent to Photoshop as a layered PSD — all without leaving the same library.
Think of a catalog as your main mix bus. Folders and keywords keep takes organised, while collections and smart collections act like track stacks you can recall instantly. A raw file lands on a non‑destructive layer stack; you push an automatic adjustment, refine it with a 3D colour mask, then route the shot to Lightroom Classic or Photoshop as a plugin if you need pixel‑level work. The round‑trip keeps the original safe.
Quick portrait sessions lean on the retouching tools and automatic adjustments — clean skin, even light, done. Event shoots with mixed cameras rely on the expanded raw support: Panasonic G95D, S5 IIX, Sony RX100M7, and iPhone HEICs all ingest side by side. When a batch needs the same film look, applying a preset across a selection feels like sending a group to an aux bus. The recent fixes for Sony A7 IV lossless compressed rendering and the black‑and‑white film preset crash make the 7.3.0 update a solid maintenance release.
Don't try to master every feature on day one. Drop a folder of raw files into a new catalog and let the automatic adjustment show its hand — often it nails exposure and contrast well enough that you just tweak the shadows slider and move on. Spend ten minutes browsing the preset browser. Favourite six or eight you actually see yourself using, then ignore the rest until next month.
Set up a watched folder on your desktop. Drop fresh shots in there after a shoot and Exposure X7 pulls them into the current catalog without you opening an import dialog. If Lightroom Classic is your regular hub, install the plugin early and test a round‑trip on three images so you know the rhythm before a deadline hits. The plugin connection remembers your last export settings, so the second round‑trip takes half the clicks.
Keyboard shortcuts speed up culling: use the tilde key for full‑screen preview, arrow keys to move through frames, and a single digit to apply your top presets. Good to know: smart collections based on camera model and star rating will quietly sort a messy catalog while you sleep.
Against Adobe Lightroom Classic, Exposure X7 feels lighter on its feet for culling and preset browsing. Lightroom's cataloging runs deeper — face recognition, geo‑mapping, book and slideshow modules — but Exposure X7 swaps that breadth for a tidy layout where the library, edits and export queue sit in one window with no module‑switching lag. Plugin support goes both ways, so you can keep Lightroom as the librarian and hand raw processing to Exposure X7 when you want the film presets or the 3D colour masking.
Next to Capture One Pro, the masking tools tell the story. Capture One gives you layers and luminosity masks with fine‑grained control; Exposure X7 counters with 3D colour masking that pulls a selection from hue, saturation and lightness in one move. For a quick product shot on a busy background, Exposure X7 isolates the subject faster. Capture One wins on tethering and session workflows; Exposure X7 is easier to pick up cold on a Saturday morning.
Compared with ON1 Photo RAW, both lean into non‑destructive layers and preset‑driven editing. ON1 bundles in HDR and focus stacking; Exposure X7 skips those but feels snappier on older Intel Macs thanks to GPU optimisation. If you often send files to Photoshop as layered PSDs, the plugin handoff in Exposure X7 keeps file naming predictable, which ON1 sometimes muddles with its own sidecar format.
Yes, it plugs into Adobe Lightroom 6, Lightroom Classic CC, and Photoshop, letting you send images back and forth with non‑destructive layers intact.














Chat 0
Hop in or make an account to join the chat.
Quiet in here so far. If you have used this build, tell me what the install actually did.