
 Little Snitch
 Live Home 3D Pro
 Logic Pro
 LaunchOS
 LanScan
 Loop Mash Up Pro
 Loopback
 Luminar AI


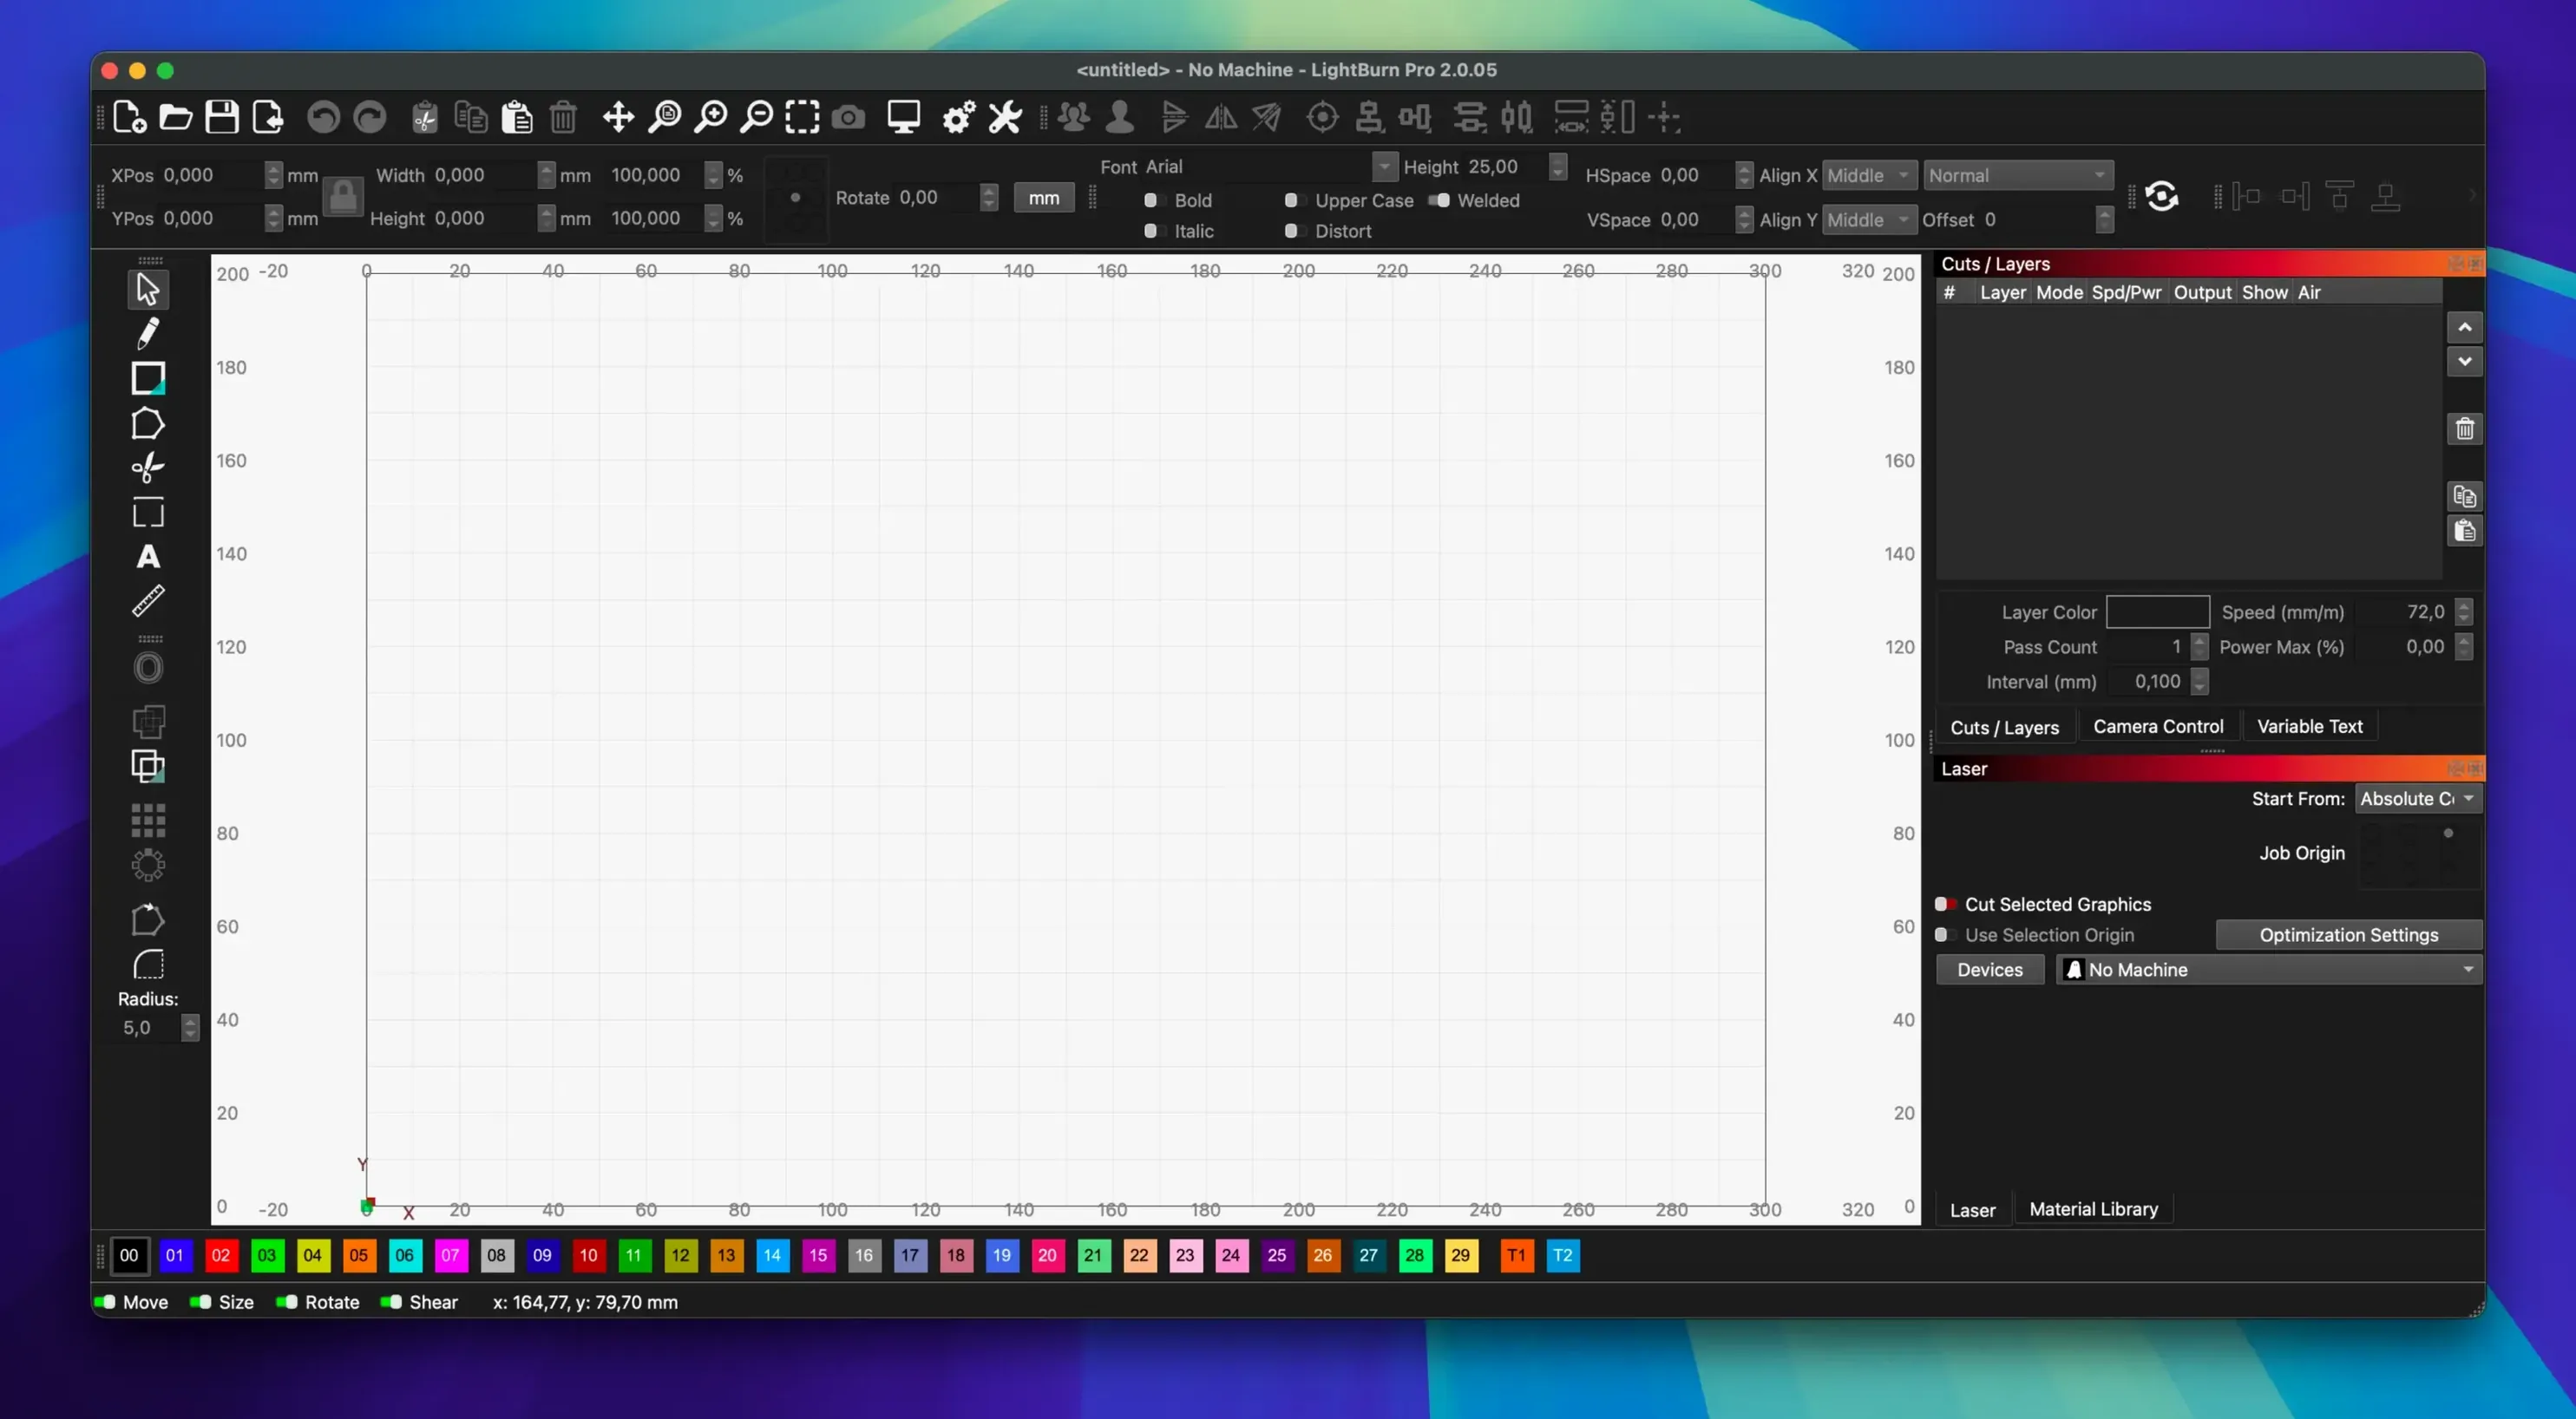
Variable power mapping is where a simple job turns into a finely tuned production run. LightBurn’s control panel lets you assign different speeds and power levels to individual layers, so you get clean etching and deep cuts in a single pass without touching the machine. The software combines layout, editing, and direct laser control in one native Mac app.
Rosetta is required on Apple Silicon Macs, and the download runs natively on Intel hardware. macOS 10.13 or later is the floor, so older workshop laptops stay in the game.
Fresh out of the DMG, LightBurn leans conservative. A few quick tweaks make it feel like yours.
You’ve got a clean sheet of 3mm birch ply on the bed and a sketch in your head. Here’s how thirty minutes with LightBurn plays out.
You open a fresh workspace and drag in a PNG logo from a client email. The image sits on the canvas as a flat bitmap. Right-click, select Trace Image, and adjust the threshold slider until the preview shows sharp edges where you need them. One click generates a vector outline. You delete the original bitmap; the vectors stay behind, ready for cut assignment.
Next, you decide the logo needs a circular coaster background. You grab the Circle tool, hold Shift to constrain the radius, and draw it around the traced graphic. With both selected, the Align Tools palette centres them in one tap. A quick boolean weld merges overlapping letters into a single shape so the laser doesn’t cut through internal strokes twice.
Now the layer panel gets busy. You assign the outer circle to a red “Line” layer with 12 mm/s at 75% power—two passes, because this ply has a dense glue line. The inner engraving goes to a black “Fill” layer: 200 mm/s, 18% power, Jarvis dithering for a soft shaded look. The material library already has a birch preset; you load it, then override the fill speed to account for today’s humidity.
You click Frame and the laser head traces the bounding box at low power, letting you nudge the ply into perfect alignment. Satisfied, you hit Start. The Preview runs the toolpath on screen first—always worth the ten seconds—and then the beam fires. While it burns, you save the project with embedded cut settings so next week’s repeat order is two clicks away.
The jump to LightBurn 2.0 wasn’t cosmetic. Three things shifted in everyday sessions.
The Edit Nodes toolbar now sits at the top of the canvas instead of hiding in a right-click menu. You can delete, add, or break nodes without interrupting your flow. It makes hand-tracing corrections feel like working in a proper vector app, not a bolt-on. If you trace a lot of scanned sketches—logos from napkin drawings, say—you’ll use this constantly.
Camera Calibration got smarter. Earlier versions required patience and a printed grid; 2.0 refined the alignment overlay and handling of lens distortion, so positioning a job over live camera feed is less fiddly. Tumbler users running rotary setups noticed the difference first, but even flatbed alignment benefits when you switch between lens heights.
On the fit-and-finish side, the latest point release squashed a few annoyances: window title bars that wandered off on multi-monitor setups, rotary jogging that reversed in CCW mode, and a crash triggered by certain ungrouped SVG DEF shapes. These were edge cases, but if you rely on batch SVG imports—say, weekly production files from a designer’s template pack—it’s the difference between a smooth run and a restart.
If you’re weighing a lightburn download torrent to test these features yourself, the current build includes all 2.0 improvements in one package. The DMG drops the same clean drag-to-install workflow on any Intel Mac, and Rosetta handles the rest on Apple Silicon.
Yes, the current x86 64-bit build requires Rosetta on Apple Silicon Macs to run properly.














Chat 0
Hop in or make an account to join the chat.
Quiet in here so far. If you have used this build, tell me what the install actually did.