
 Pixea Plus
 Pixologic Zbrush
 Picview - Image Viewer
 Plasticity
 PhotoScape X Pro
 PlistEdit Pro
 Photomator
 Photo Mechanic


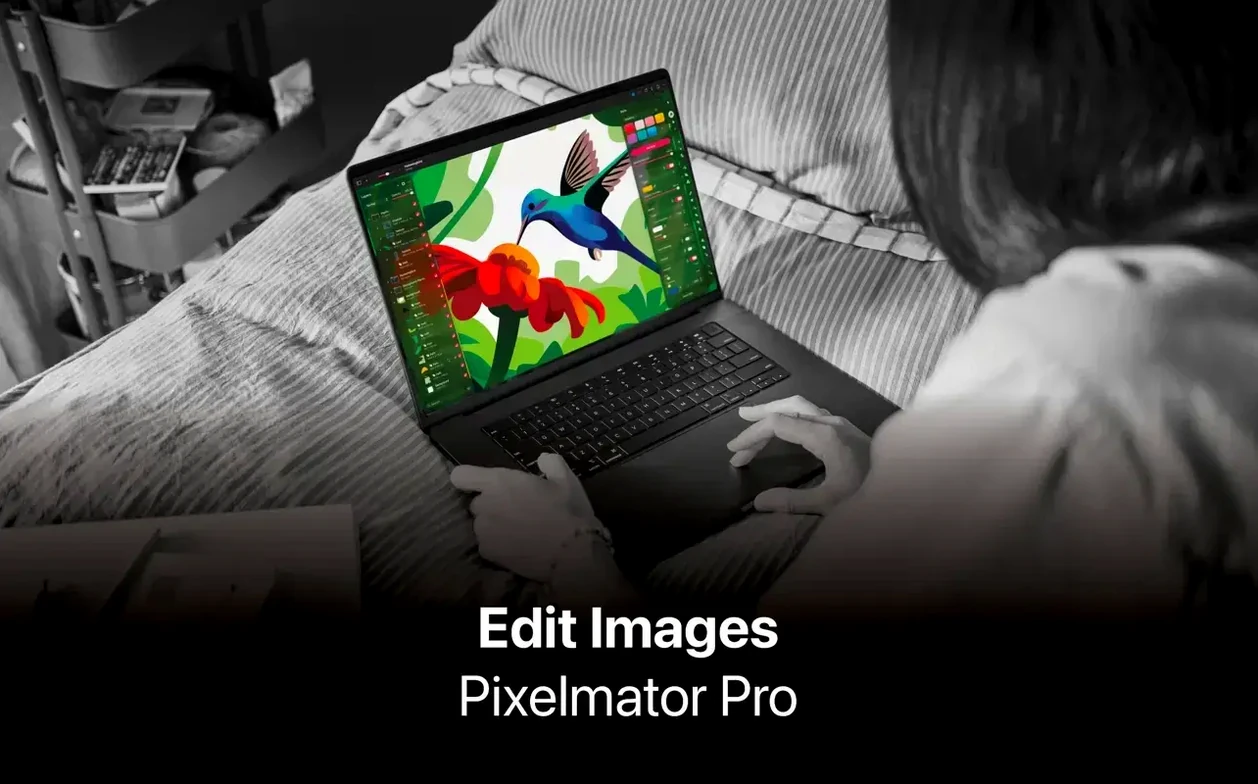
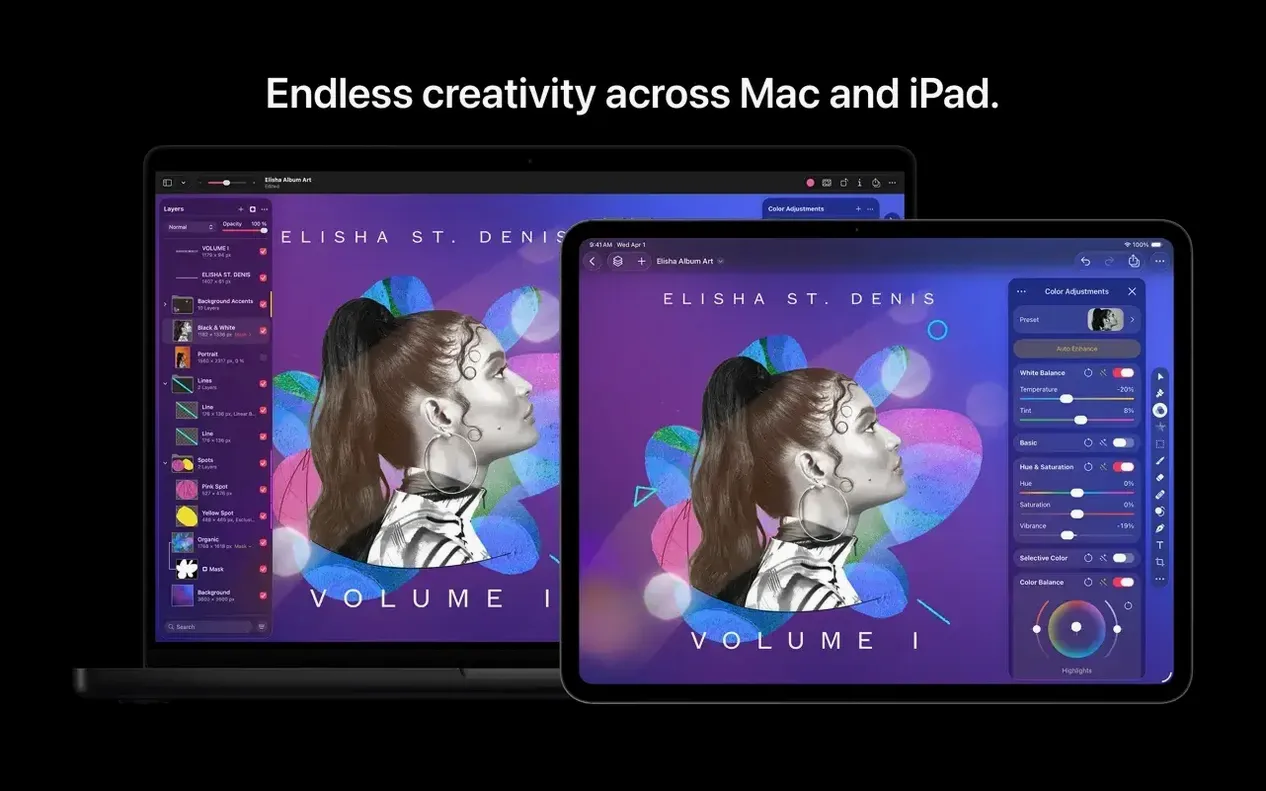
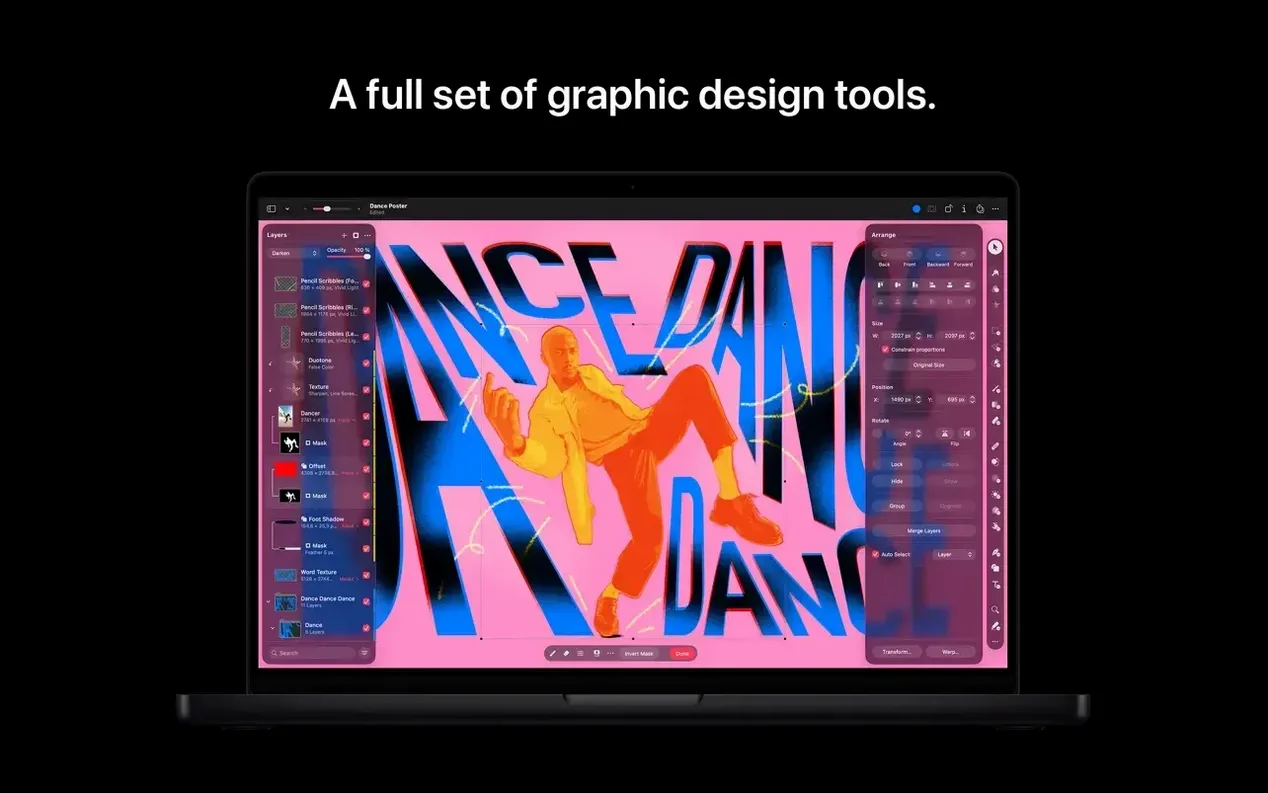
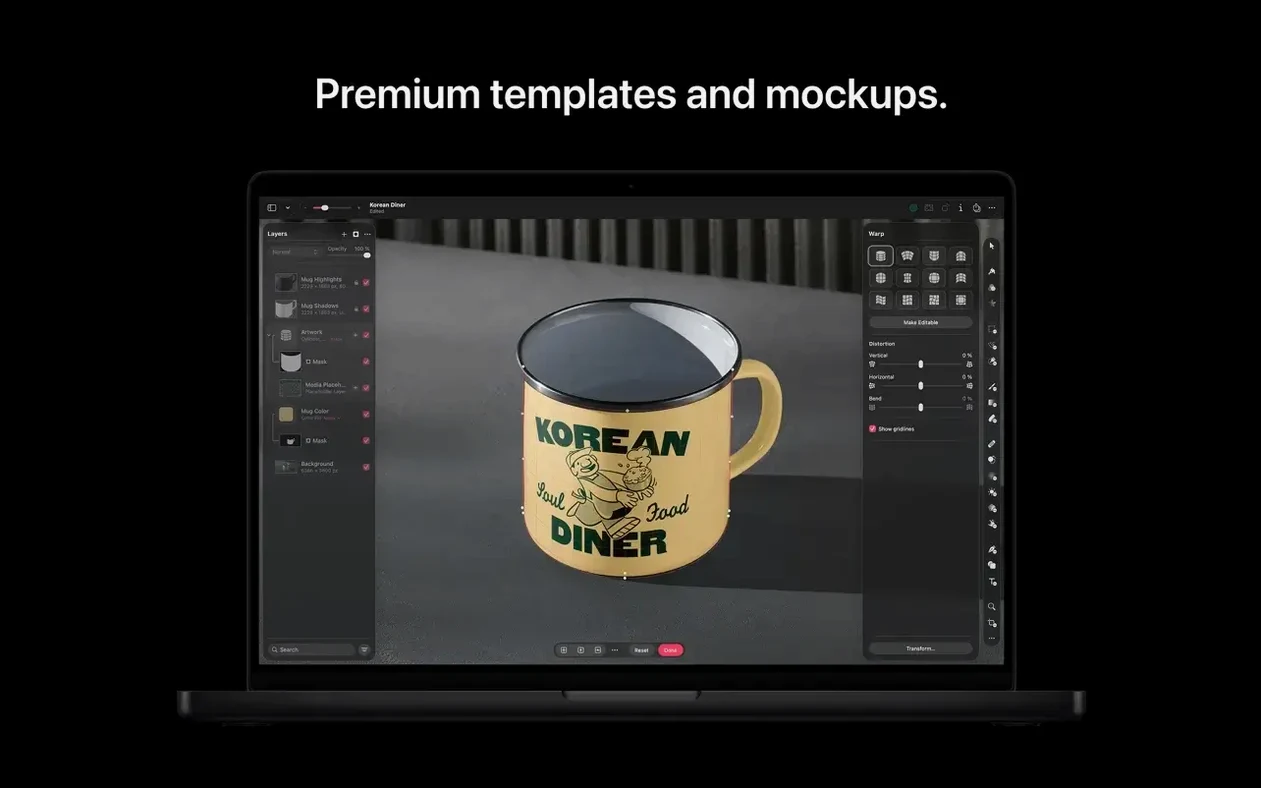
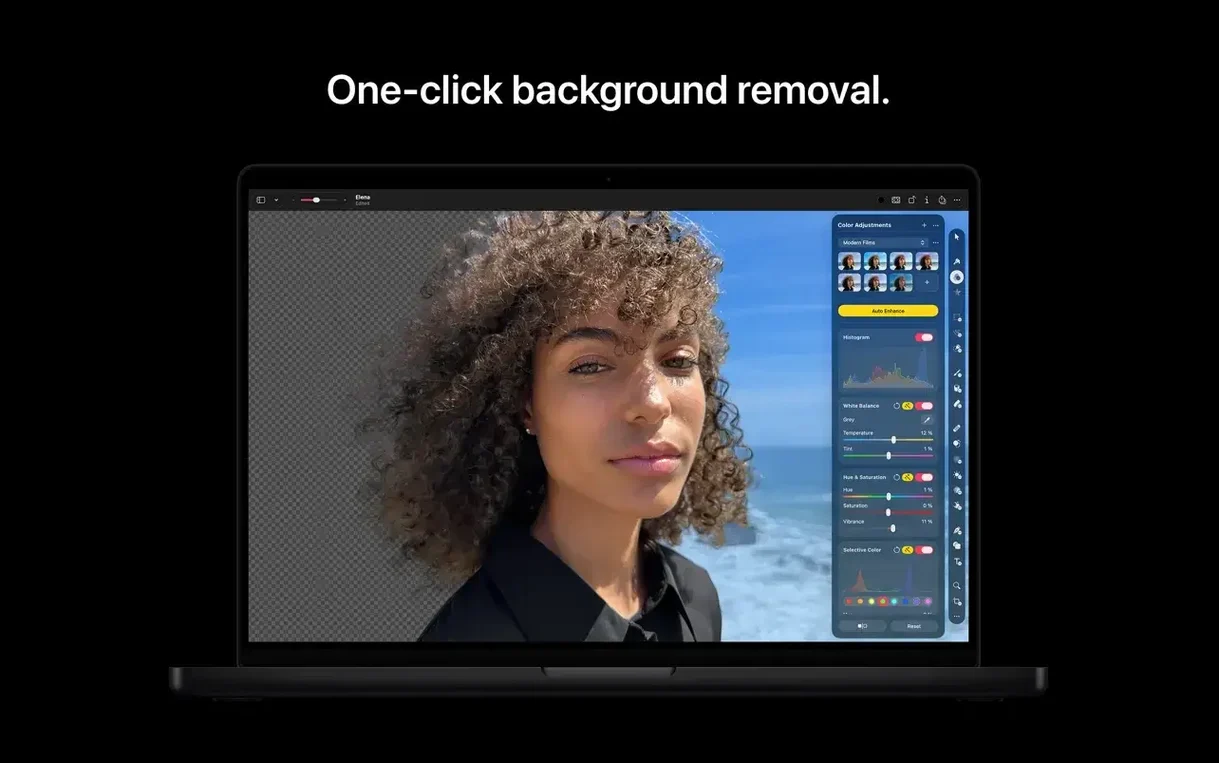
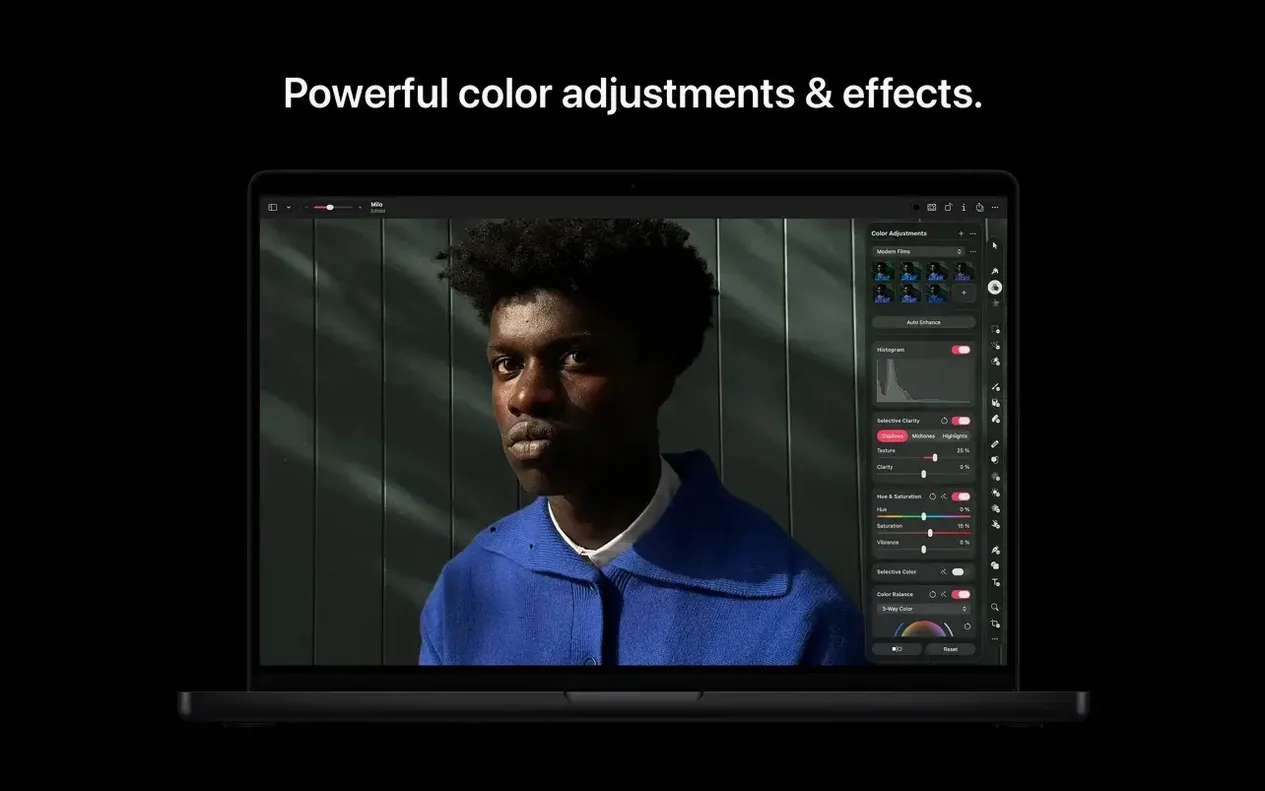
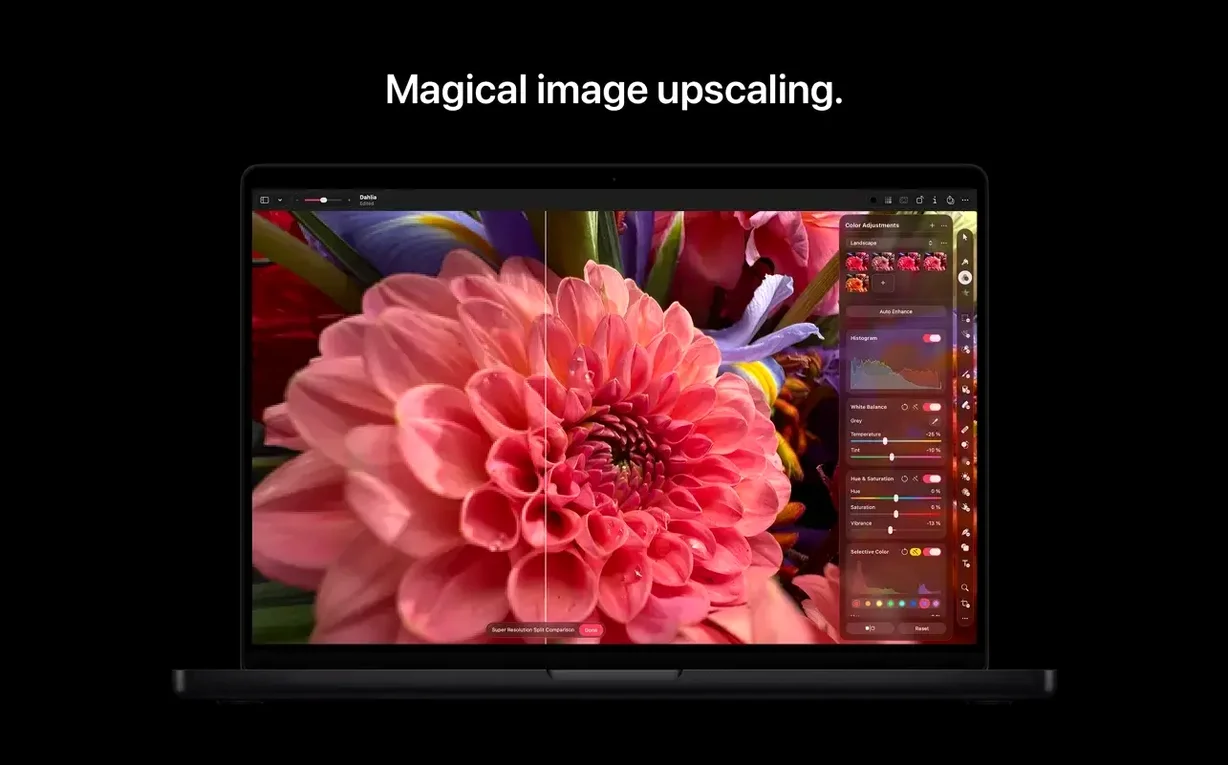
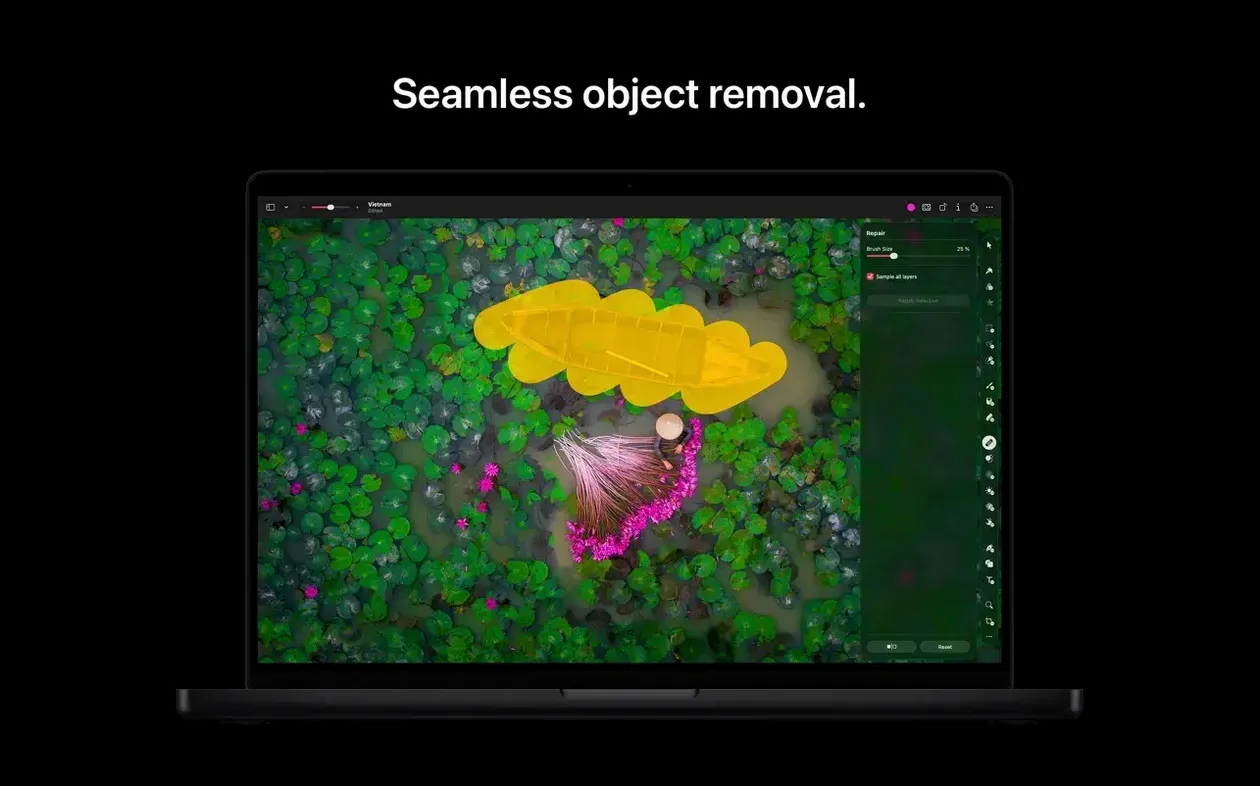
Version 4.3 brings three generation tools that change how you start a project. Describe a scene and Generate Image paints it. Feed in a photo and Generate from Image lets you tweak it with words. Need a crisp icon? Describe the shape and it builds an editable vector. These sit alongside a new Content Hub that drops stock photos, graphics and shapes straight onto the canvas.
Pixelmator Pro lives on your Mac, not in a browser. That matters when you’re bouncing between apps.
The app runs natively on Apple silicon and talks to VoiceOver and Switch Control — accessibility got a proper lift in this release. Interface languages span Russian through Japanese, so it fits teams spread across time zones.
You open a raw file from a morning shoot — slightly underexposed, flat light. The single-window layout shows the photo on the left, a slim tool palette on the right. No floating panels to chase around a second display.
First move: tap the ML Enhance button. The app reads the image with Core ML, lifts the shadows, reins in the highlights, and nudges the white balance — all in one go. It usually lands close. Today it does.
Next you add a curves adjustment layer. Drag the midpoint up a touch, pull the blacks down just shy of clipping. Because layers are non-destructive, you can revisit this curve next week without unpicking later edits.
The corner of the frame has a power line you don't want. Switch to the Repair tool, set the brush slightly wider than the wire, and paint over it. The tool samples surrounding texture and blends it in. Two strokes and it's gone.
Now you want to push the sky. Add a colour adjustment layer, mask it with a quick gradient, and shift the blue hue toward teal. The mask keeps the foreground warm. You drag the opacity slider back to 70% — strong but not poster-like.
Time to add text. Click the Type tool, type the location name, pick a sans-serif from the font menu. Scale it up, align it bottom-left, then lower the layer fill to 40% so it sits quietly against the hills.
Final step: File > Share > Add to Photos. The edited image lands back in your library, non-destructive layers intact inside the Pixelmator document saved alongside it.
A designer at a small agency gets a brief at 3pm: carousel post for a coffee brand, needed by 4. She pulls a product shot from Photos, opens it in Pixelmator Pro, and crops to square.
From the new Content Hub she grabs a warm-toned stock background and drops it behind the cup. Blending mode: Multiply on the cup layer makes the product sit naturally against the background grain.
She needs a stylised coffee bean shape for the third slide. Instead of hunting through vector packs, she types "coffee bean silhouette minimal" into the shape generator. It returns an editable vector. She scales it, fills it with the brand gold, and duplicates it three times across the canvas.
One slide needs the beans to look sketched. She selects a vector bean, switches to the Brush tool, and traces over it quickly with a charcoal-style brush — the vector acts as an underlay. She deletes the vector, keeps the hand-drawn line, and the slide looks bespoke.
She exports all four slides as JPEGs and drops them into a Mail message. The client gets the preview before 4pm.
Photographers who shoot raw and want quick, layered edits without switching to a subscription app. The non-destructive workflow and direct Photos integration mean they can bounce between a shoot and a clean edit without exporting intermediates.
Designers and illustrators working inside Apple's ecosystem. If your day moves through Keynote, Pages, Freeform and Xcode, Pixelmator Pro reads and writes the formats that matter — SVG, PSD, HEIF, TIFF — and shares straight to those apps. You're not round-tripping through a browser or a third-party converter.
Accessibility-conscious teams. Version 4.3 tightened Switch Control and VoiceOver support, so users navigating by assistive technology can move through layers, adjustments and tools with less friction. Interface languages covering eleven locales help distributed teams stay in their own language.
Anyone who needs to generate and refine assets without leaving the canvas. The generation tools aren't walled off in a separate panel — they're part of the same layer stack, so a generated image or vector shape can be masked, blended and adjusted like any other layer.
Before 4.3, you started a composite by sourcing elements elsewhere — stock libraries, vector packs, your own photo library. Now the Content Hub sits inside the app. A photo, graphic or shape is a drag away. It cuts the app-switching that used to eat the first ten minutes of a layout.
Generate Image changed how placeholder work gets done. Instead of mocking up a scene with rough shapes, you describe it and get a full-colour image to build around. It's fast enough to try three or four variations while the brief is still open.
Generate from Image turned "can we try this in blue?" into a text prompt rather than a ten-minute recolour job. You describe the shift — "deep navy background, keep the subject warm" — and the tool reinterprets the source. It's not a filter; it's a reinterpretation, so results vary, but the iteration speed is new.
Custom vector shapes from text descriptions mean icon and badge work no longer starts from scratch. Need a mountain outline, a gear cluster or a leaf shape? Type it, get an editable path, tweak the points. The generator handles the rough construction; you handle the refinement.
Accessibility improvements mean users relying on assistive tech aren't locked out of these new tools. The generation workflows were built with Switch Control navigation in mind from this version onward, which is rare in image editors.
Yes, it opens and edits SVG vector files, letting you tweak paths and shapes directly on your Mac.














Chat 0
Hop in or make an account to join the chat.
Quiet in here so far. If you have used this build, tell me what the install actually did.