
 Vivid
Vivid VideoProc Converter AI
 ViWizard Spotify Music Converter
 VideoByte BD-DVD Ripper
 VMware Fusion Pro
 Vector Magic
 WALTR PRO
 WidgetWall


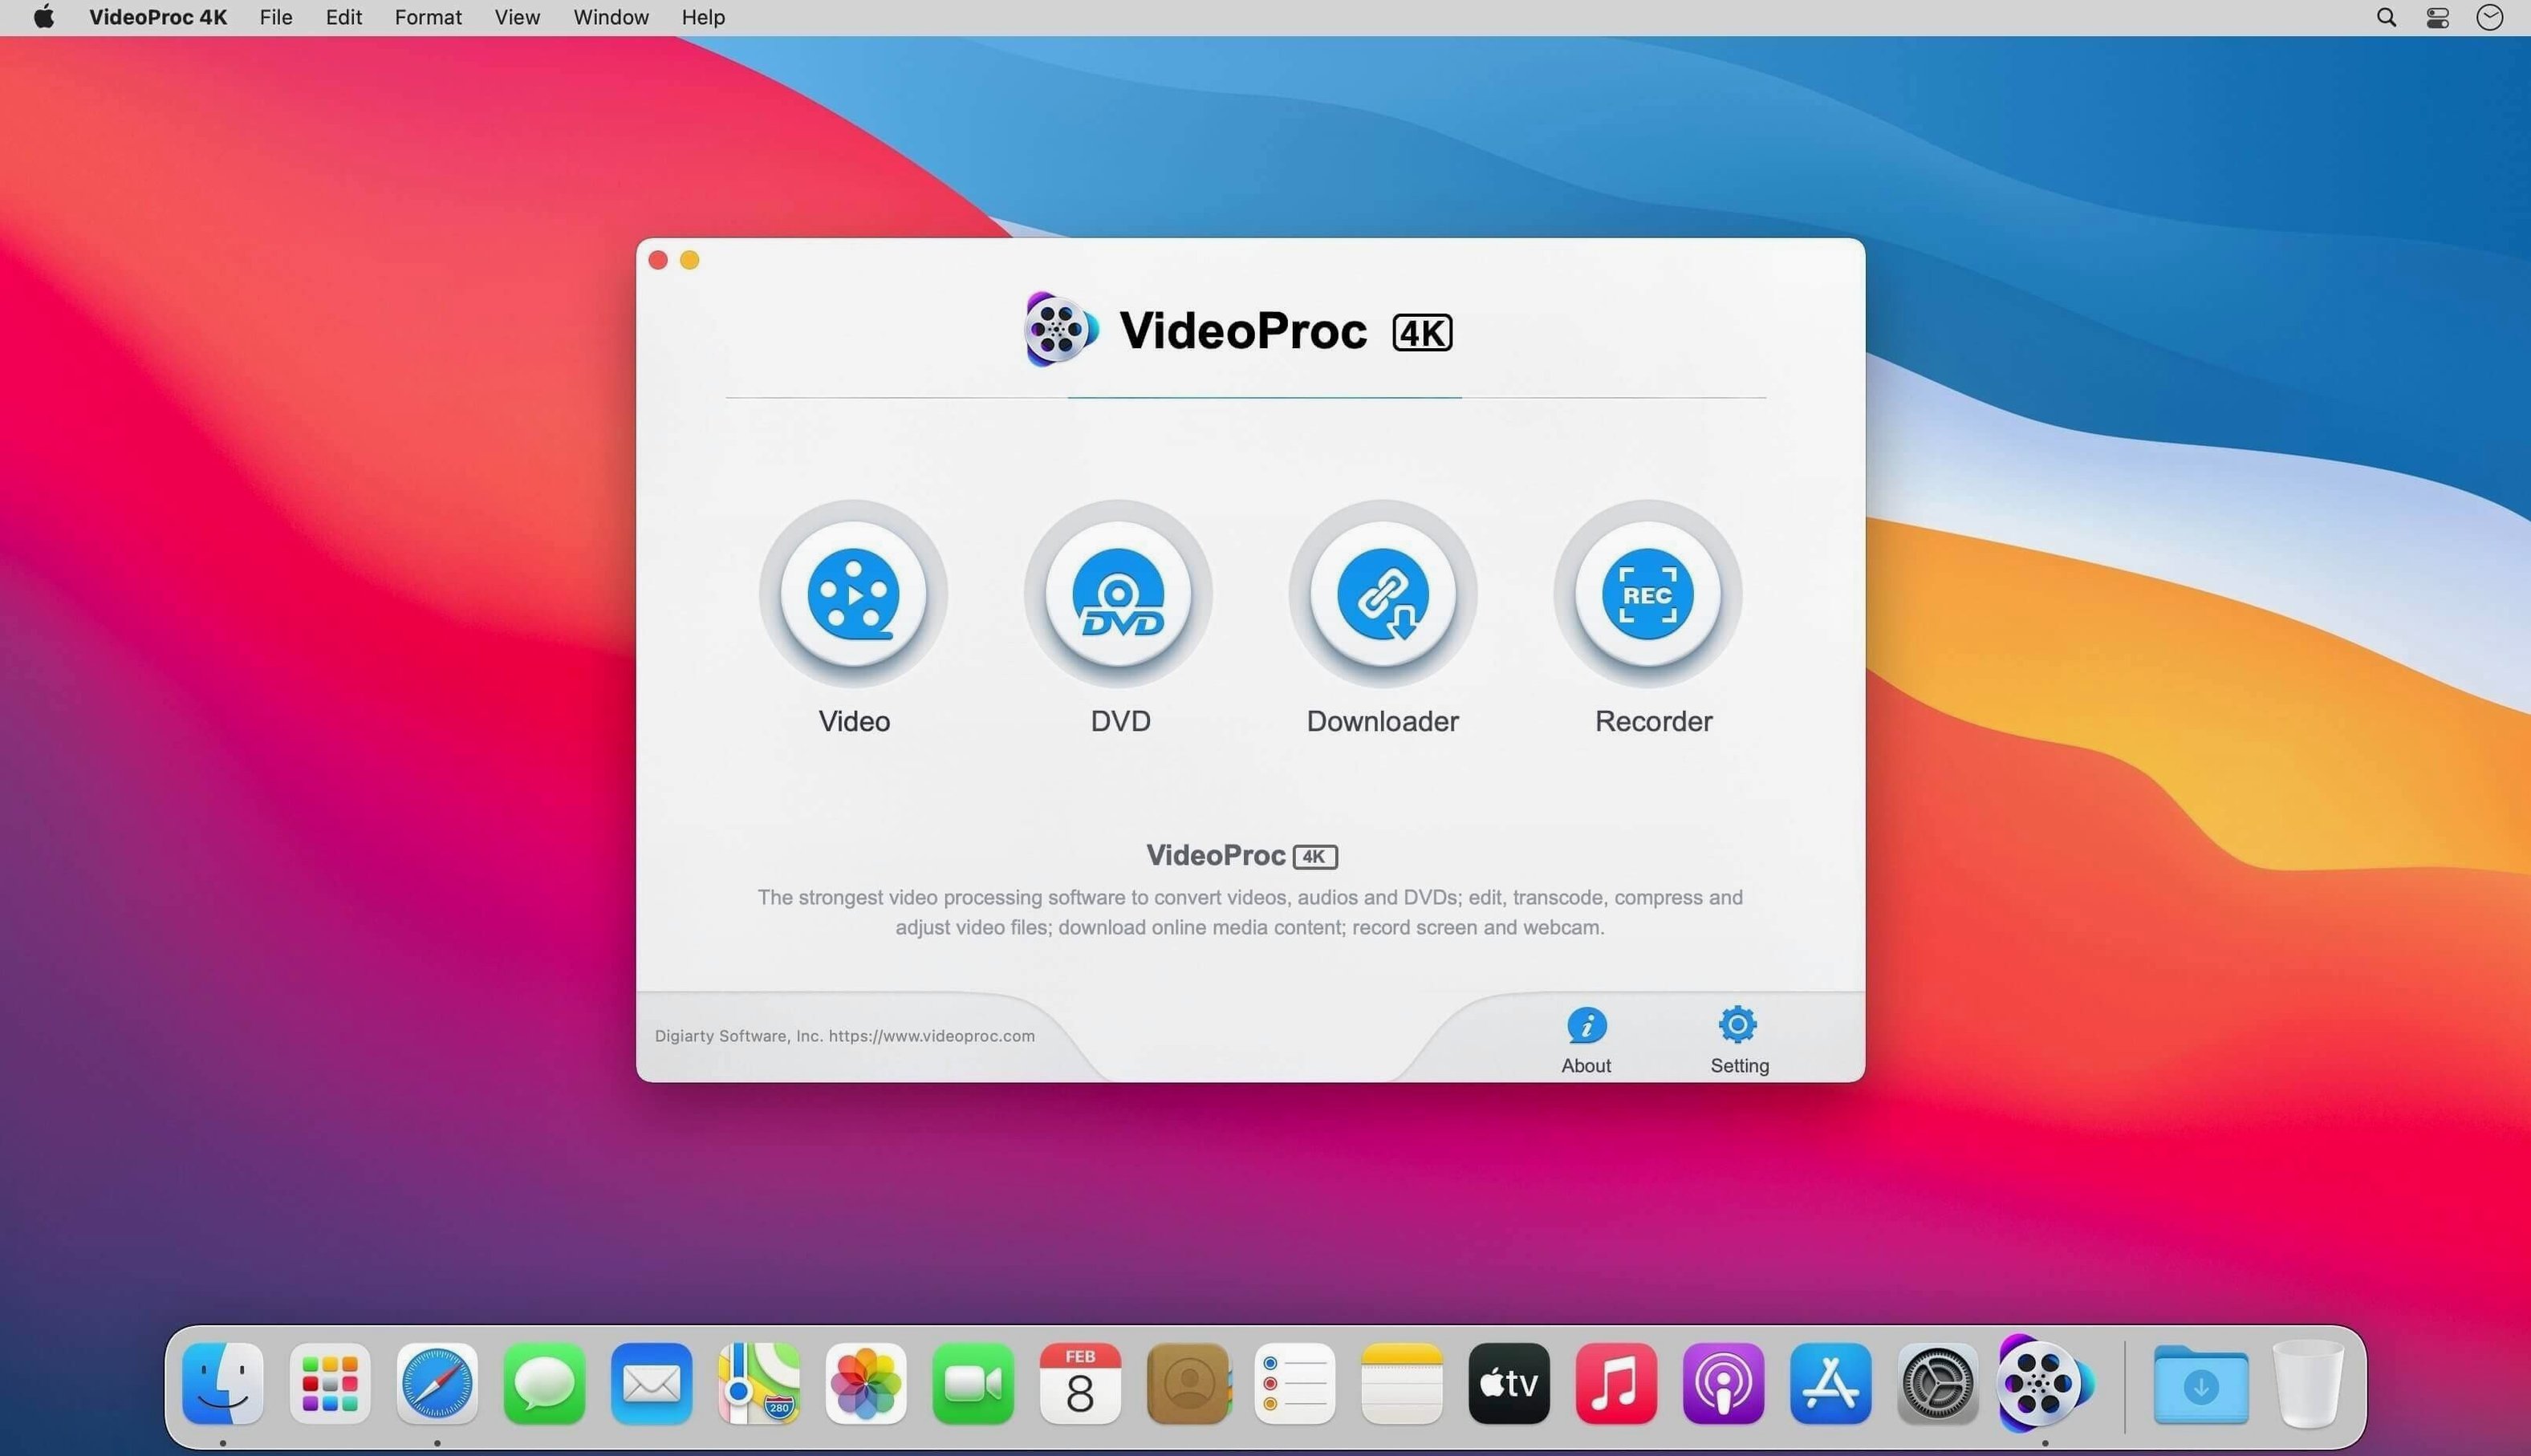
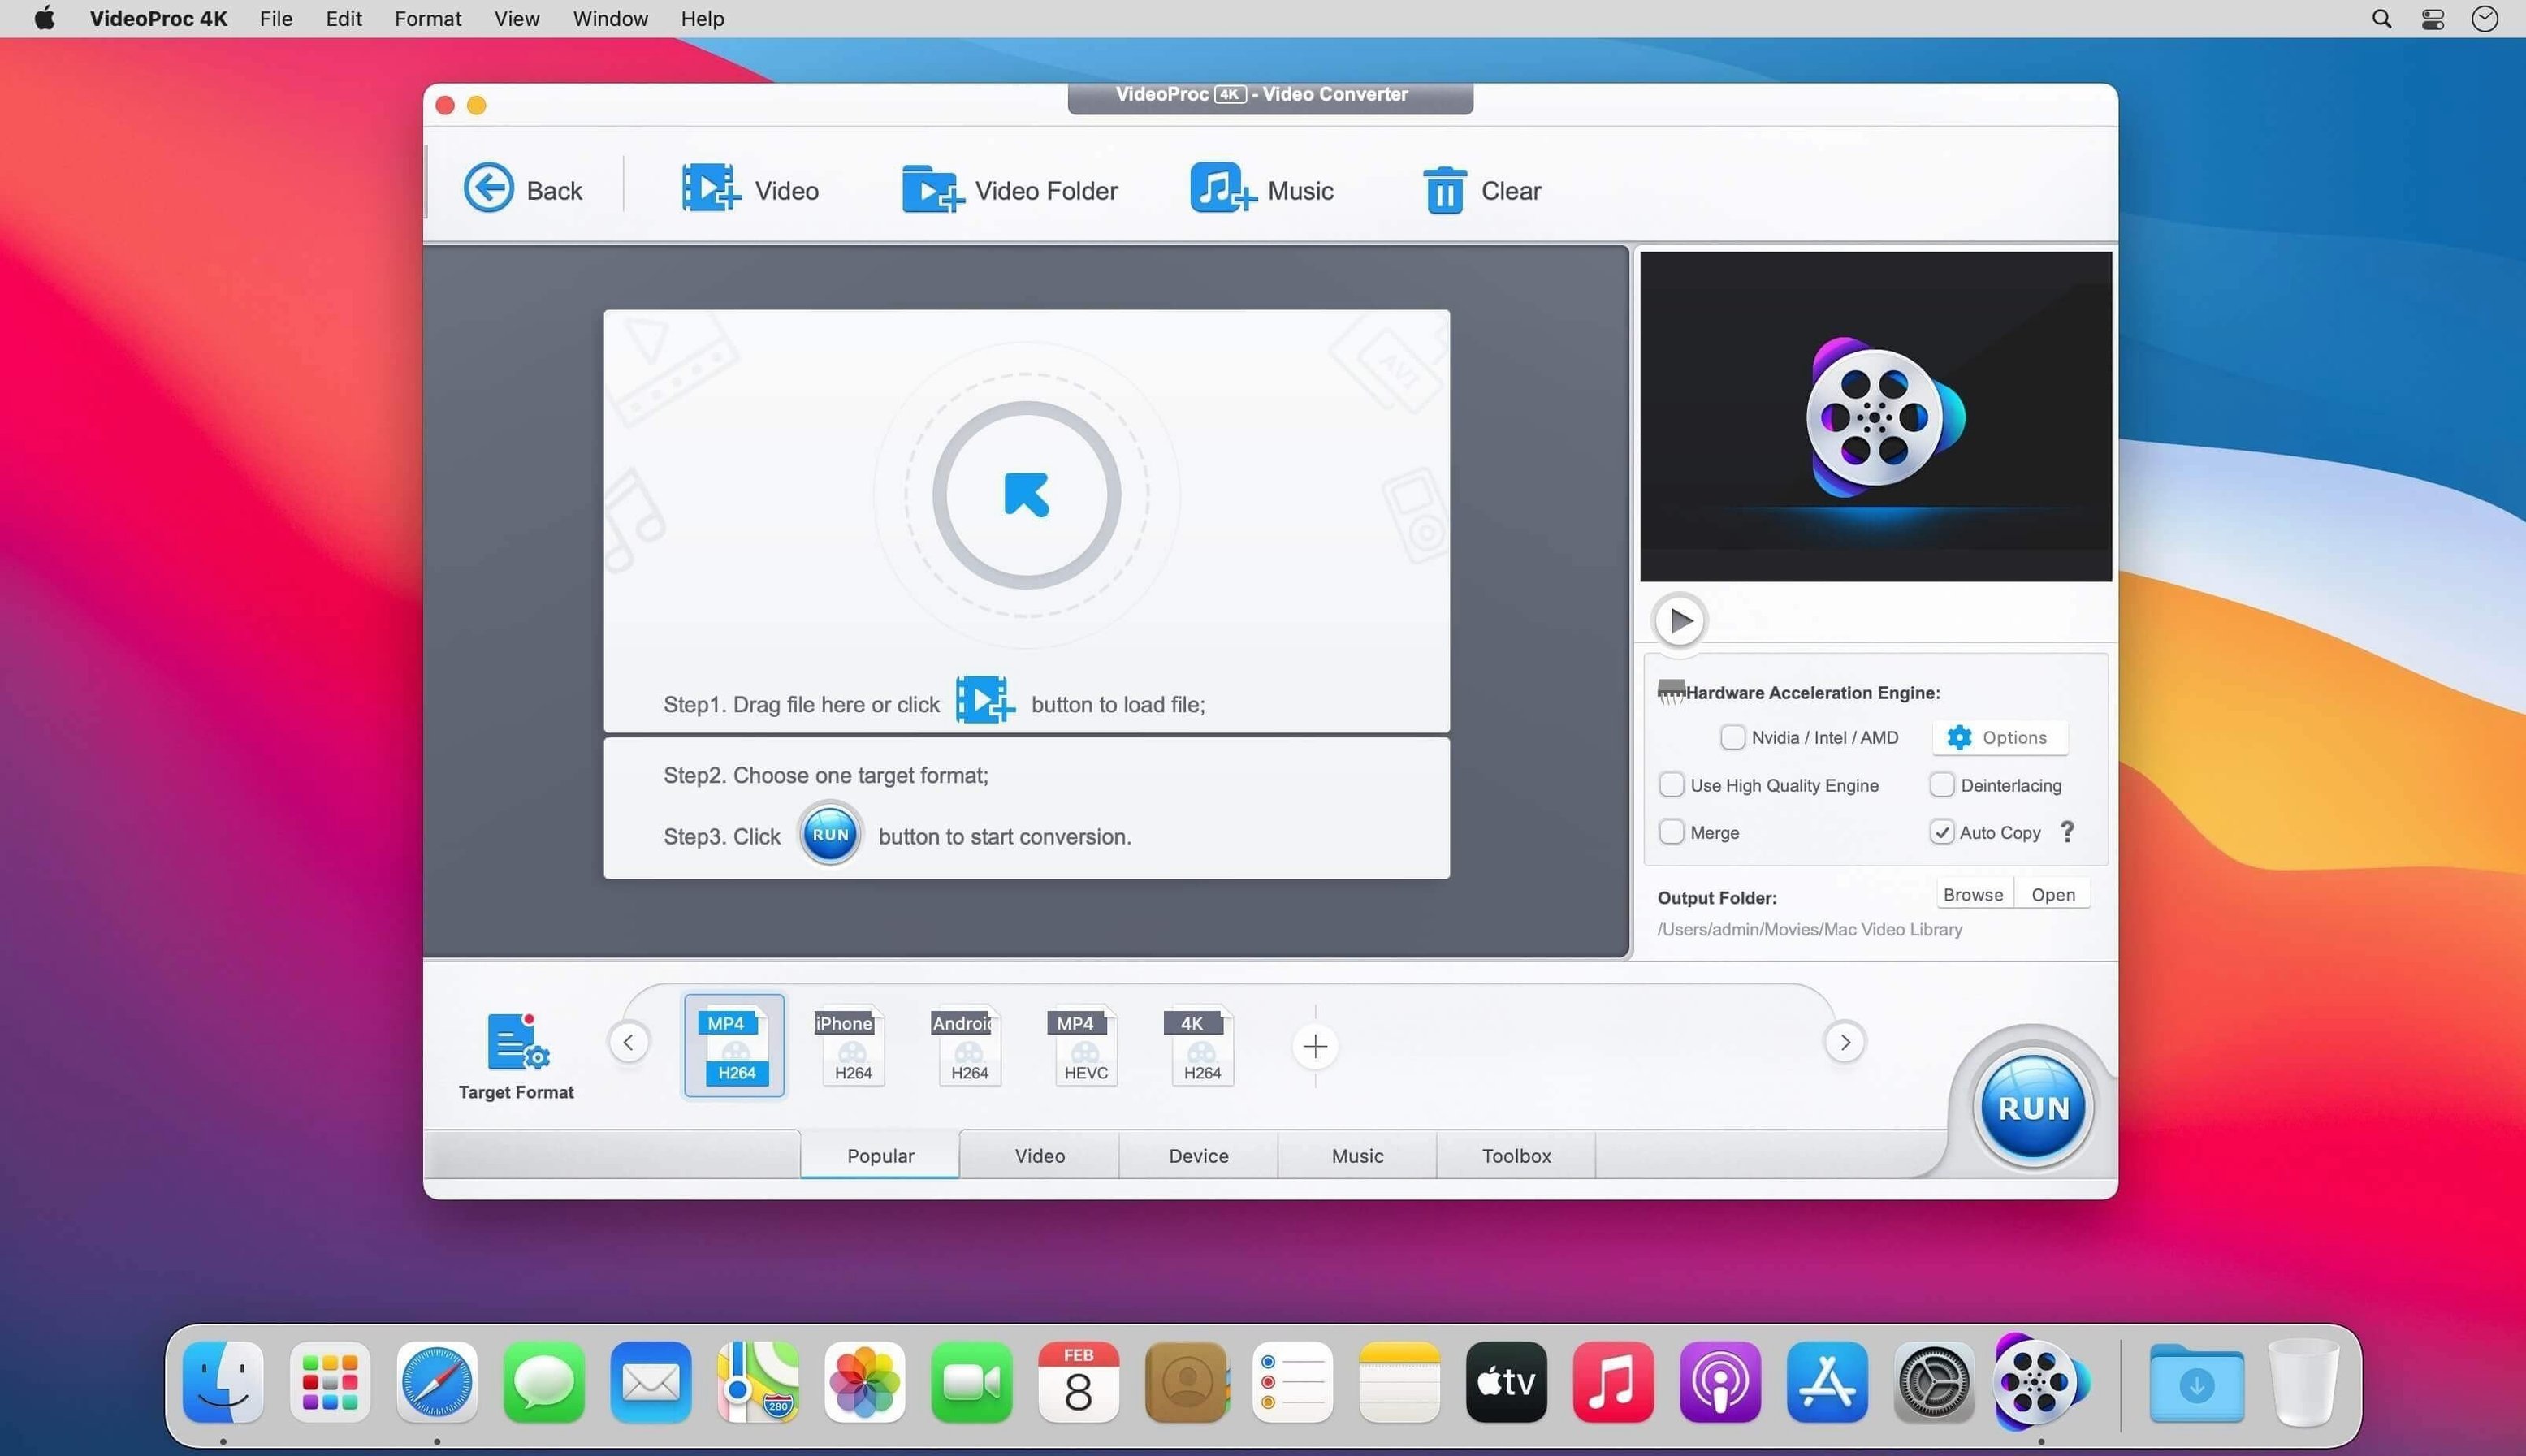
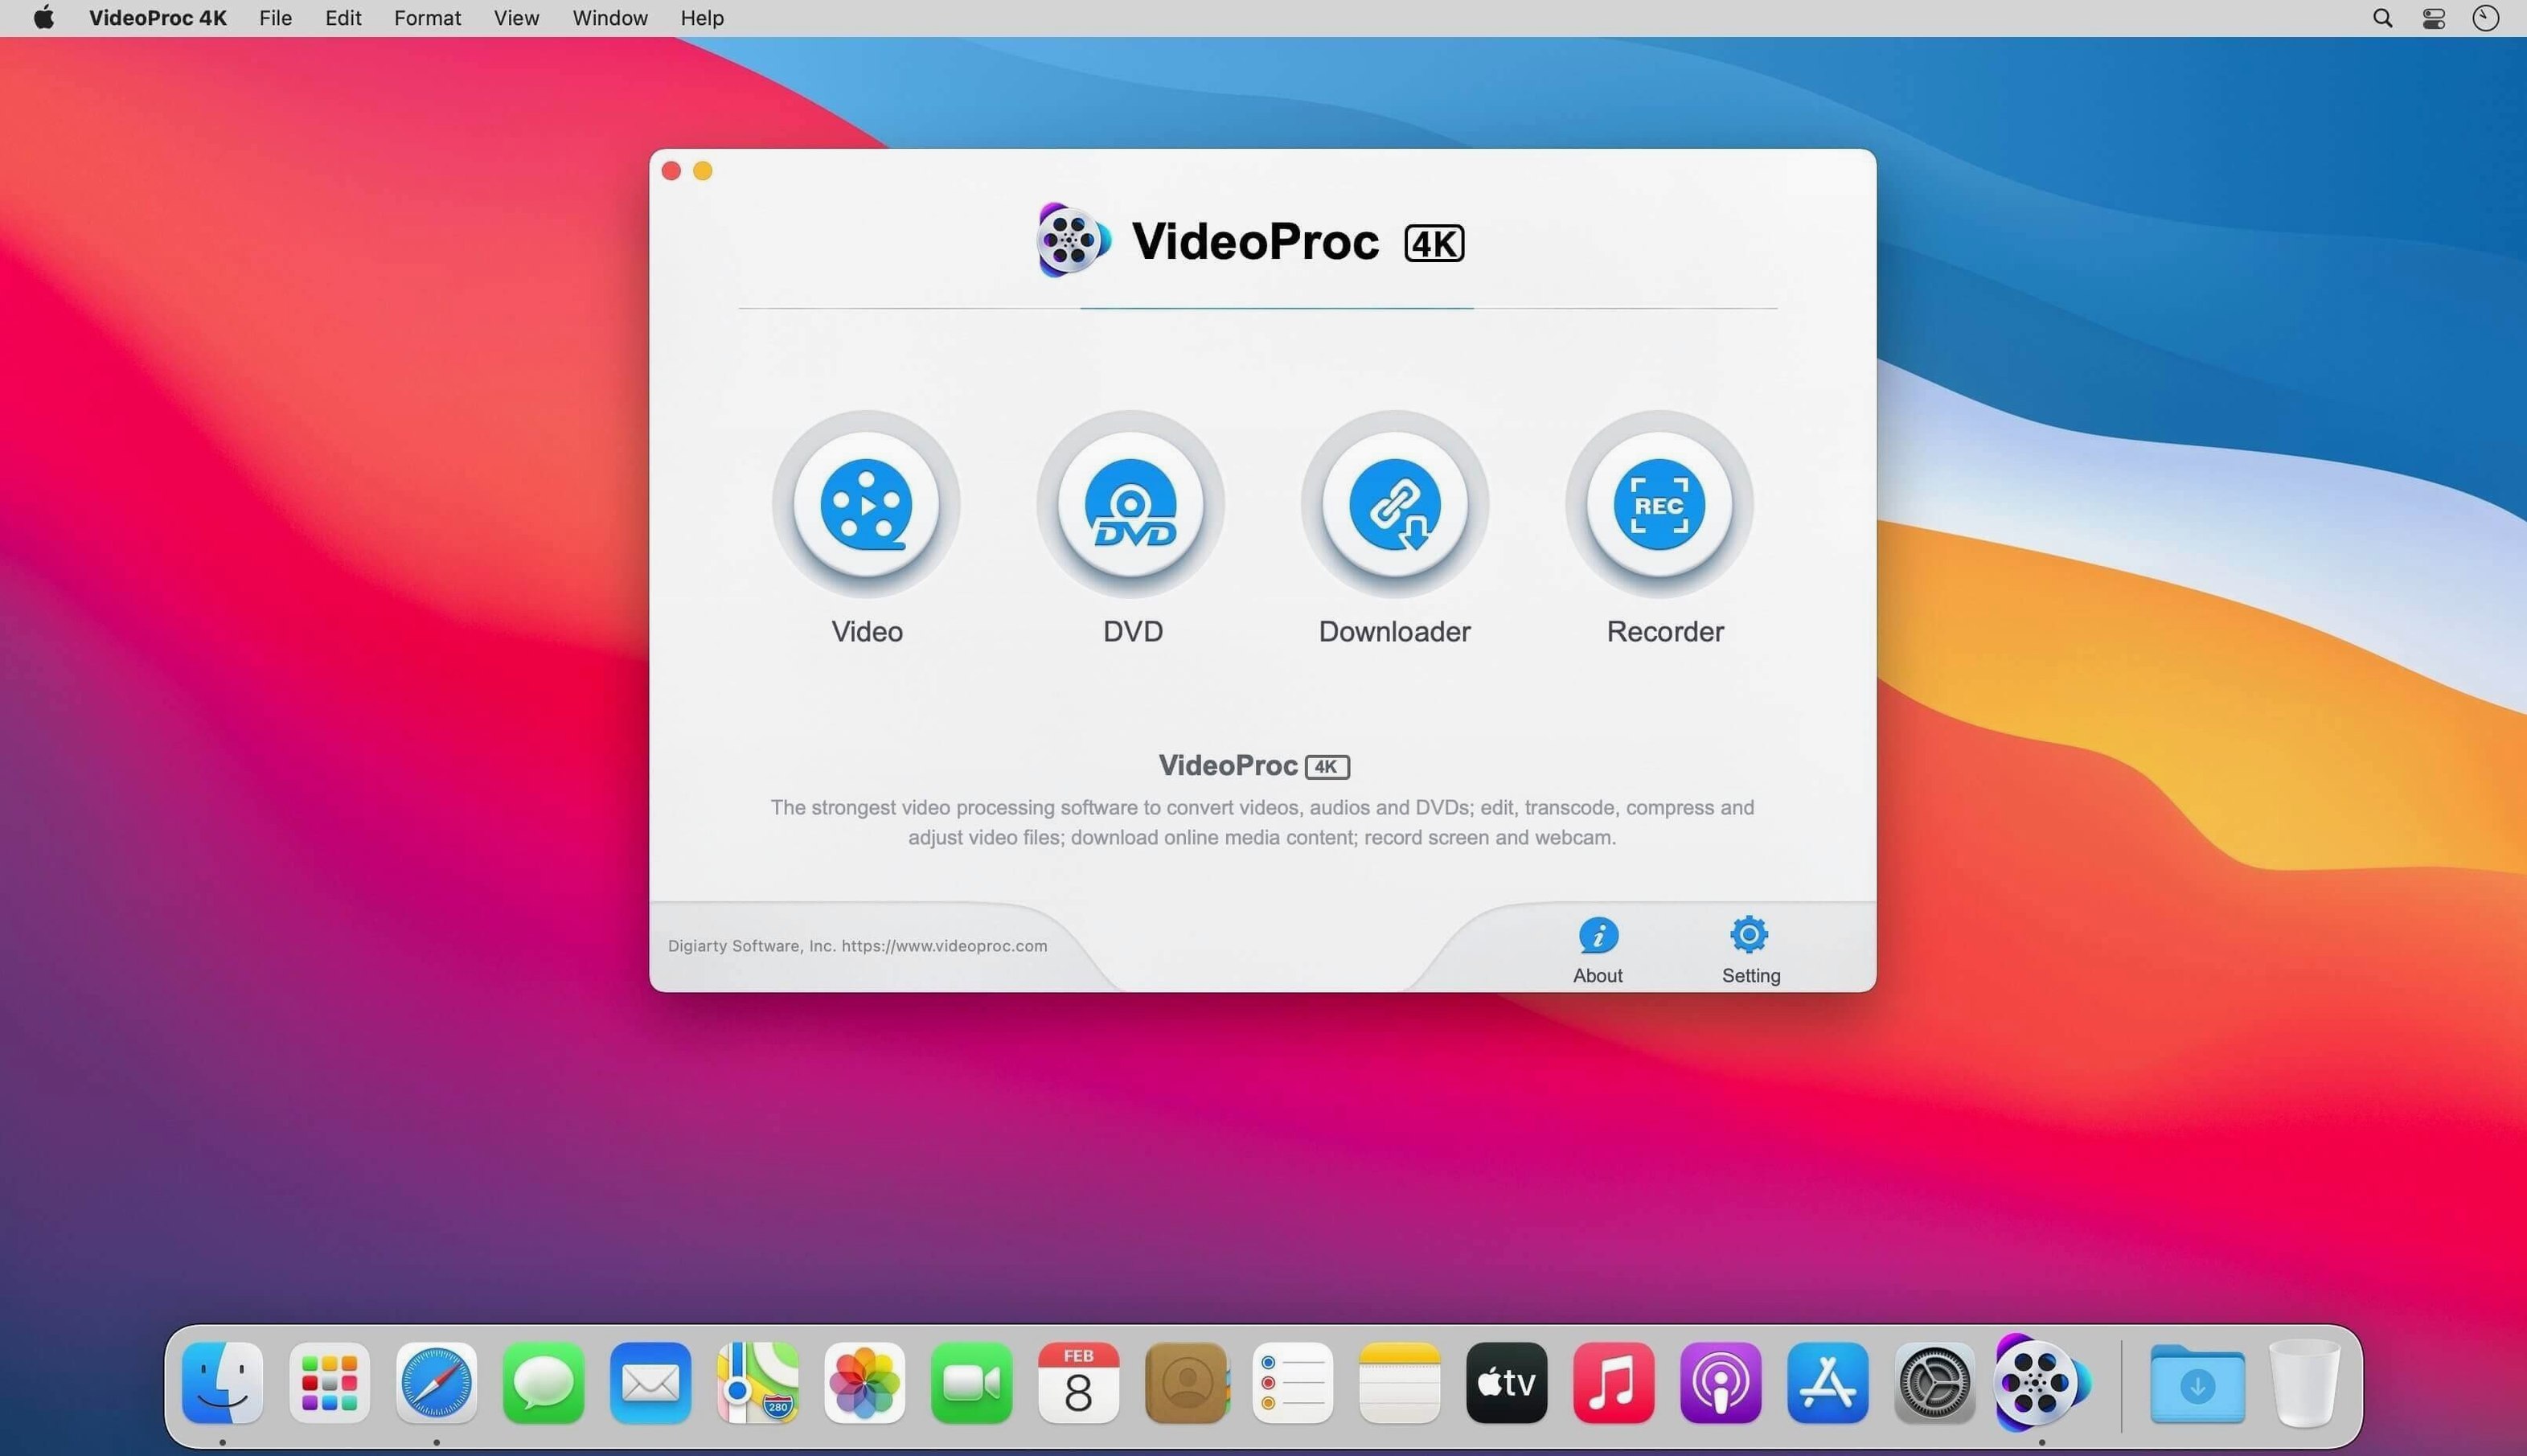
VideoProc Converter tends to click fastest with people who shoot on a bunch of different devices—iPhone, an old GoPro, a drone, maybe a screen recording from a work call—and just want the clips to play nicely together. If that sounds familiar, here's a short path through the first things worth trying.
VideoProc Converter hides a few shortcuts behind its clean interface that speed up repetitive tasks once you spot them. Right-click a file in the queue and you can duplicate the current conversion preset instantly—no need to open the profile dropdown again. When you’re processing a batch of drone clips that all need the same output format, that alone saves a dozen clicks.
A couple others worth knowing:
The app opens cold in about three seconds on an Intel Mac, faster if it’s been launched recently. Once a conversion is running, the GPU acceleration keeps things responsive—scrubbing the preview while encoding a 4K clip doesn’t introduce stutter, and the interface stays smooth even with eight or ten items queued.
Memory use sits around 400 MB at idle and climbs to roughly 1.2 GB during a heavy batch encode. That’s modest for a video tool, and it releases the RAM cleanly once the queue finishes. I’ve left it running overnight through a forty-clip queue without a crash or a stalled job. If you’re searching for a videoproc converter mac setup that won’t beachball under pressure, the stability here is reassuring.
One quiet strength: the app doesn’t thrash the disk unnecessarily. Temporary files write to a cache folder inside ~/Library, and they disappear when the job completes. No leftover fragments bloating your drive after a long session.
Say you’ve just come back from a weekend shoot: thirty minutes of 4K footage from a GoPro, a few 1080p clips from an Android phone, and a screen recording of a map route. The goal is a clean three-minute highlight reel for sharing.
Step 1 — gather everything. Drag all the clips into VideoProc Converter. The GoPro HEVC files and the phone’s H.264 footage sit together in the file list without complaint.
Step 2 — trim the long clips. Open the GoPro footage in the cut tool. Mark in at the first good action shot, mark out thirty seconds later, and confirm. Repeat for two more segments. Each trimmed section exports as a separate clip—no timeline, no fuss.
Step 3 — merge and stabilise. Select the trimmed GoPro clips, the phone clips, and the screen recording. Right-click and choose Merge. Tick the stabilisation checkbox in the merge options; it evens out handheld shakiness from the GoPro without a visible crop penalty.
Step 4 — light compression. Set the output to HEVC at 15 Mbps. That shrinks the combined clip to around 350 MB—small enough for a quick upload, clean enough for a 1440p screen.
Step 5 — grab a thumbnail. Scrub the preview to the best frame, Option-click the snapshot icon, and the PNG lands on the desktop ready to use.
The whole process takes under ten minutes, and most of that is choosing which moments to keep. For anyone who’s looked up videoproc converter hoping to skip the complexity of a full editor, this kind of session hits the sweet spot.
Once those feel natural, the recording module and frame interpolation tools sit ready for the next session.
Yes, it's optimised for Apple Silicon and runs natively on M1, M2, M3 and M4 chips. The Intel x86 build is also available.
It processes footage from iPhones, Android phones, GoPros, drones, DSLRs and screen recordings without fuss.














Chat 0
Hop in or make an account to join the chat.
Quiet in here so far. If you have used this build, tell me what the install actually did.