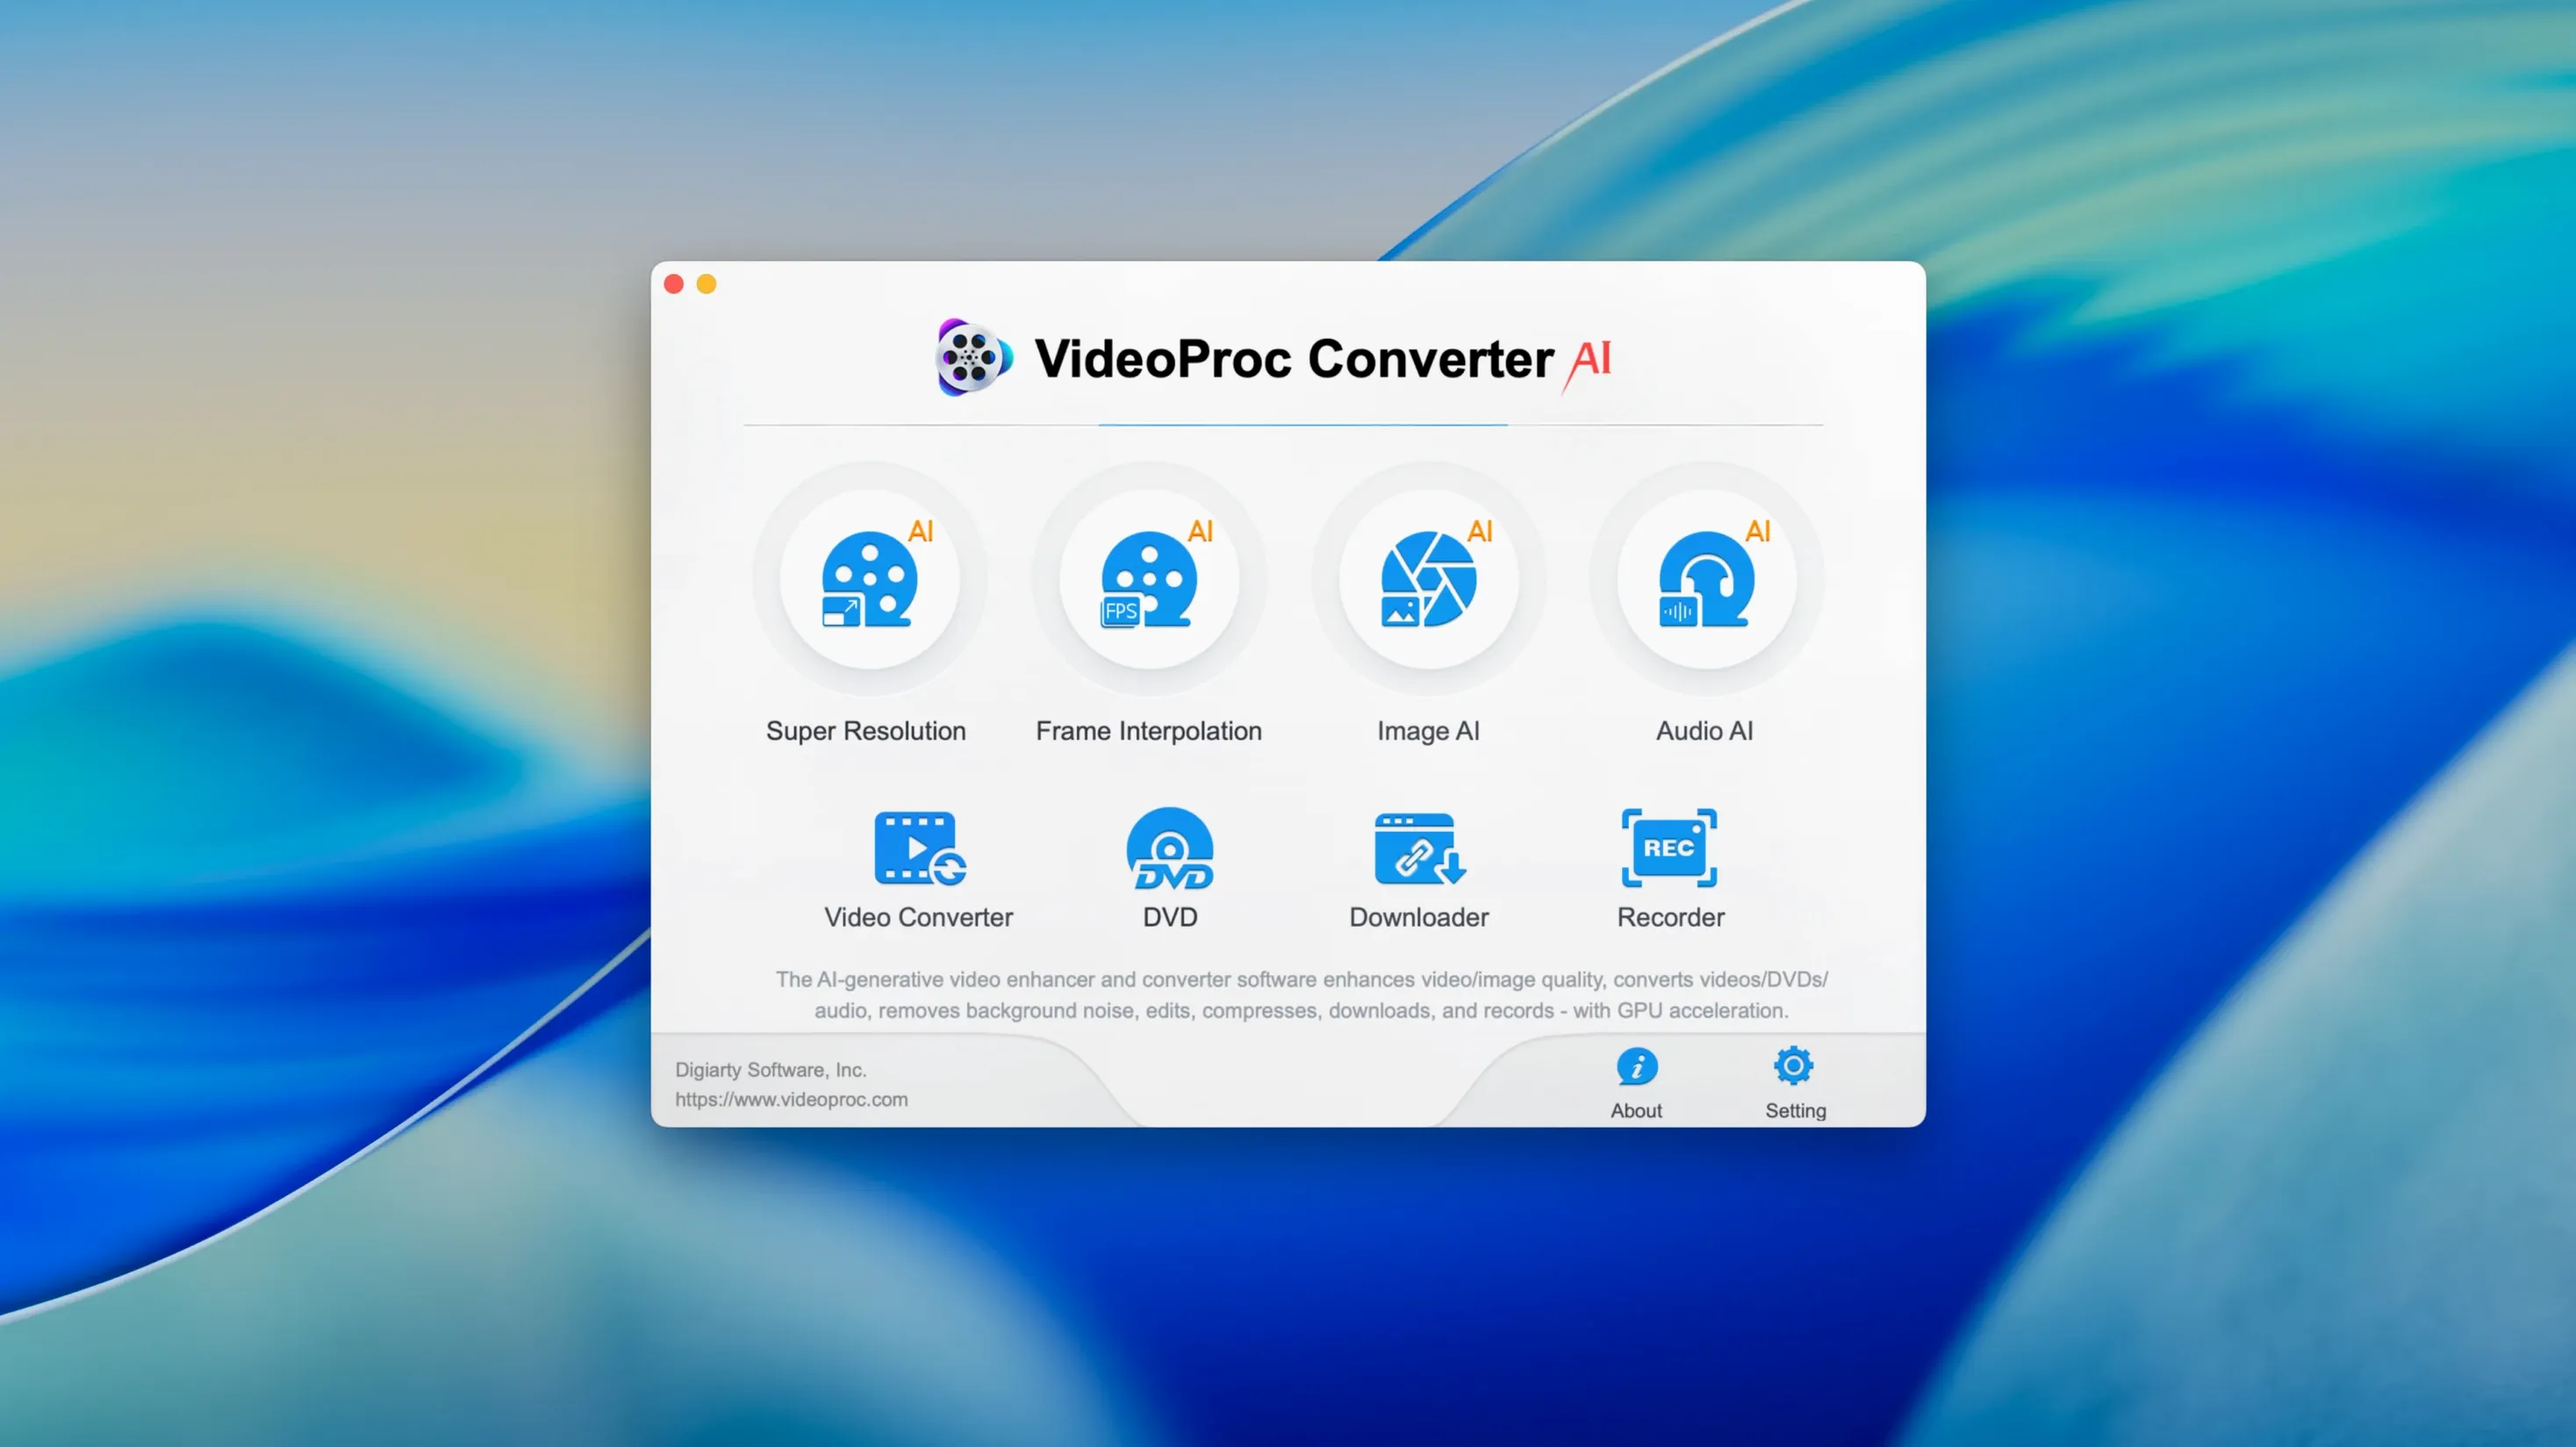
Its engine handles 370+ codecs, but the numbers that matter are 0.1x and 8K. Slow footage right down without interpolation smearing, or push a phone clip out to a full-width timeline.
Stabilise shaky footage
One-pass gyro-style correction smooths out handheld pans and drone wobble before you transcode. It bakes the fix straight into a fresh ProRes or HEVC master.
Build a watch folder for audio
Drag a folder of WAV stems and set the output to FLAC or 320 kbps MP3 — the queue runs unattended while you grade offline. Batch rules let you keep original folder structures intact.
Pull clean 4K from social streams
The downloader grabs video-only or audio-only tracks from YouTube, Vimeo and TikTok, then hands them directly to the conversion queue. VP9 to ProRes happens in one hop, no intermediate re-wrap.
Creators juggling multiple delivery specs
It's not really a one-audience tool. Three groups tend to settle in almost immediately.
- Creators juggling delivery specs. If your week involves ProRes for an edit house, HEVC for preview, and a vertical H.264 for TikTok, the preset panel cuts out the codec guesswork. Pick the destination — iPhone, Apple TV, YouTube — and the resolution, frame rate and container lock themselves in.
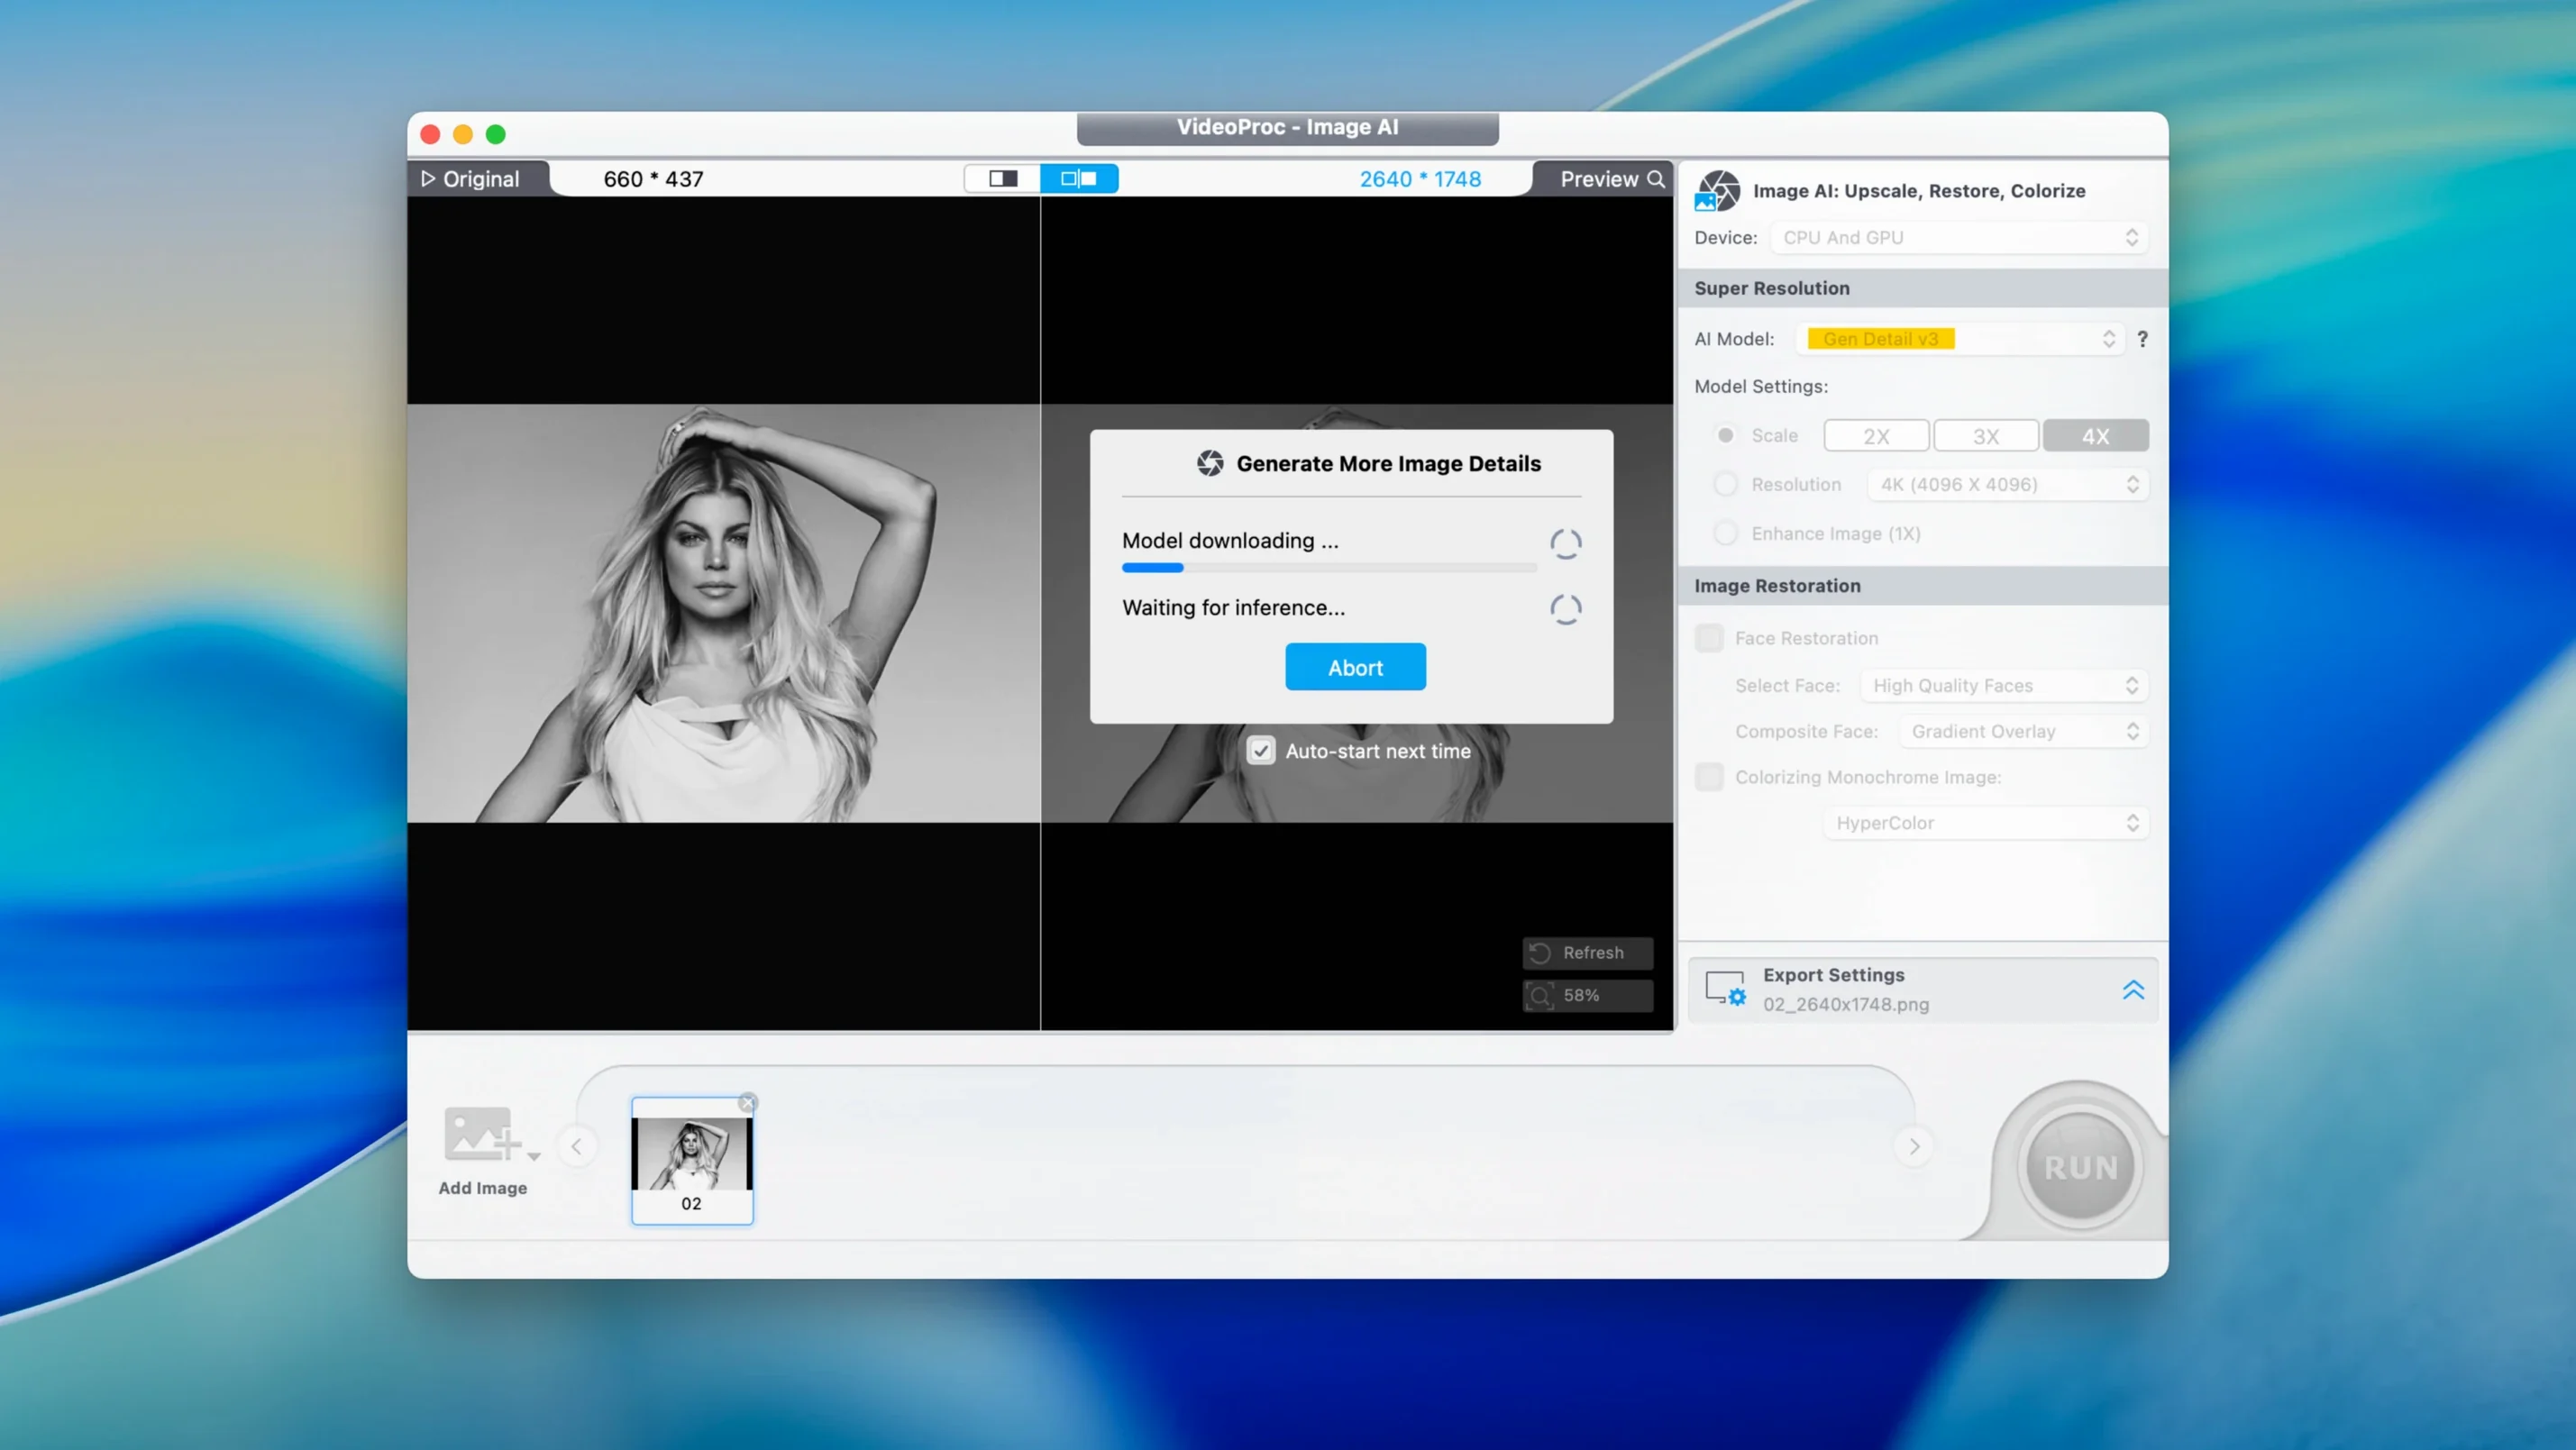
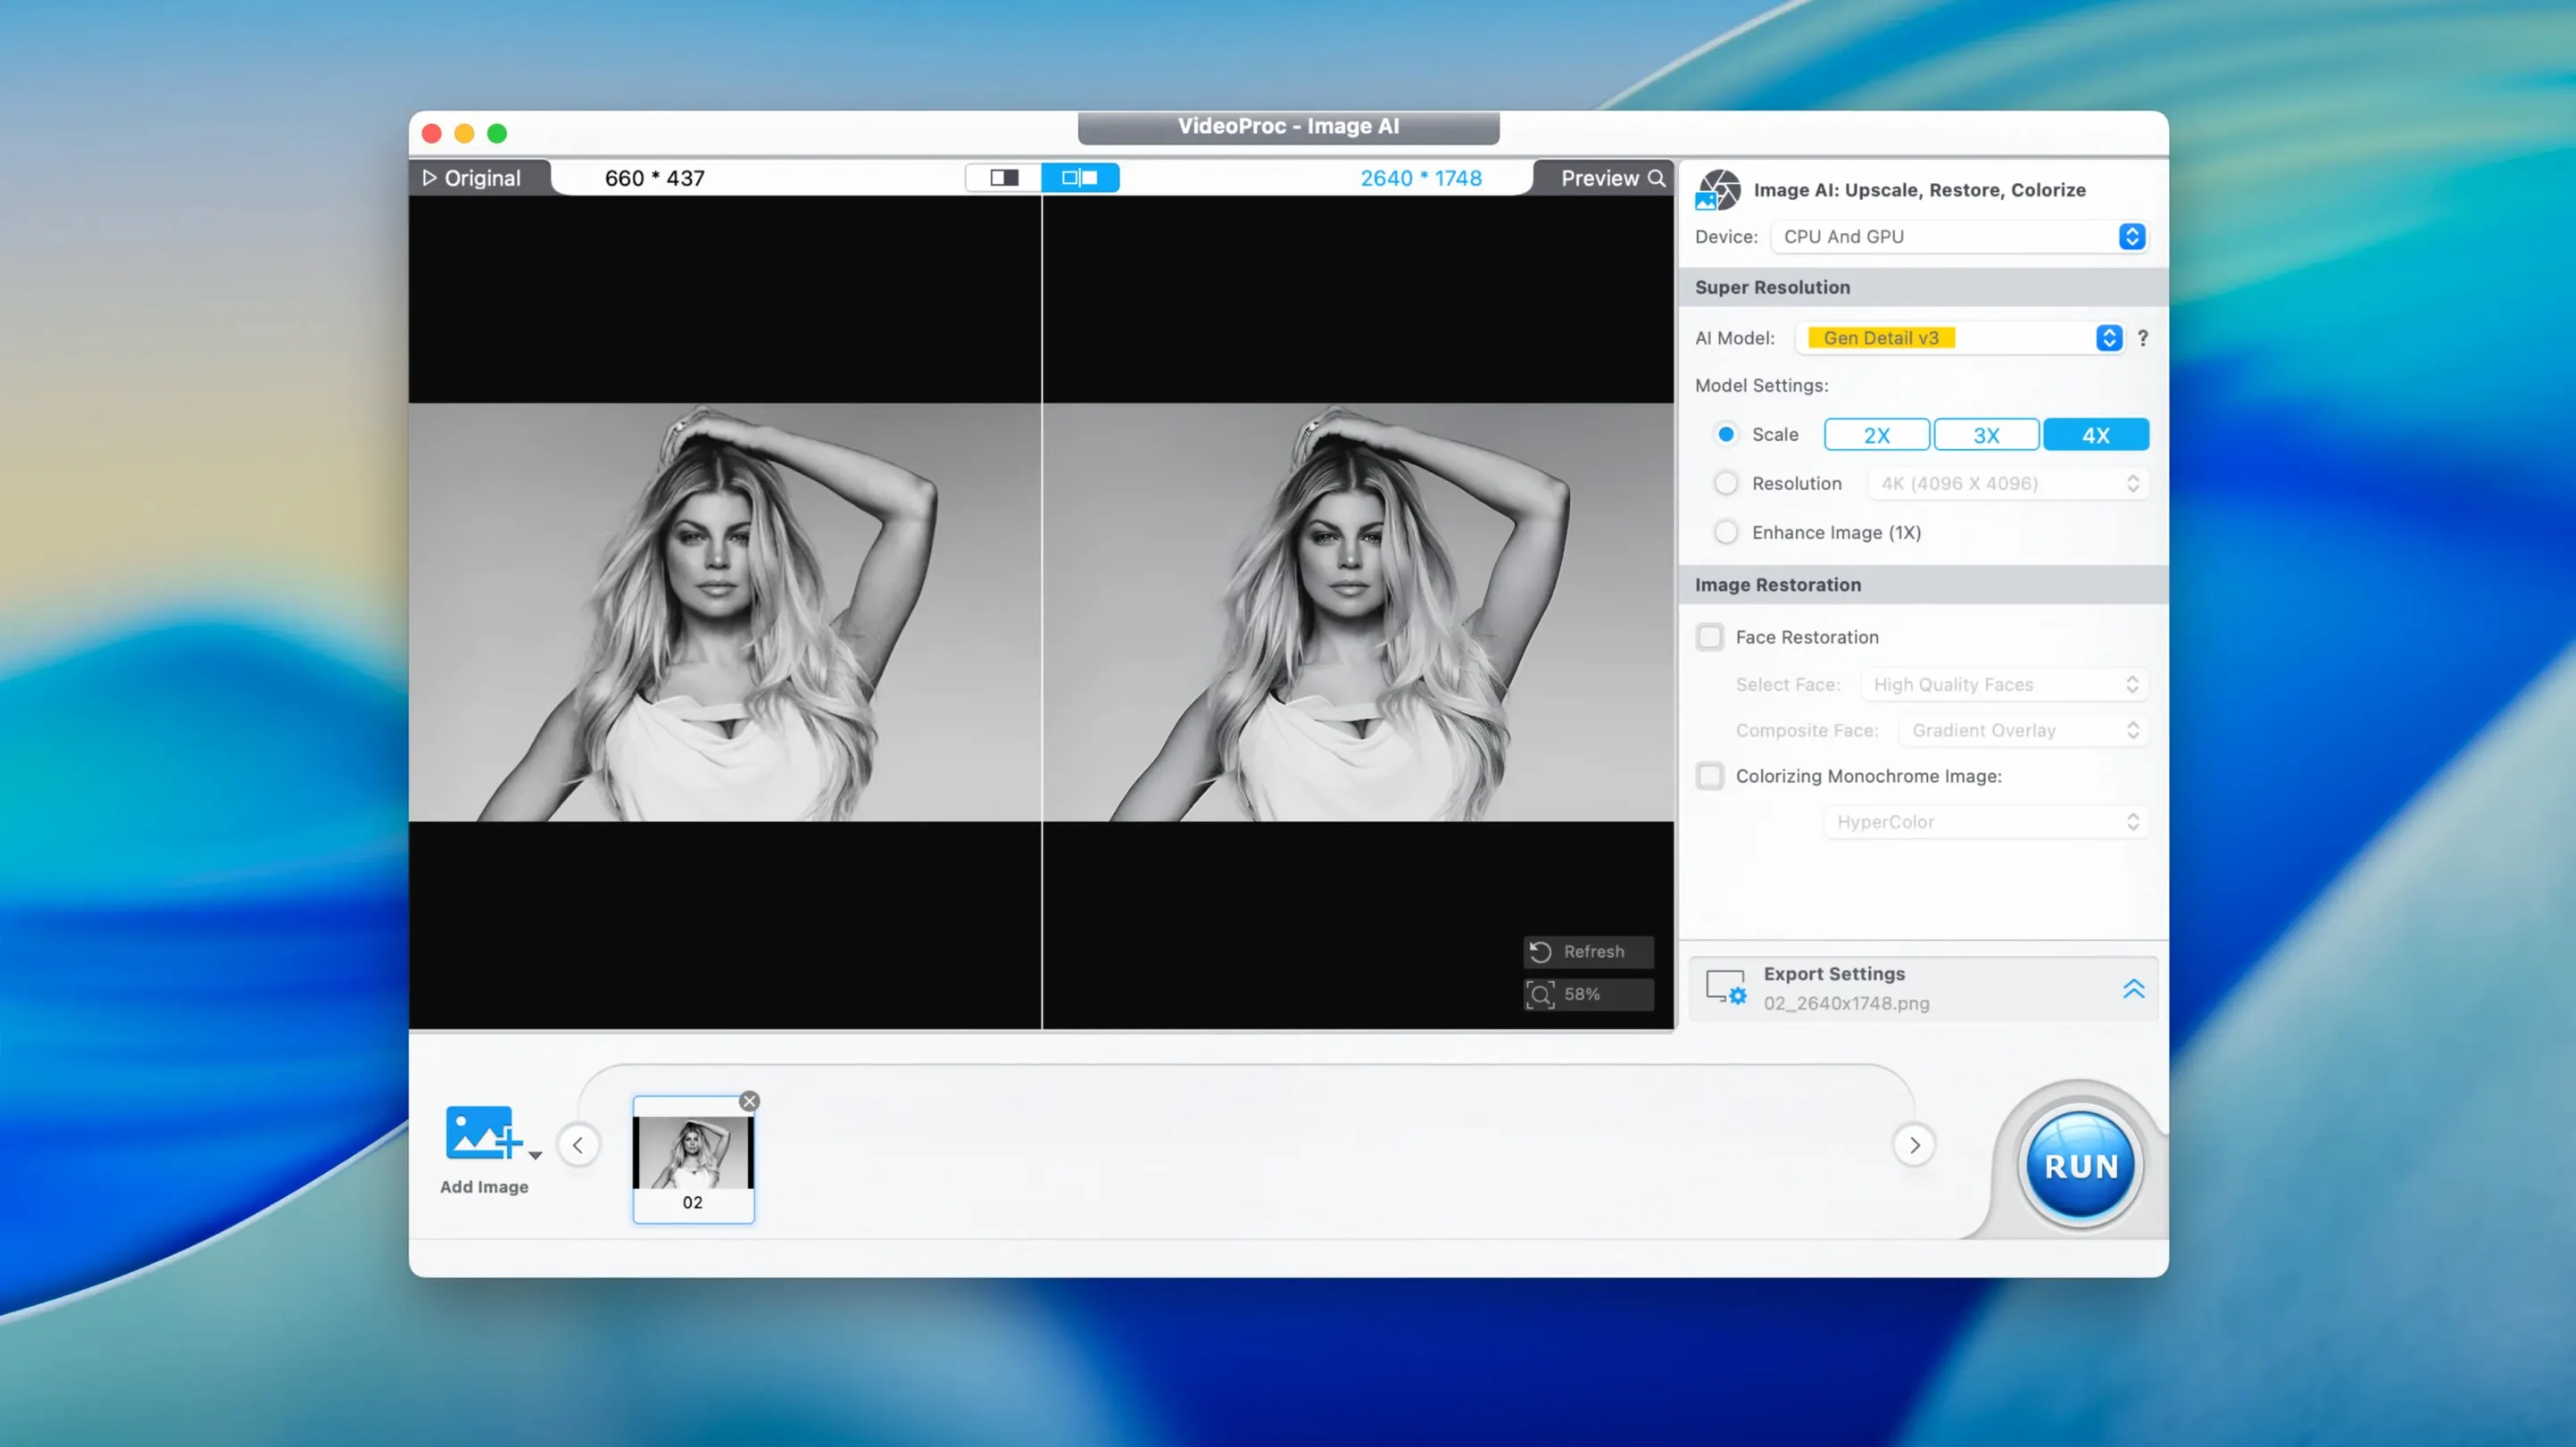
- Archivists cleaning up old media. VHS captures and DV tapes carry noise that standard sharpeners just exaggerate. The AI denoiser works on luminance grain and chroma blotches separately, so a 480i transfer can land as a watchable 1080p or 4K file without that overcooked plastic look.
- Anyone who records their screen with voice commentary. The recorder captures system audio plus a mic track, keeps them as separate streams, and drops straight into the trimmer. No round-trip through a DAW for a quick software walkthrough.
Copy encoding settings across the queue
A few shortcuts and controls live just outside the main toolbar.
- Right-click a file in the queue and you can copy its encoding settings to every other clip waiting. Same resolution, same bitrate, same audio mixdown — one menu pick.
- The speed slider shows real-time duration feedback. Drag to 0.5x, and the readout below the preview tells you the new runtime before you commit. No mental arithmetic.
- Hardware decoding info sits in the status bar. A small chip icon lights up green when Metal or Apple Silicon acceleration is active, so you know the encode isn't falling back to a software path.
- Downloader keeps audio and video split on purpose. Grab a 4K VP9 stream and an Opus track separately, then mux them into whatever container your NLE prefers — no re-encoding the video just to change the wrapper.
Worked example: rescuing a shaky, noisy clip for Instagram
Say you pulled a minute of handheld footage off an old GoPro. It's 2.7K, a bit noisy, and the horizon bounces. You want 1080p, vertical, clean and under 30 MB.
- Drop the clip onto the main window. Switch to the Stabilisation tab and tick it on. The preview plays back a five-second chunk; toggle the before/after split to check corners aren't cropping too hard.
- Move to the AI Enhancement section and enable denoising. Keep the strength at medium — strong can soften fine texture like foliage.
- Down in the format panel, pick Instagram from the device presets. It snaps to 1080×1920, H.264, AAC, with a bitrate ceiling that keeps files small.
- Hit the crop button and drag the frame to the part of the shot that matters. Rotation lock at 0° keeps vertical edges straight.
- Check the estimated file size in the info bar. If it's above 30 MB, nudge the quality slider from high to medium. The encoder recalculates instantly.
- Set an output folder, press Run, and let the queue chew through stabilisation, denoise, crop and transcode in one pass. A minute of 2.7K lands as a clean vertical clip in around forty seconds on an M2 Mac.
The result loads fast in the app's own preview before you post — no watermark, no waiting on a separate editor.

 VideoByte BD-DVD Ripper
 VideoProc Converter
 Vivid
Vivid ViWizard Spotify Music Converter
 VMware Fusion Pro
 Vector Magic
 WALTR PRO
 Typinator
















Chat 0
Hop in or make an account to join the chat.
Quiet in here so far. If you have used this build, tell me what the install actually did.