
 Coherence X
 Cocktail Sequoia Edition
 Commander One PRO
 Cockos REAPER
 Compressor
 CloudMounter
 CorelCAD
 Clop Pro


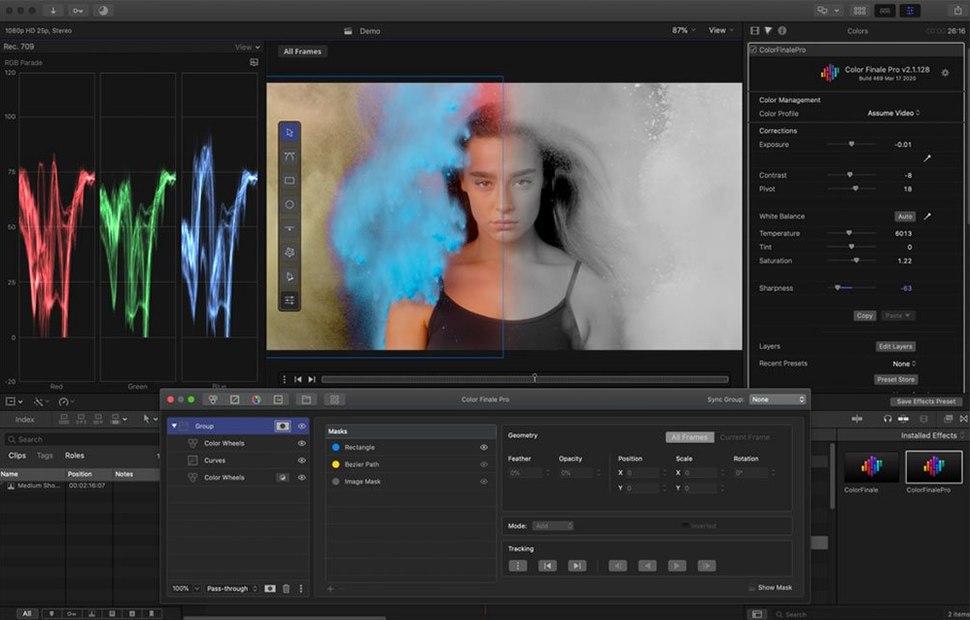
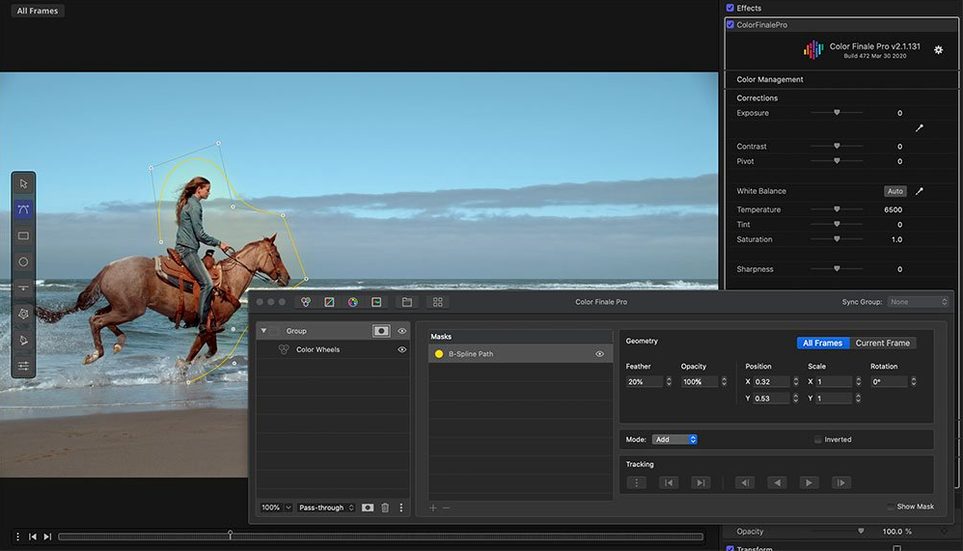
You’ve locked your edit in Final Cut Pro and the timeline feels flat. The shots are clean but the grade is missing. Color Finale slots in right there.
The plugin is a 64-bit Intel build for macOS 10.12 and up. It works inside Final Cut Pro but leans on that companion app to handle the processing framework. Alongside the core tools you get a bonus workflow for recreating specific looks, which is handy when matching shots from different cameras.
Color Finale is not a floating island. Drop a clip into a Final Cut Pro timeline and the plugin taps into the same Metal framework FCP uses for real-time playback. The companion app does the heavy maths, so scrubbing through a grade feels like any other Motion-backed effect. It also reads LUTs straight from your filesystem: just drop a .cube or .3dl into the LUT Utility folder inside the app's library and it appears in the picker without a restart.
If you use Compressor for output, the rendered 10-bit ProRes files carry the grade cleanly. On a Mac with a calibrated display, Color Finale talks to ColorSync to keep previews honest across profiles. Keyboard shortcuts in Final Cut Pro still work while the plugin panel is open, so you can toggle between colour wheels and the viewer with a single hand.
On Intel Macs the plugin runs as a 64-bit x86 process, and the companion app keeps its memory footprint tucked away in a separate window. A three-layer stack with curves, HSL tweaks and a LUT adds roughly 180 MB of RAM and a light GPU bump. Playback stays smooth at 4K on a recent iMac; older machines might drop a frame during a compound clip with multiple graded layers, but disabling a single adjustment layer usually brings it back.
Stability is tight. Crashes are rare when you stay within supported FCP versions, though some editors report that the plugin window can hang if you switch Spaces too quickly. A click back into Final Cut Pro sorts it. Rendering times are linear: a 30-second 4K clip with three adjustments exports about 18% slower than a flat ProRes pass, which is reasonable for real-time colour processing.
Open the companion app and set the default colour space to match your timeline, not the monitor. This stops LUTs from clipping early. Under the viewer tab, switch the waveform from RGB parade to luma-only for a cleaner read when balancing exposure first.
Turn off "auto-refresh preview" if the fan kicks up on longer edits. The grade still renders frame by frame — you just trigger a manual refresh with a click. In the LUT Utility panel, set interpolation to "trilinear" rather than "tetrahedral" for a small speed gain on integrated graphics, with no visible difference on most Rec.709 shots.
A music video timeline lands with flat S-Log3 clips shot under mixed streetlight. The brief is a warm, slightly lifted film look with cool shadows. Here is how one pass comes together.
The result reads like a printed film stock: warm faces, cool air in the shadows, and no clipping in the streetlights. The bonus look-recreation workflow also helps when you need to match this grade to a reference still later. Some editors who want to try the tool without waiting look for a Color Finale 2 free download to test the preset system first; others check a Color Finale crack Mac to jump straight into grading, and the standard drag-install from the disk image is just as quick. The plugin installs as a video effect straight into Motion, so it is ready inside Final Cut Pro the moment the app launches.
Good to know: if the companion app does not connect after a system sleep, restarting Final Cut Pro re-establishes the link without reinstalling.
Version 2.2.8 is a 64-bit Intel build. It runs on Apple Silicon via Rosetta 2 on macOS 10.12 or later.
It requires Final Cut Pro 10.7 or a newer version installed on your Mac.














Chat 0
Hop in or make an account to join the chat.
Quiet in here so far. If you have used this build, tell me what the install actually did.