
 CorelCAD
 Commander One PRO
 CorelDRAW
 Color Finale
 Coherence X
 CrossOver
 Cocktail Sequoia Edition
 Cockos REAPER


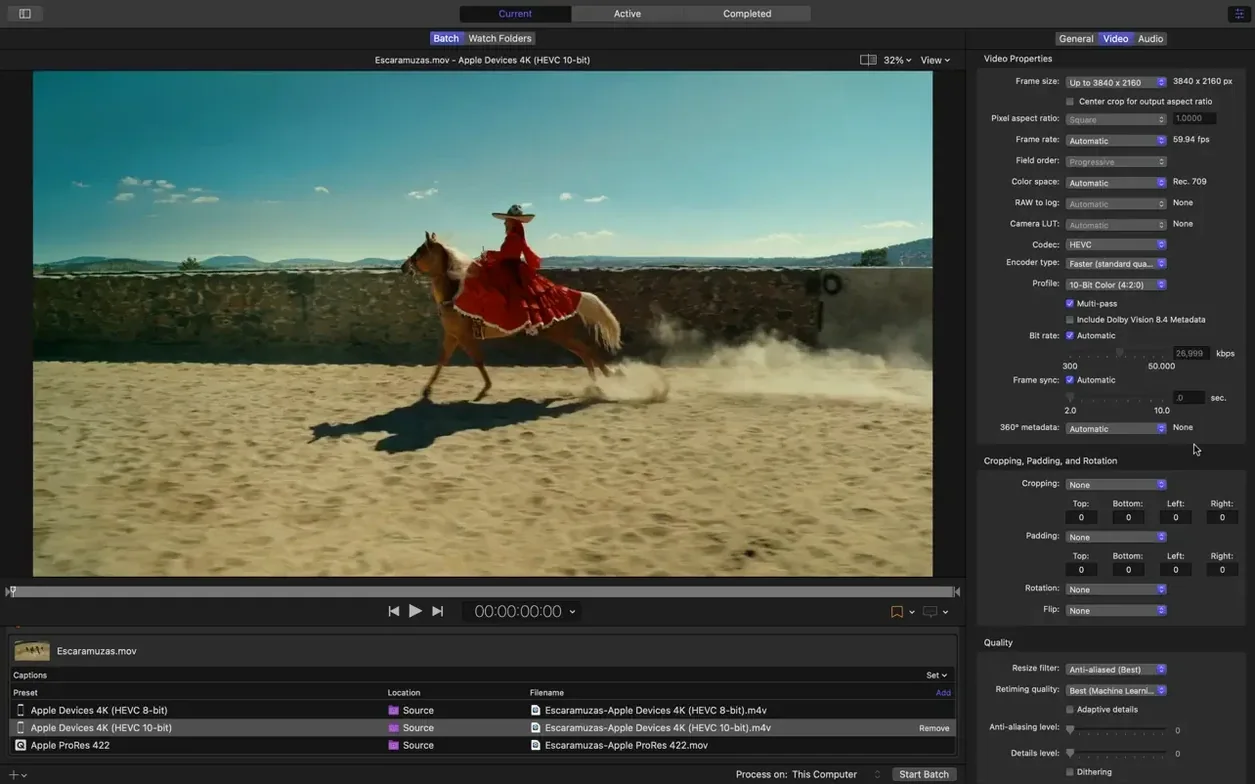
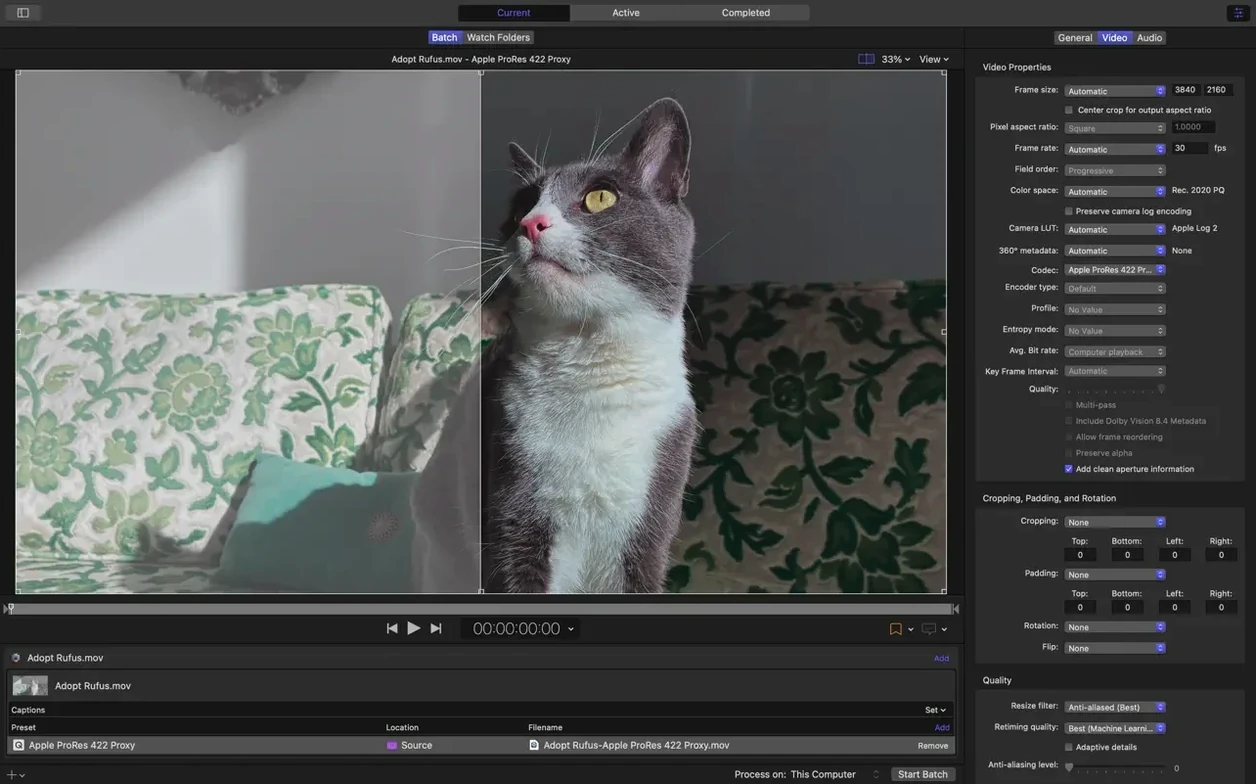
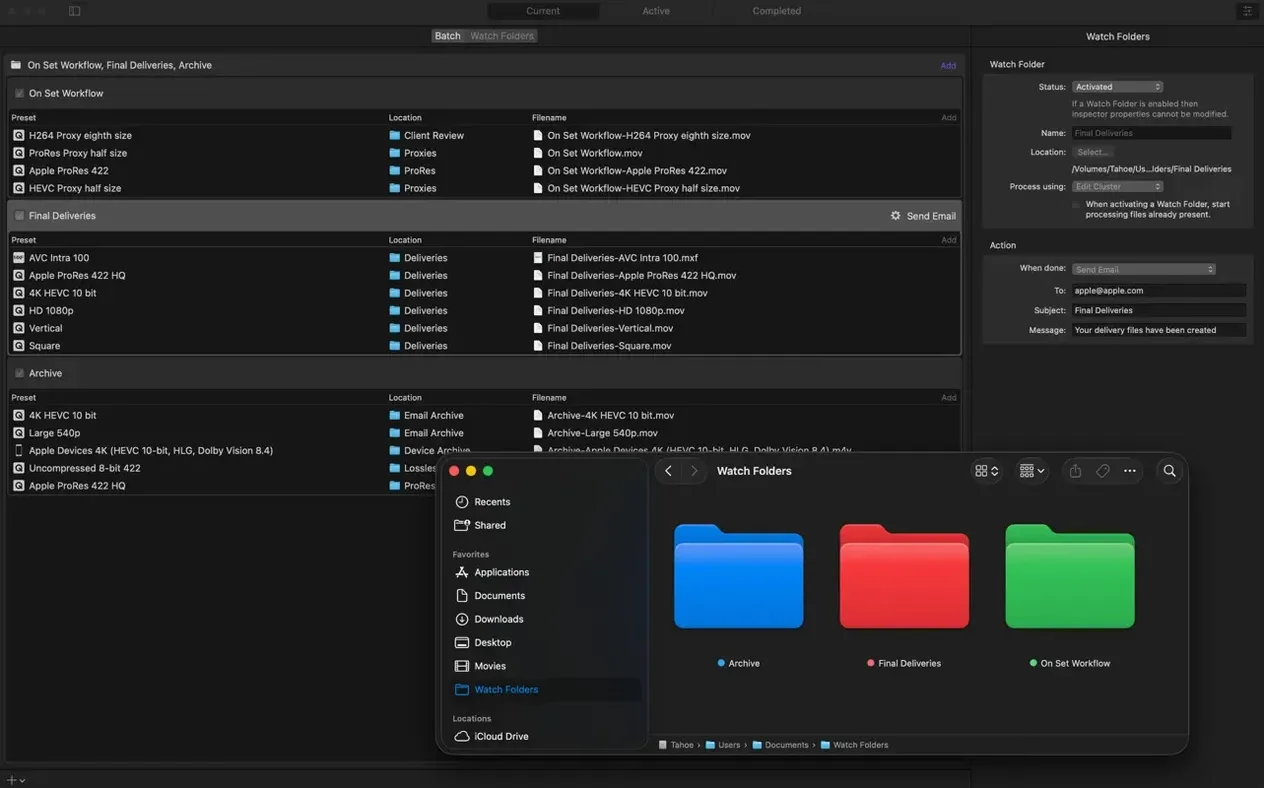
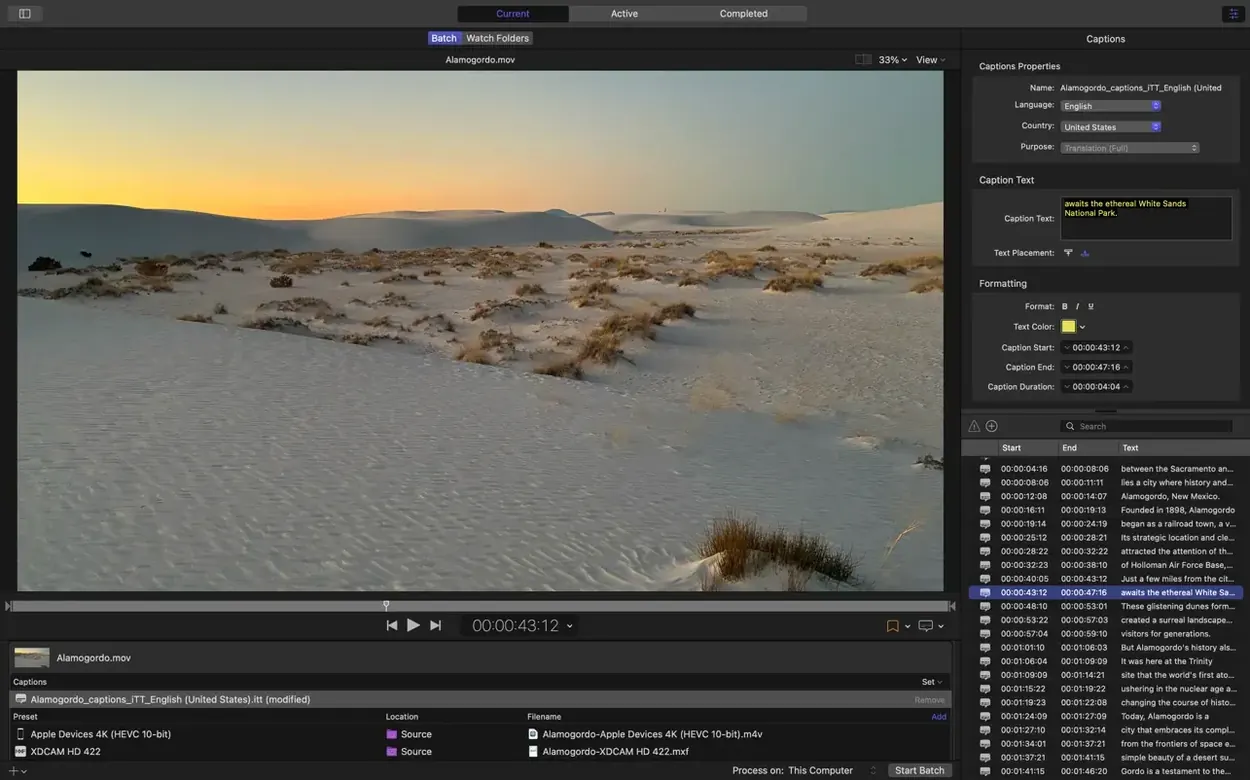
You have a pristine ProRes master, but it's far too heavy to share. Compressor turns that massive file into something light and ready to go, without leaving you guessing about the settings.
Source file — the high-quality master you start with, often ProRes or another editing codec.
Transcoding — converting that source into a new format for a specific use, like web streaming or broadcast.
Setting — a pre-built or custom recipe that controls resolution, codec, bit rate, and frame size.
Destination — a location you assign so the finished file lands exactly where you want it, every time.
Drop in a source file and pick a setting. The built-in options cover common needs, but the real power lies in tweaking your own. For a recent project, I needed a 4K HDR clip in HEVC with a strict data rate limit on Apple silicon. Inspecting the file in the metadata viewer confirmed the source was ready. A few adjustments in the inspector locked the colour space, capped the bit rate, and added a 5.1 AAC audio track. One batch submission later, the job spread across multiple CPU cores and finished fast.
Good to know: The app also handles 360° and MXF formats, and you can send projects straight from Final Cut Pro with your custom Compressor settings attached.
Compressor slots into Apple’s pro ecosystem without fuss. Send a timeline from Final Cut Pro and your custom settings appear right in the export panel — no bouncing between apps to hunt for presets. The same rendering engine hums under both, so colour grades, LUTs and motion graphics from Motion translate exactly. No surprises.
Outside the Apple family, it’s just as practical. Assign a watch folder and any file dropped there encodes automatically. Point it at a shared drive on a network and a second Mac can pick up jobs through distributed encoding. The post-encode actions tie it together: move the finished file to a client folder, fire off an email, or trigger a shell script that uploads to a server. Set and forget.
Some of the best bits are tucked away and easy to skip. Right-click a setting in the side panel to duplicate and tweak it without losing the original. Hold Option while dragging a destination onto a job and it applies to every source in the batch. The preview window doubles as a trimmer — set in and out points before encoding and you never need to open a separate editor just to trim a few frames.
Keyboard shortcuts for the impatient:
And if you deal with stereo footage, the new anaglyph preview (red-and-cyan) gives a quick check of depth alignment without putting on a headset. Old-school but oddly satisfying.
Fresh install? Two tweaks make the app feel more like your own. First, open Preferences and under the Shared Computers tab, turn off “Allow other computers to use my encoding resources” unless you genuinely need distributed encoding on your network. It stops background requests from waking your machine.
Second, set a default destination. Click the Destination button in the toolbar, choose a folder, and every new job lands there until you say otherwise. No more hunting through your Movies folder for last night’s export.
If you regularly transcode for Apple devices, add the 5.1 AAC audio option to your device presets — version 5.3 quietly included it, and it makes a real difference on a home theatre setup. One checkbox in the audio inspector, save the setting, done.
Good to know: Compressor’s HEVC data rate limits on Apple silicon are surprisingly precise. Cap a 4K HDR clip at 25 Mbps and it holds the line without choking detail in flat areas. Worth experimenting.














Chat 0
Hop in or make an account to join the chat.
Quiet in here so far. If you have used this build, tell me what the install actually did.