
 SimpleMind Pro
 QuickBooks Mac Plus
 PDFelement Pro
 Text Workflow
 PDF Reader Pro
 PDF Expert
 Things
 Timemator


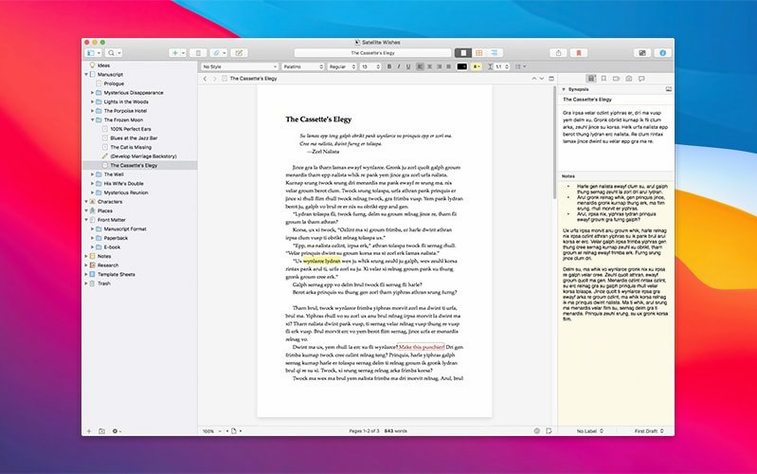
The Snapshots panel is where Scrivener earns its keep next to Pages or Ulysses. You can capture a full draft or just a fragment before you start cutting, so an older version stays one click away. For novels, theses, or documentation sets, that beats keeping five duplicate files on the desktop.
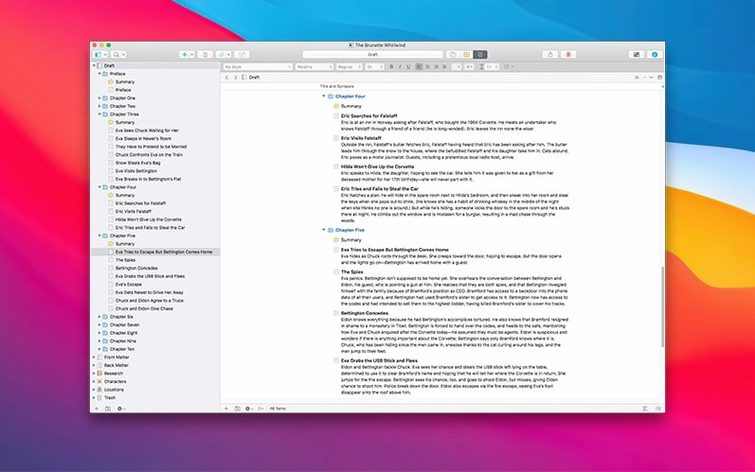
It works as a text processor and project management tool in one window. A new project starts with a Research folder, and you can drop in PDFs, images, links, audio, and plain notes without leaving the binder. The editor handles large volumes of text without feeling like a spreadsheet pretending to be a document.
On an ARM or 64-bit Intel Mac, it sits comfortably alongside your other writing tools. Use a dedicated markdown editor for quick notes, then move into Scrivener when a project gets long enough to need structure, snapshots, and supporting material in one place.
Out of the box, Scrivener behaves like a safe word processor. A few tweaks make it fit how you actually write.
Open Scrivener → Settings → Editing and turn on Typewriter scrolling. This keeps your current line near the vertical centre of the screen, so you're not staring at the bottom edge of the window during long sessions. While you're there, enable Show invisibles — paragraph marks and spaces become visible, which helps catch double spaces and stray returns before export.
Under the General tab, switch Autosave after to something shorter than the default. Two minutes of inactivity feels right for most people. The app already saves on every pause, but tightening the timer gives extra peace of mind when you're deep in a chapter.
Navigate to Appearance → Binder and tick Show word count in binder. Seeing the word counts next to each document name saves you from clicking into scene files just to check progress. For screenwriters and researchers working with mixed media, the Research folder benefits from a custom icon colour — right-click it in the binder, pick a shade, and it stands out from draft folders instantly.
One last change: in Editor → Fonts, set a comfortable serif for composition and a clean sans-serif for notes. Keeping the two visually distinct makes switching between drafting and research feel like changing rooms, not just tabs.
Version 3.5.2 landed as a bug-fix release in late 2025. The notes from Literature & Latte are brief — stability improvements and squashed edge-case crashes. No new features, no interface shifts.
In practice, the fix tightened up the snapshot comparison view. Earlier builds occasionally scrambled the highlighting when you compared a long document against two older snapshots; that's now clean. Background autosave also feels less intrusive. Before the patch, some writers on ARM Macs noticed a brief beachball when working inside a project with hundreds of PDFs in the Research folder. That pause is gone.
If you've been running an older build — say, anything pre-3.5 — the cumulative difference is bigger. Dark mode on recent macOS releases renders without the muddy contrast that bugged some users in 2024. The binder's drag-and-drop behaviour is sharper too. Dragging a folder into another folder used to occasionally misfire if the target was near the bottom of a long list; 3.5.x tidied that up, and 3.5.2 keeps it reliable.
For anyone searching around for a scrivener 3.5 update, this release is the current stable version. It does not rewrite the app. It just makes the existing tool quieter under the fingers.
Imagine you're writing a long feature on urban heat islands. The assignment pulls in council PDFs, interview transcripts, site photos, and a dozen web clippings. Scrivener's binder handles all of it without a separate notes app.
Step 1 — Set up the project. Create a new blank project. The binder already gives you a Draft folder and a Research folder. Rename the draft to "Feature – Heat Islands" and add three subfolders: Outline, Scenes, and Revision.
Step 2 — Dump the research. Drag the council PDFs, site photos, and audio files straight into the Research folder. For web clippings, use File → Import → Web Page and paste the URLs. Each clipping lands as its own document, fully searchable. Drop interview transcripts into a subfolder called Interviews — the binder supports nesting as deep as you like.
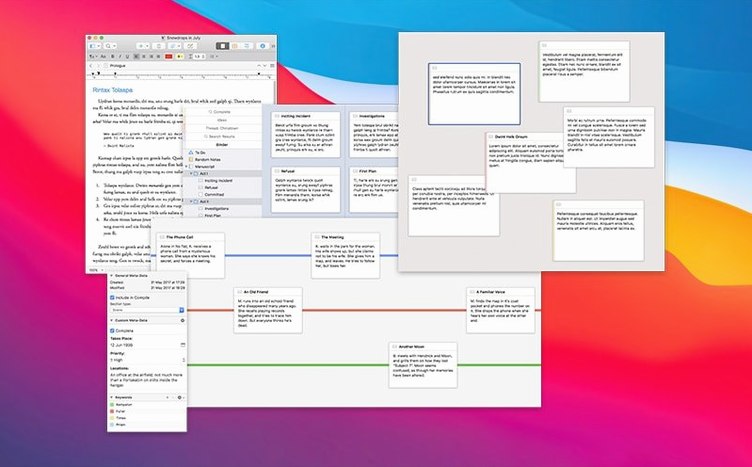
Step 3 — Outline and note. Open the Outline folder and create a document per section. Switch to corkboard view (⌘3) and write a summary sentence on each card. Drag the cards to reorder sections as the argument takes shape. Pin key quotes and stats onto the relevant cards using the Inspector → Notes panel — they stay attached to that document, not floating in a separate file.
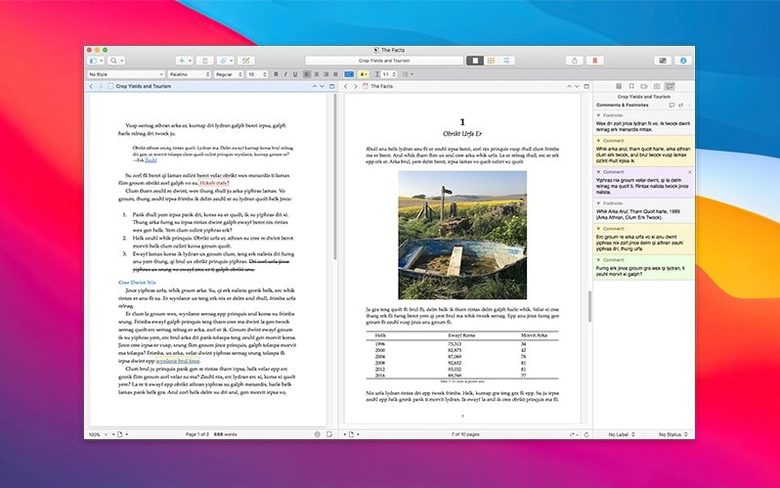
Step 4 — Draft with research in view. Select a scene document in the Scenes folder, then hit ⌥⌘R to open a split editor. Keep the draft on the left and the relevant research document — a PDF, a transcript — on the right. Scroll both independently. Highlight a sentence in the transcript, drag it into the draft, and it appears as quoted text with a citation marker if you set that up in compile settings.
Step 5 — Snapshot before cutting. First draft complete? Select all scene documents, press ⌘5 to open the Snapshots panel, and capture the full set. Now you can trim, reorder, and rewrite knowing the first pass sits untouched. If a cut goes too far, open the snapshot, copy the lost paragraph, and paste it back.
Step 6 — Compile for an editor. Go to File → Compile. Pick the "Standard Manuscript" format, choose Word (.docx) as the output, and tick the option to include the snapshot annotations as comments. Your editor sees the polished text plus marginal notes about what changed between drafts. Export, attach to an email, done.
Yes. Snapshots can be created for an entire note or selected fragments, so you can compare or restore earlier versions.
You can keep notes, photos, ideas, text, images, links, PDF documents, and audio files inside a project.







Chat 0
Hop in or make an account to join the chat.
Quiet in here so far. If you have used this build, tell me what the install actually did.